Welcome to Insert Objects into Google Docs. You can insert various types of objects into your document to enhance its content and make it more interactive.
In this section we will cover the following topics:
Images
Links
Using special characters
Table of contents
Bookmarks
Charts
How to Insert Images
You can insert images from your computer, made in another program, from a digital camera, or from the web to add visual interest to your document.
Insert a Picture
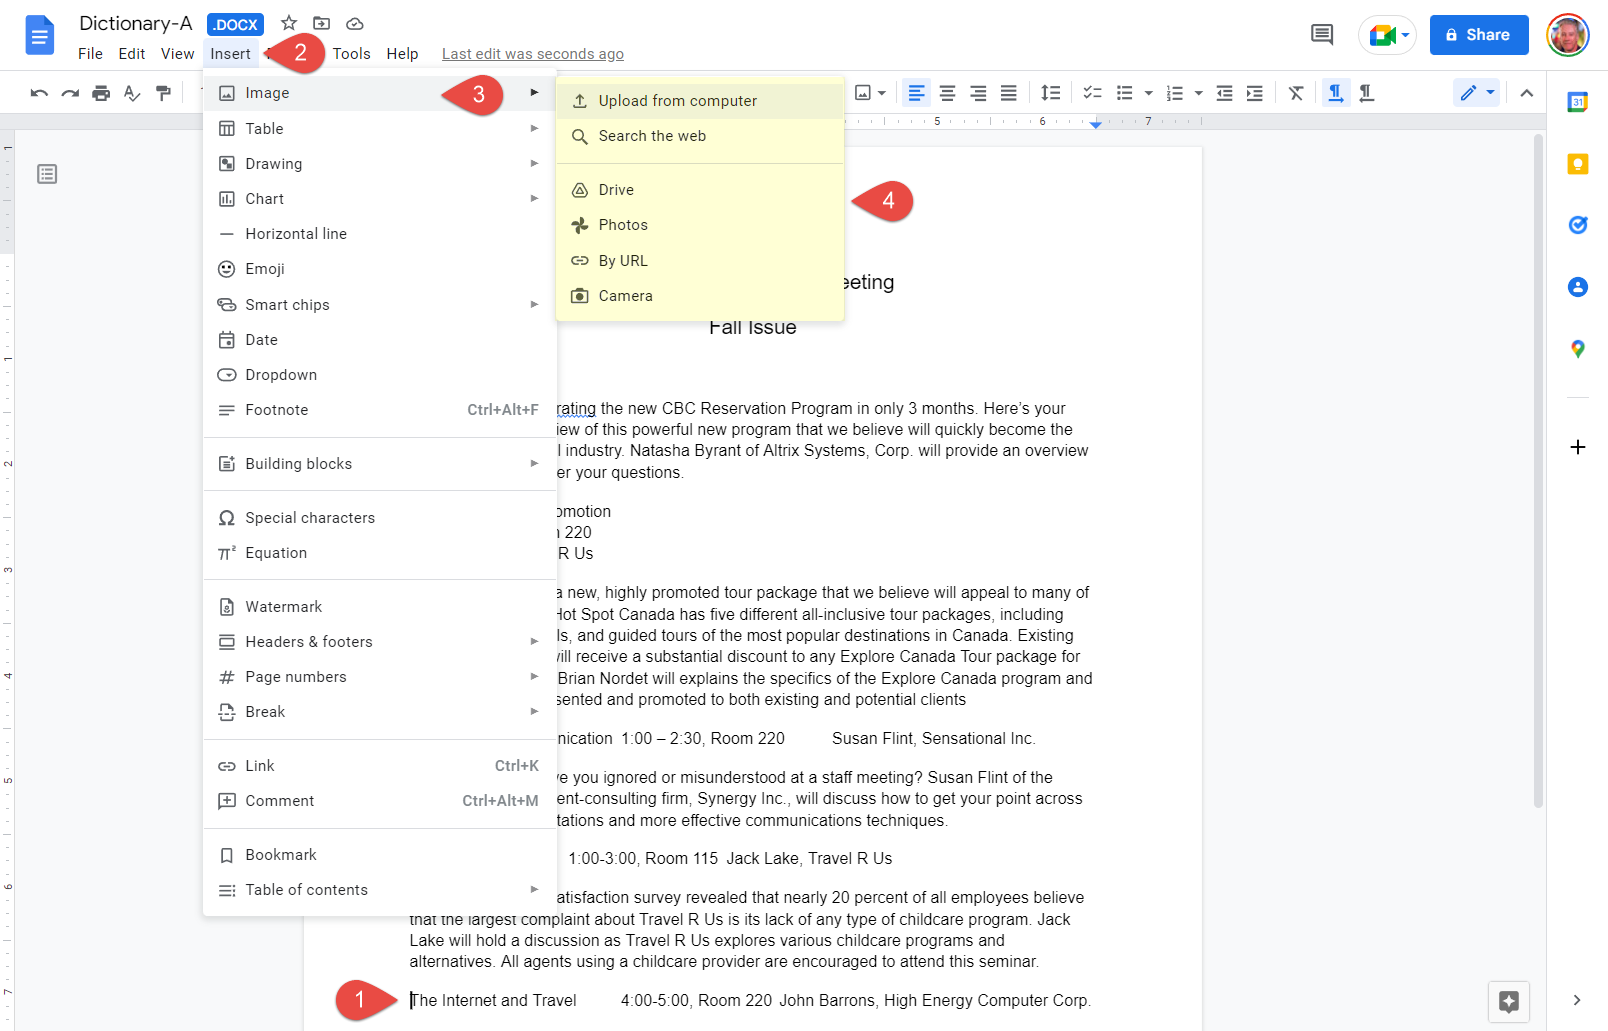
1. Place the text cursor where you want to insert a picture.
2. Click Insert on the menu bar.
3. Select Image.
You can choose from a variety of sources for a picture:
- Upload from computer
- Search the web
- Google Drive
- Google Photos
- By URL
- Camera
4. Example: Select Upload from computer.
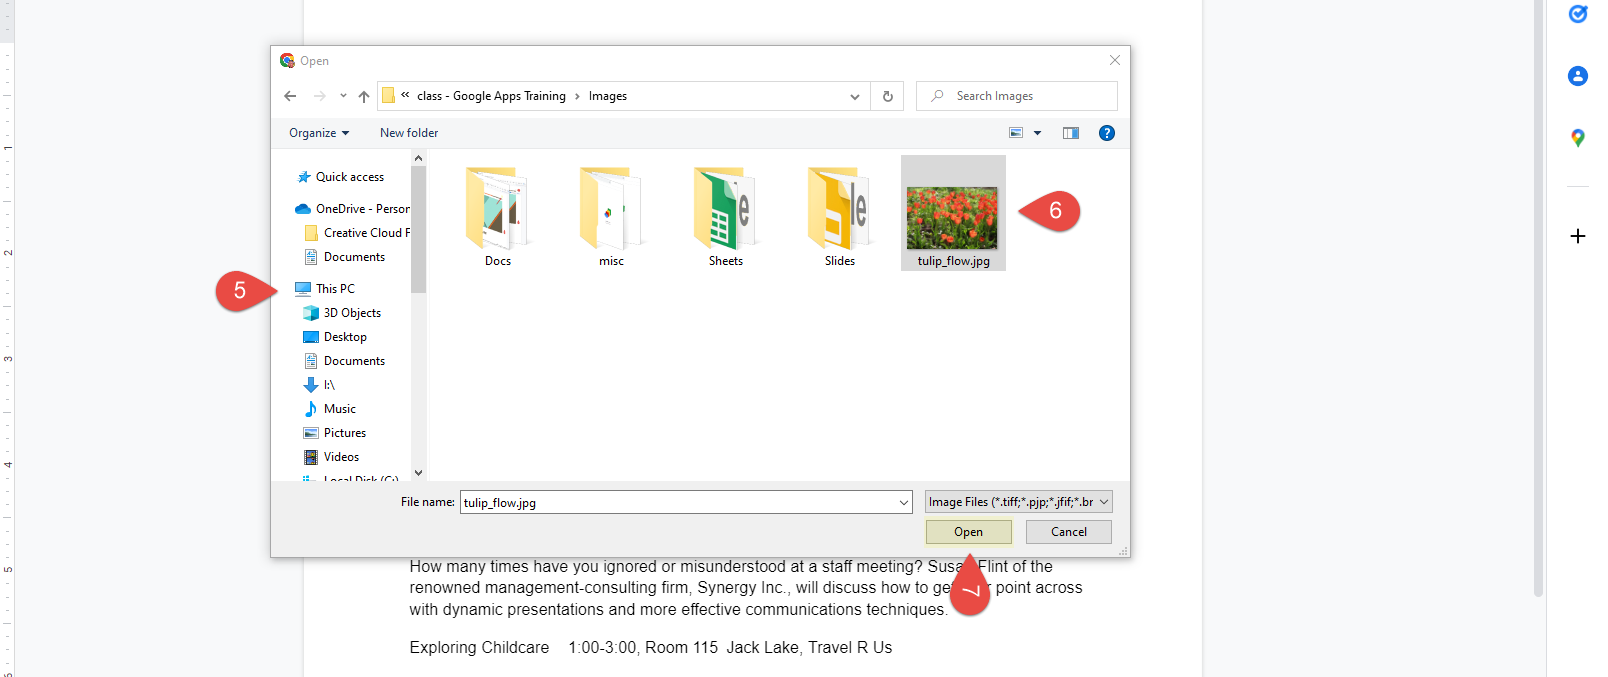
5. Navigate to the picture you want to insert.
6. Select a picture.
7. Click Open.
The selected picture is inserted into the document at the location of your cursor.
Adjust Text Wrap
Text wrapping is a formatting feature in Google Docs that allows you to control the position of an object relative to the text in your document. By wrapping text around an object, you can ensure that the text flows smoothly around the object and doesn’t overlap or cover it.
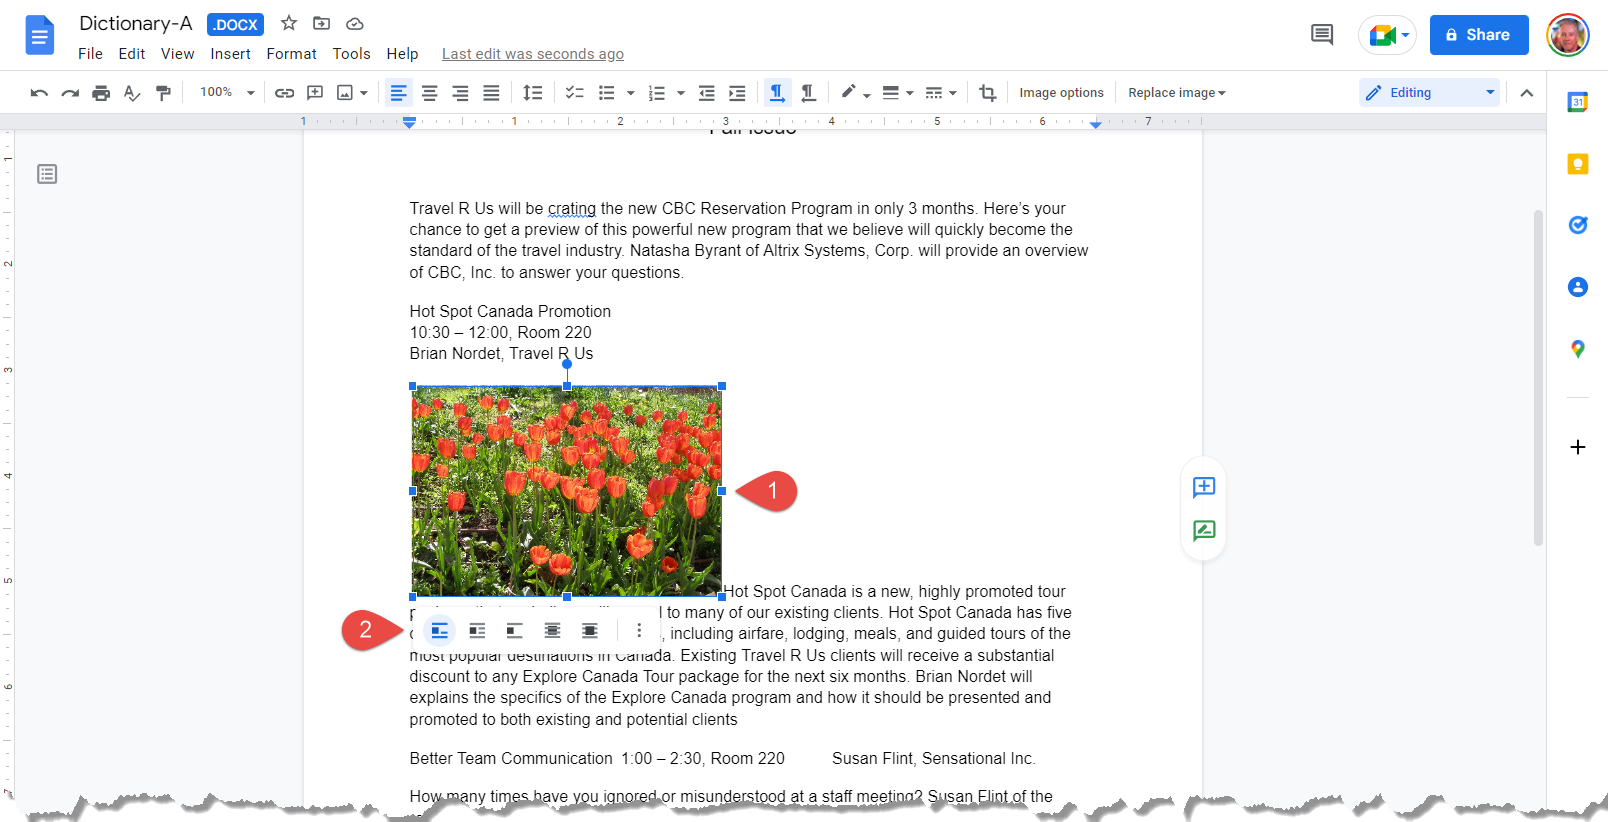
1. Select an image.
2. Select a text wrap option.
The image and the text by it wrap as you specified.
Text Wrap Options
 In line: The image is placed in a paragraph; the image bottom is even with the text characters bottom.
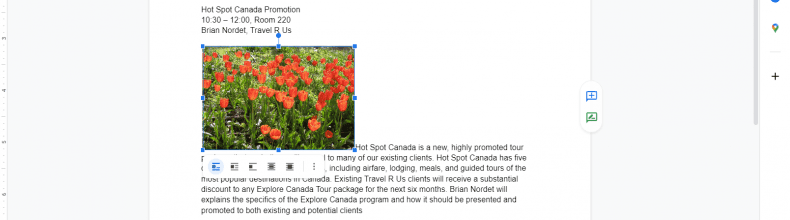
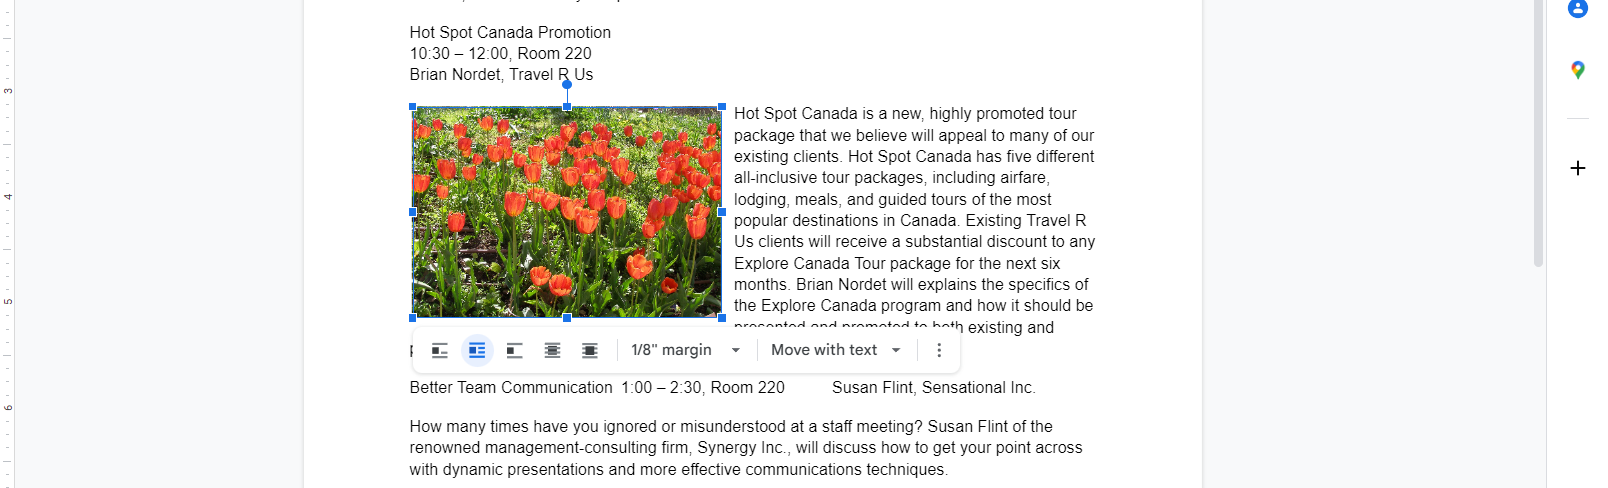 Wrap text: Text wraps around the image using a padding border.
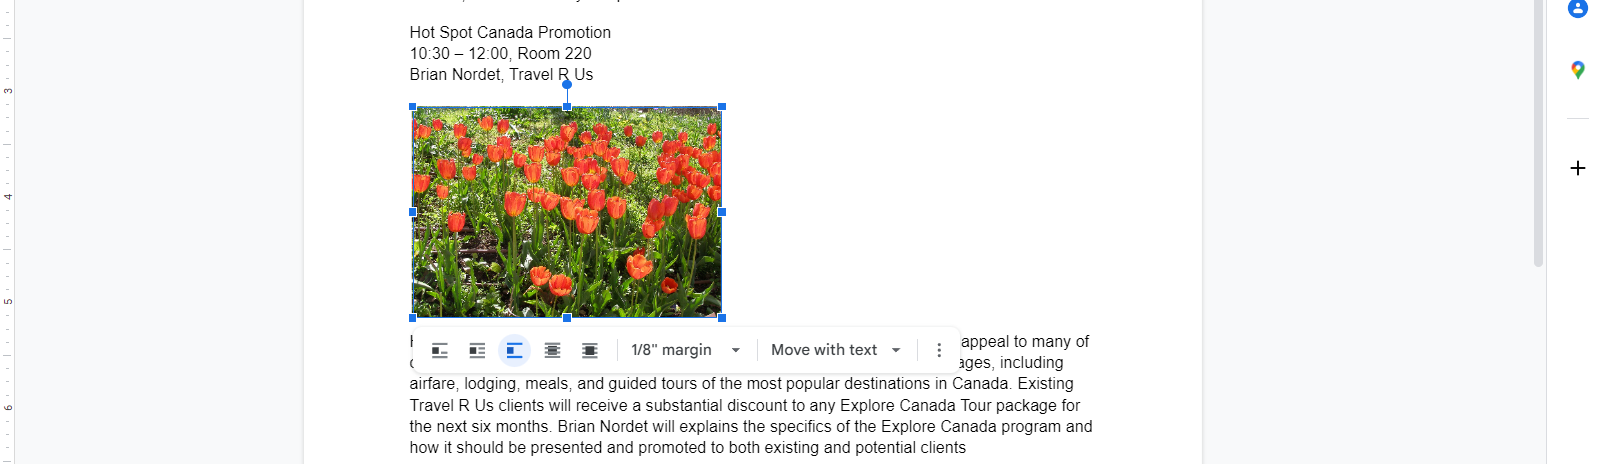 Break text: The image is placed in a separate row and the text continues on a new line below the image.

Behind text: The image is placed behind the text.
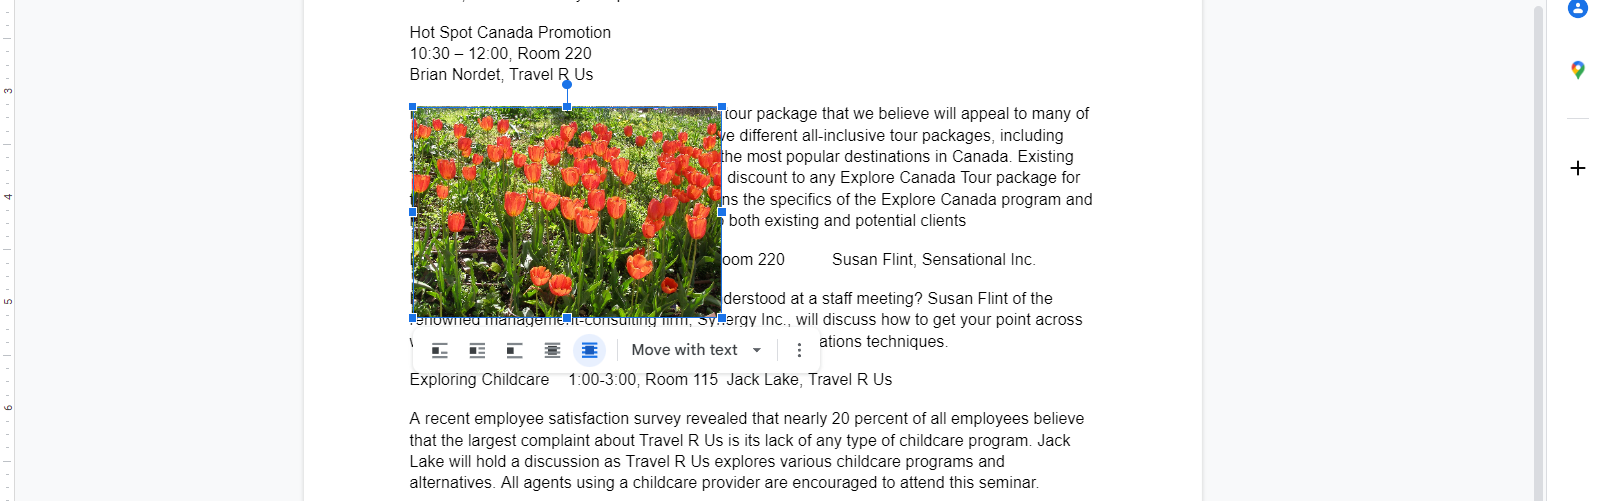
In front of text: The image is placed over the text.
How to Insert Links
You can add hyperlinks to your document. Hyperlinking allows you to create clickable links in your Google Docs document that take you to other web pages or locations within the document. This can be useful for providing additional information or for helping readers navigate through the document more easily.
Insert a Link

1. Select the text where you want to insert a link.
2. Click Insert on the menu bar.
3. Select Link.
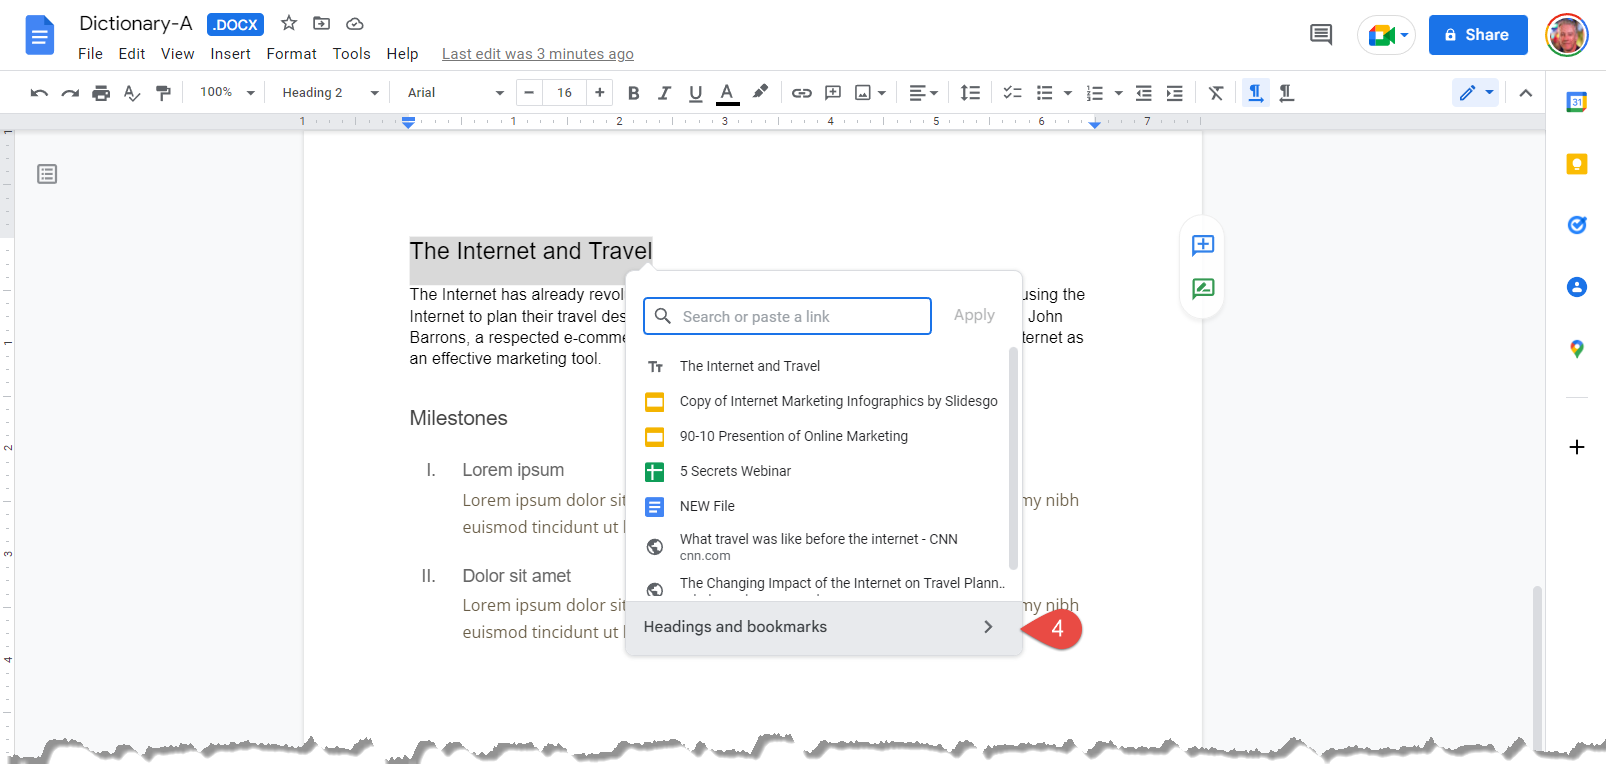
A small pop-up appears. You can either add a link to an outside website, or link to a heading within the document.
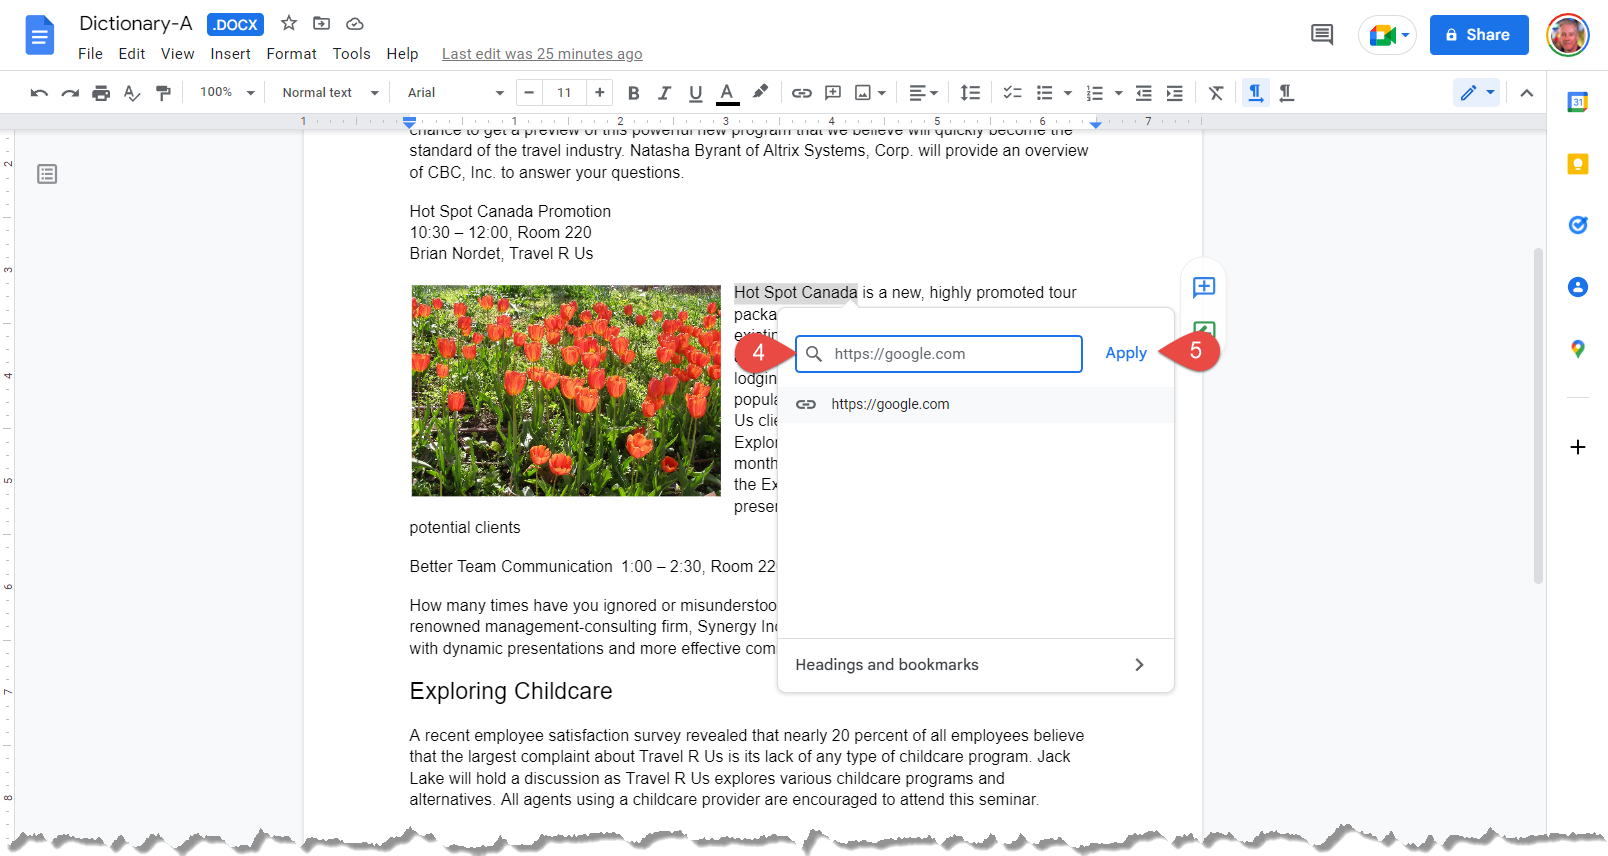
4. Insert Link URL
5. Click Apply button.
The link is added. When the text cursor is in the link text, a popup will appear with the link address, as well as options to change it or remove it.
Shortcut: Press Ctrl + K
Linking to a Heading
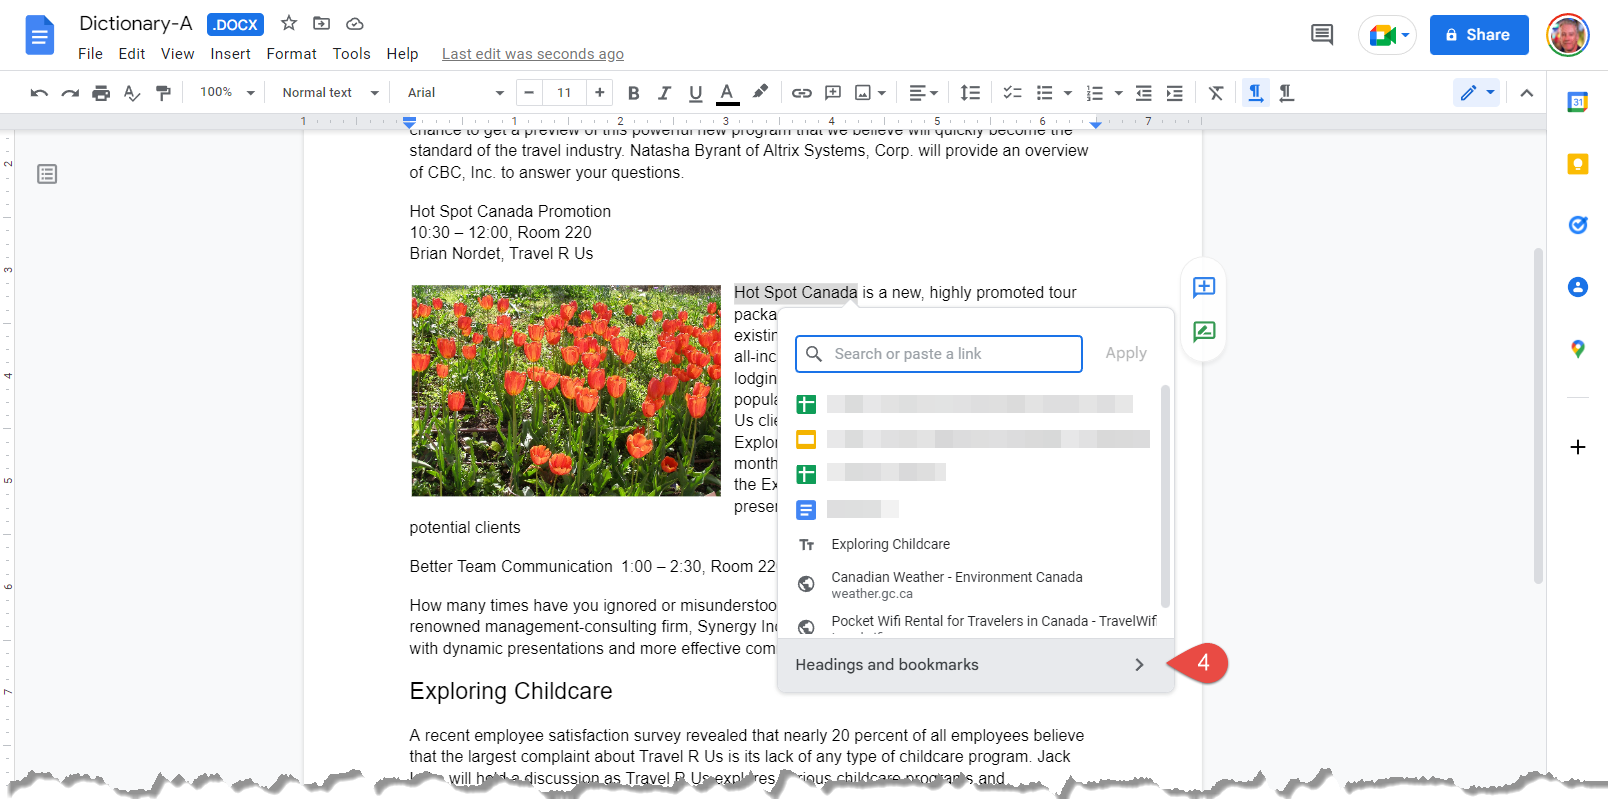
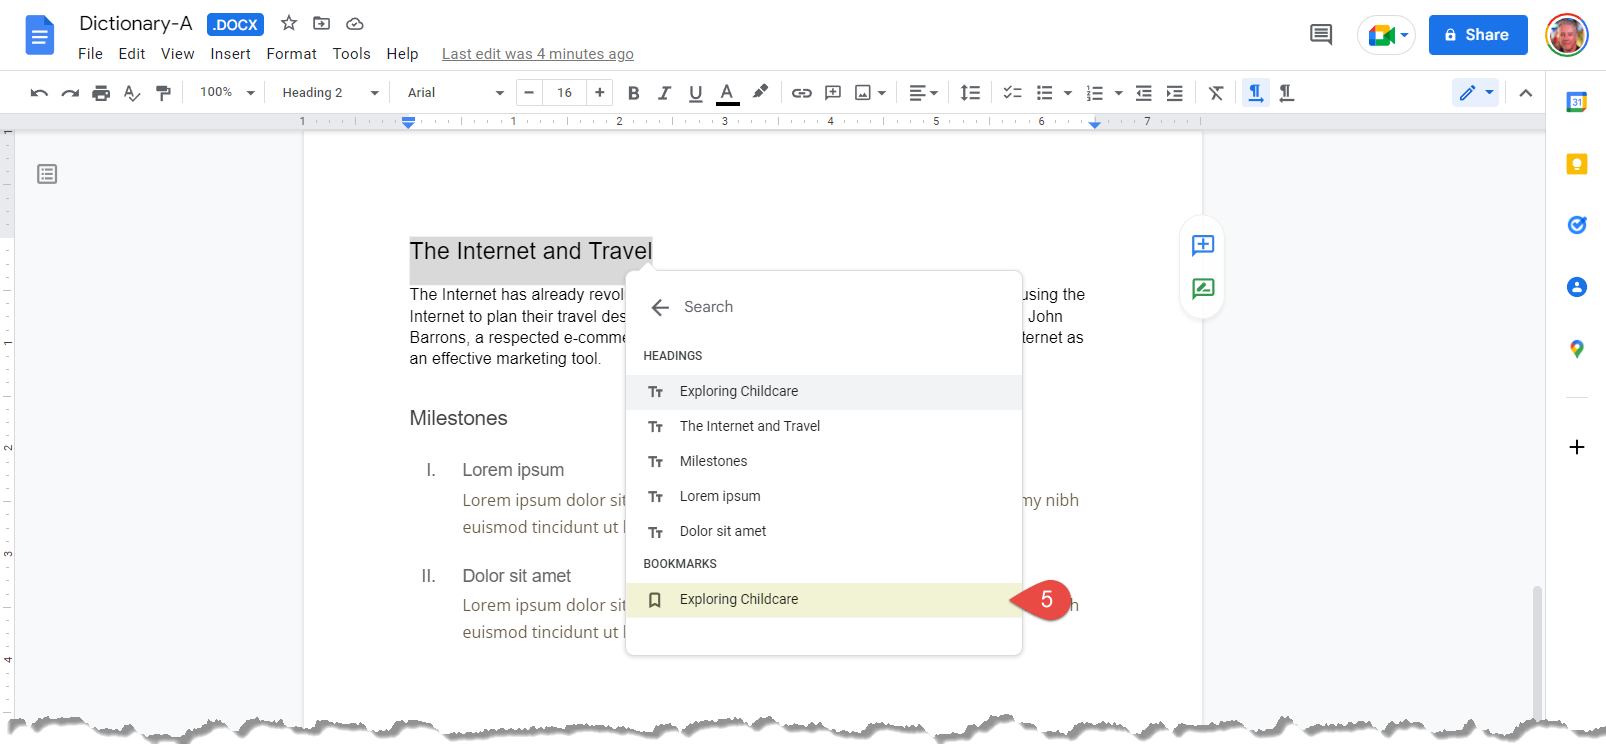
4. Select Headings and bookmarks.
A small pop-up appears with the heading tags within your document.

5. Click on a heading.
The link is added. When the text cursor is in the link text, a popup will appear with the link address, as well as options to change it or remove it.
How to Insert Special Characters
Google Docs allows you to insert special characters and symbols that are not found on your keyboard. These can include copyright (©) and trademark (™) symbols, foreign currency symbols (¥), mathematical symbols (÷), accented characters (ä), and additional punctuation marks (⁂). This can be useful for adding professional-looking formatting to your documents or for inserting characters that are not available on your keyboard.
Insert a Special Character
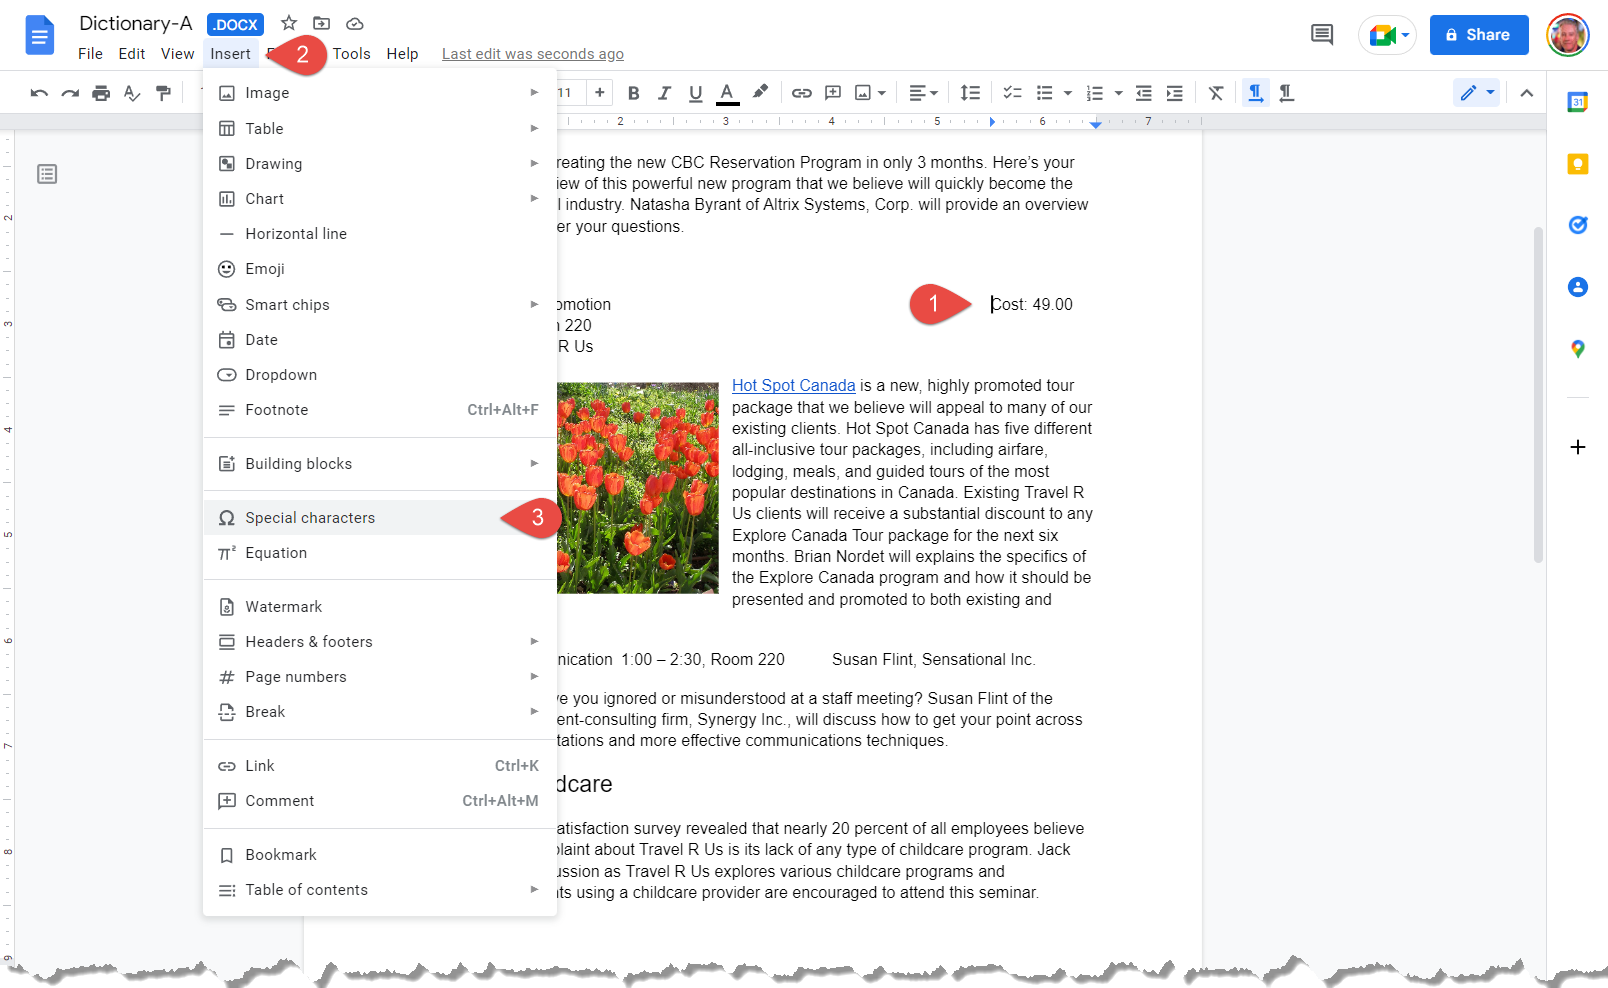
1. Place the cursor where you want to insert a special character.
2. Click Insert on the menu bar.
3. Select Special characters.
A dialog box opens up, where you can select a special character. Special characters are organized into categories to make it easier to find the character you need.

4. Type a search query in the search box to locate a special character.
5. Click on a special character.
The special character appears in the text.
6. Click Close.
The dialog box will stay to continue inserting more symbols. You must close the box to exit.
How to Insert a Table of Contents
Adding tables is a useful way to present and organize data in a clear and visually appealing way. You can create a table of contents for your document based on the heading styles used in the document. For example, headings formatted with the Heading 1 style would appear as main headings in the table of contents, headings formatted with the Heading 2 style would be subheadings, and so on. This can make it easier for readers to navigate through the document and find the information that they need.
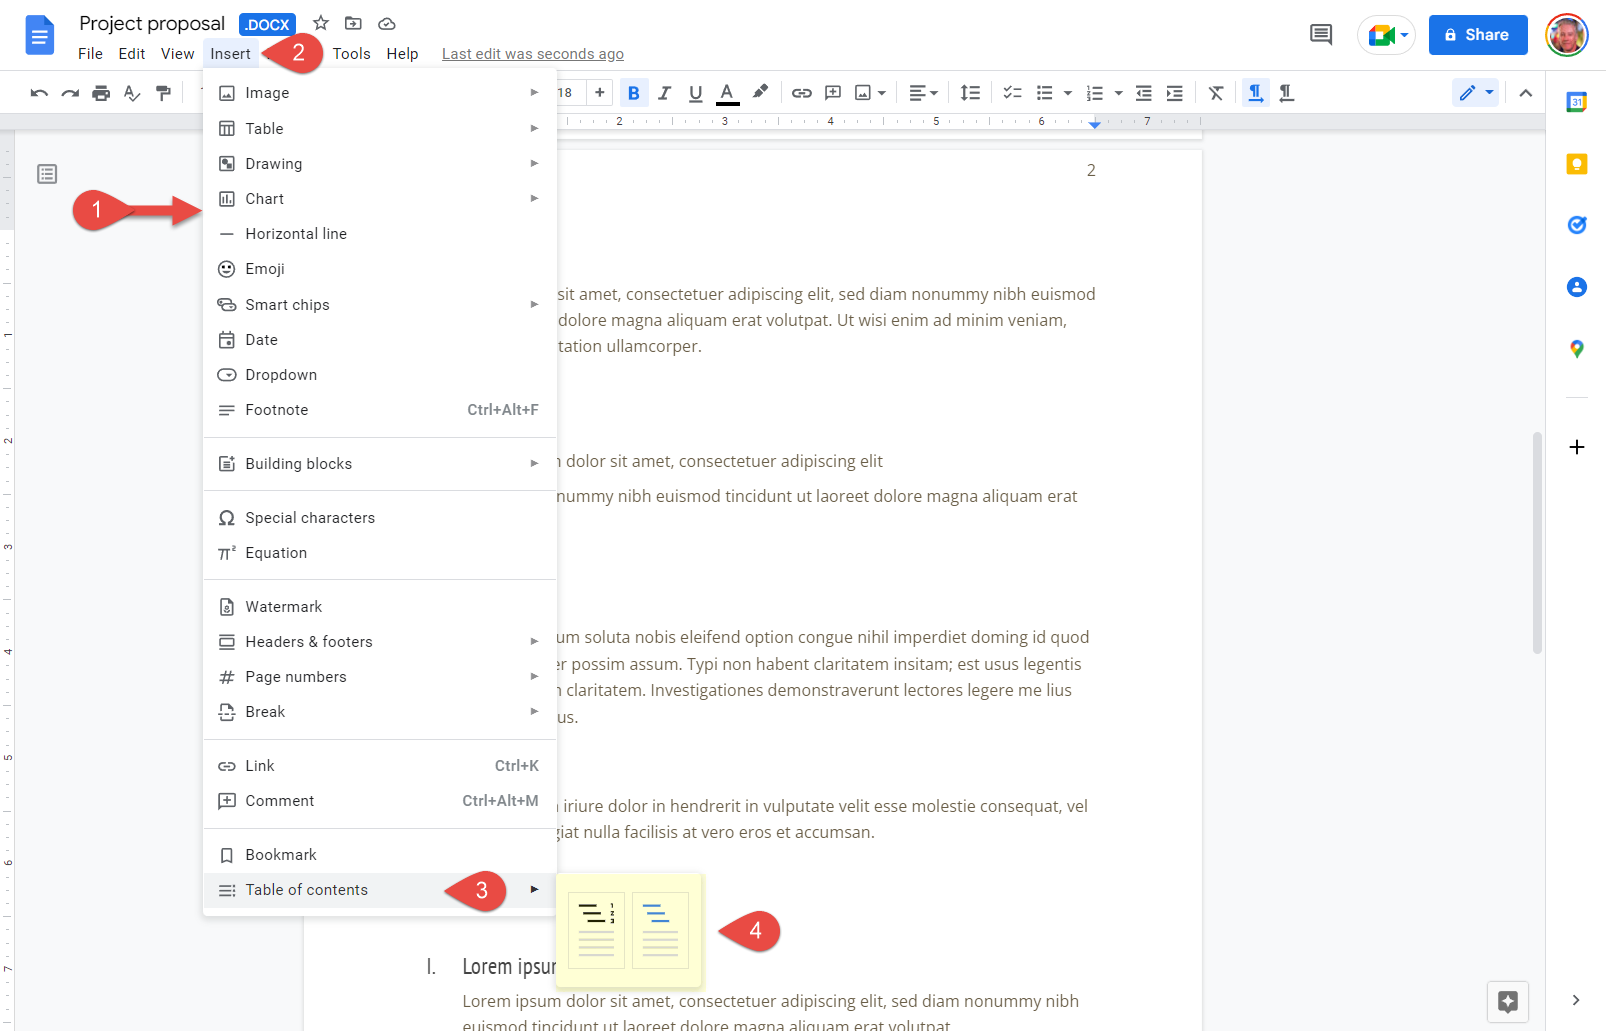
Insert a Table of Contents
1. Click where you want to add the table of contents.
A table of contents can take up a lot of space. The best place for a table of contents is a blank page, near the beginning of a document.
2. Click Insert on the menu bar.
3. Select Table of contents.
4. Select a table of contents formatting option.
- With page numbers
- With blue links
The table of contents is inserted, listing all the headings in the document in outline order, as well as the page number that each heading appears on.
How Table of Contents Works
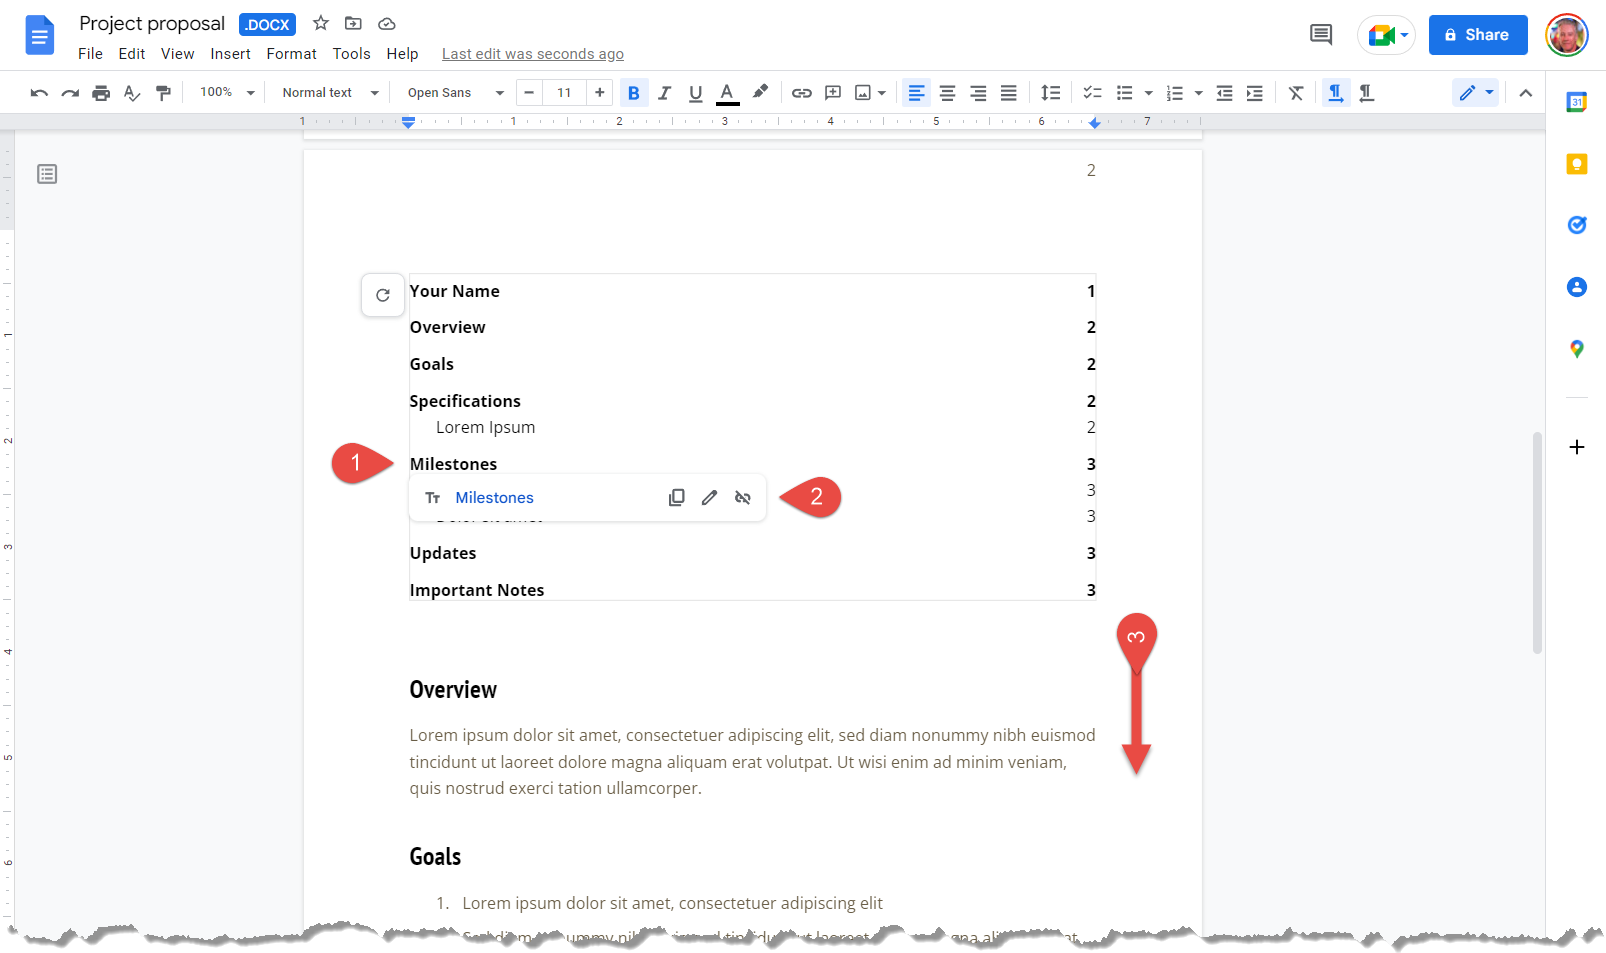
1. Click an item in the table of contents to open the link pop-up.
2. Click the link.
3. The cursor will navigate to the corresponding section of the document.
Update a Table of Contents
Table of contents can easily be updated after any changes to document headings.
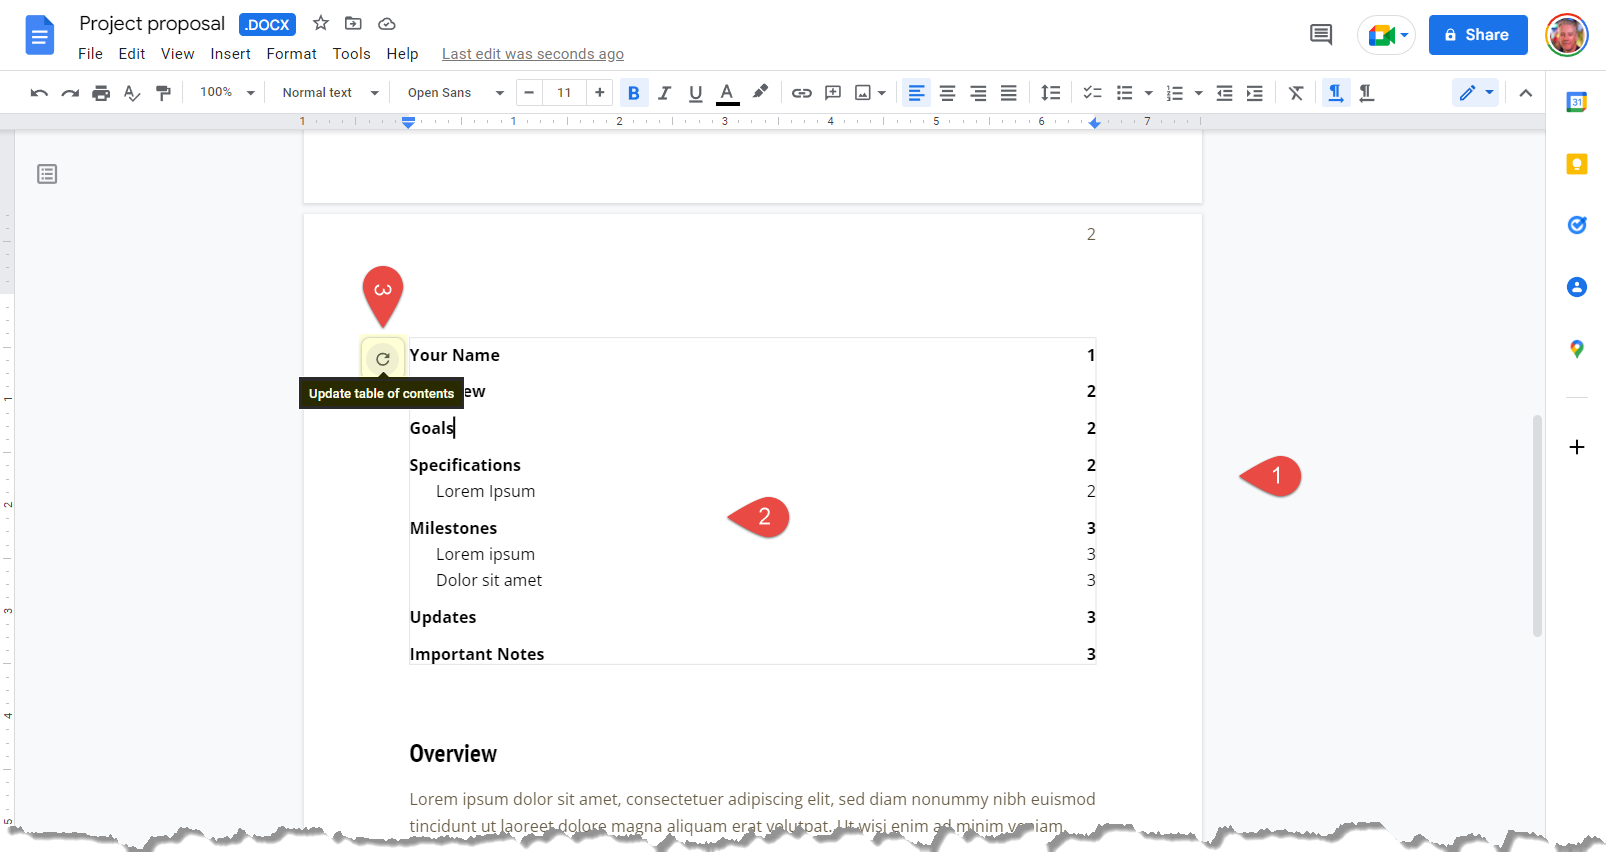
1. Navigate to the table of contents section.
2. Click anywhere in the table of contents.
3. Click the Update table of contents button.
The table of contents is updated to reflect the changes in the document.
How to Insert Bookmarks
Bookmarks allow you to create links to specific locations within your document. This can be useful for creating a table of contents or for allowing readers to quickly navigate to a specific section of the document.
Add a Bookmark
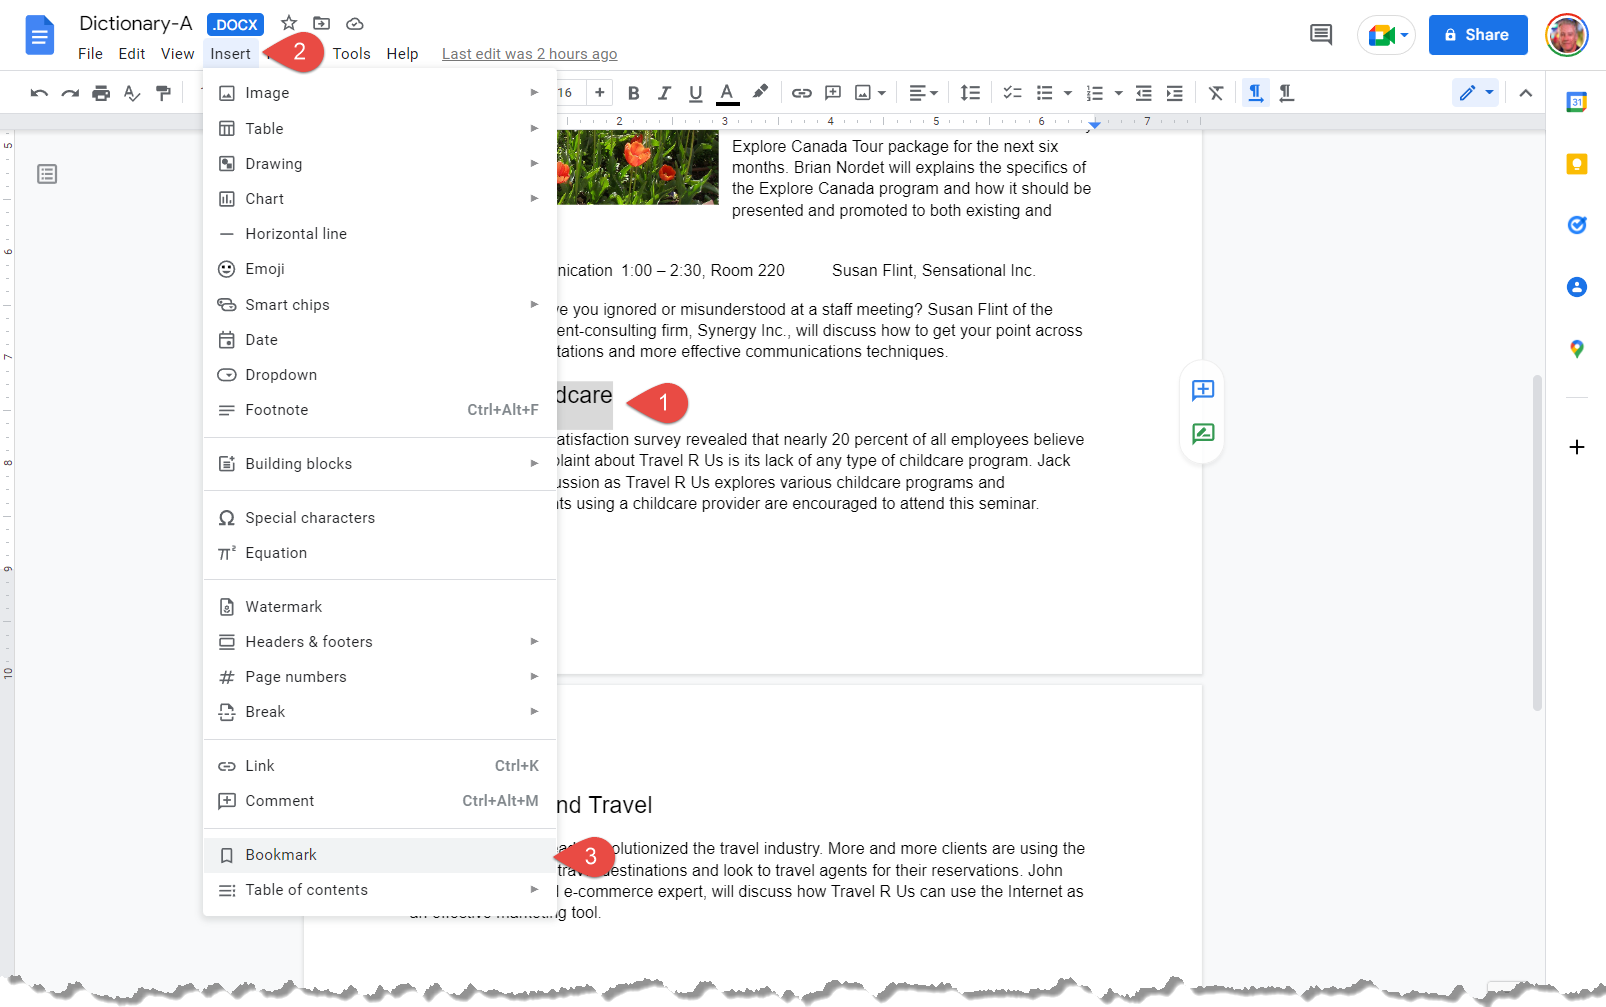
1. Select the text you want to bookmark.
You can bookmark text, images, or a specific location in the document.
2. Click Insert on the menu bar.
3. Select Bookmark.
The bookmark is added.
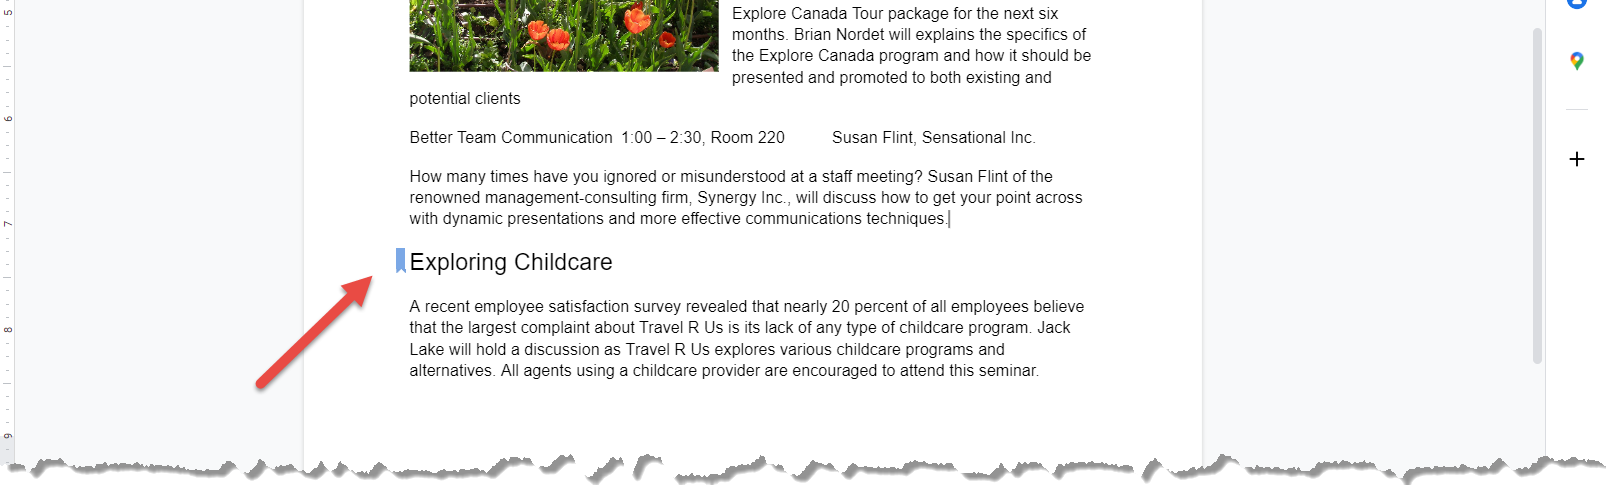
NOTE: The bookmark symbol appears in the margin as a reminder.
Link to a Bookmark
Bookmarks are most useful when used as navigation links to specific locations within the document.
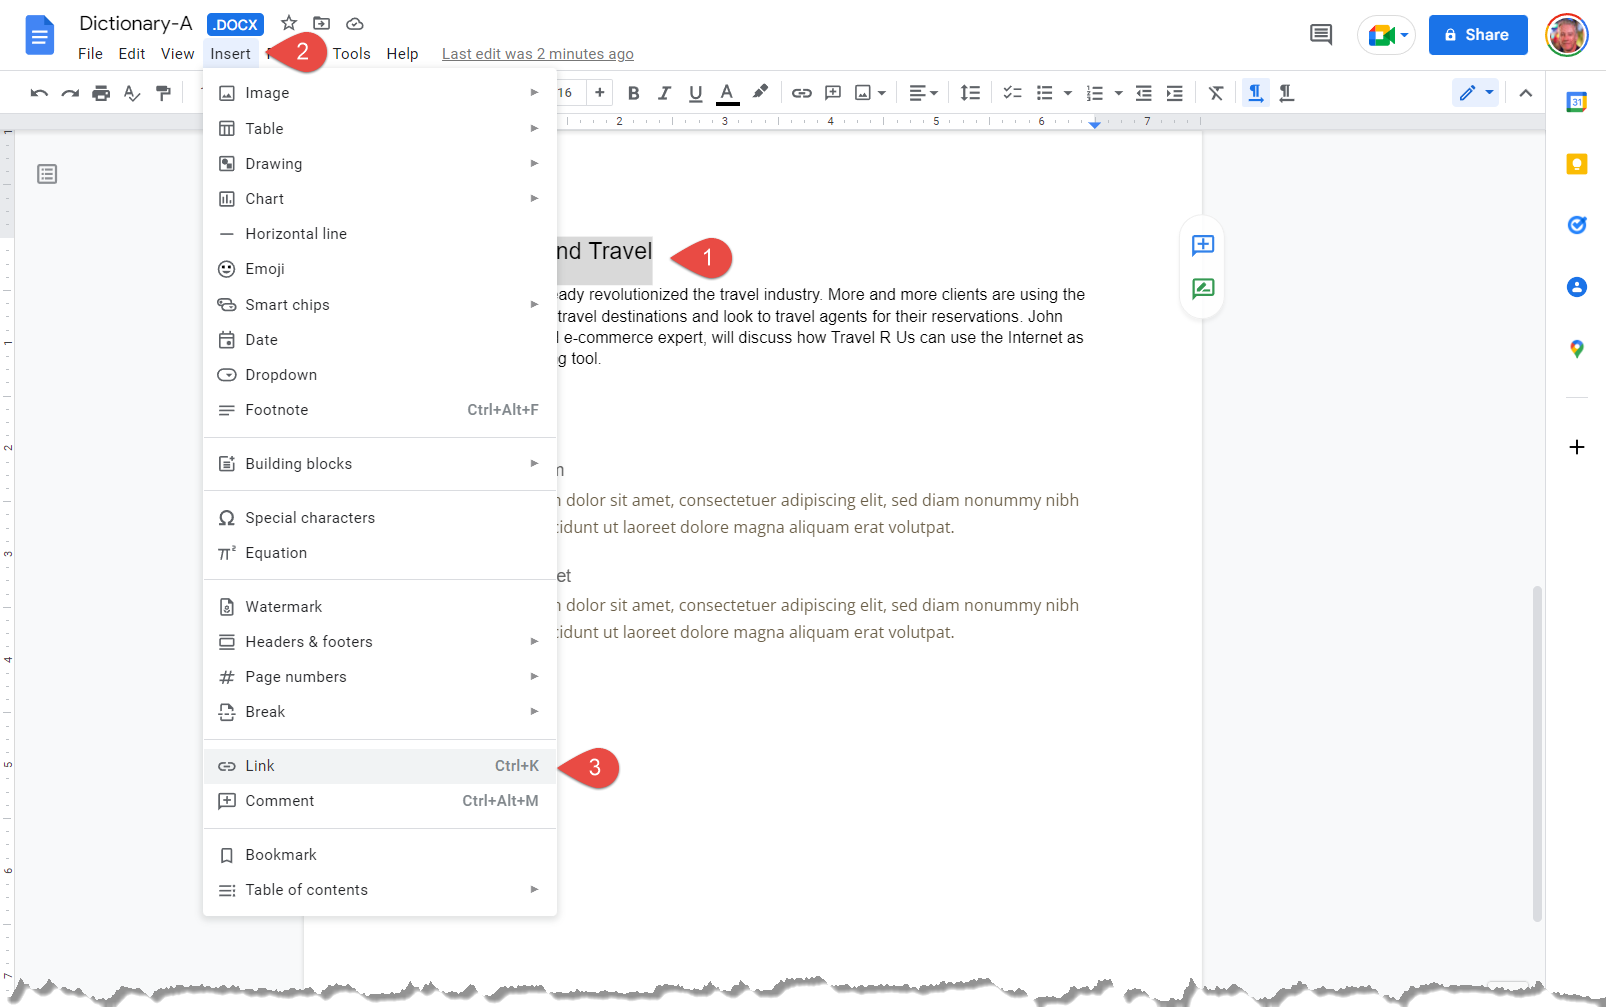
1. Select the text you want to use as a link to the bookmark.
2. Click Insert on the menu bar.
3. Select Link.
4. Expand the Headings and bookmarks option.
5. Select the bookmark you want to link to.
The selected text now becomes a link.

6. Click the bookmark link to navigate to it.
How to Insert a Chart
Charts can be a great way to present data to your audience. Visual images are often easier to understand than hard-to-read numbers in a table.
When you insert a chart or table to Google Docs, you can link them to existing files.
Important:
- People with access to your document or presentation will be able to view all linked charts, tables, or slides, even if they don’t have access to the file containing the original charts, tables, or slides.
- When linked objects are updated, any edits to the objects in the original file will override changes made in the new file. Learn how to update linked objects.
- NOTE: If you make edits to the linked chart or table in your new file, the changes won’t be copied to the original file.
- You can link the same linked object in many different documents or presentations.
| Chart Type | Description |
|---|---|
| Column | Column charts are used when you want to compare different values vertically side-by-side. Each value is represented in the chart by a vertical bar. If there are several series, each series is represented by a different color. |
| Line | Line charts are used to illustrate trends over time. Each value is plotted as a point on the chart and is connected to other values by a line. Multiple items are plotted using different lines. |
| Pie | Pie charts are useful for showing values as a percentage of a whole. The values for each item are represented by different colors. Limit pie charts to eight sections. |
| Bar | Bar charts are just like column charts, except they display information in horizontal bars rather than in vertical columns. |
| Area | Area charts are the same as line charts, except the areas beneath the lines are filled with color. |
| Scatter | Scatter charts are used to plot clusters of values using single points. Multiple items can be plotted by using different colored points or different point symbols. |
| Map | Map charts allows to create geographical maps from the selected data |
| Other | You can also create Waterfall, Histogram, Radar, Gauge, Scorecard, Candlestick, Organizational, Tree map, Timeline, and Table charts in Sheets. |
Adding a new chart to a document
1. Click Insert > Chart.
2. Click the chart type you want to add.
When you add a new chart:
- It will link to a new Google Sheet.
- To update the chart, update the Google Sheet data.
![]() READ: Learn how to edit chart data.
READ: Learn how to edit chart data.
Embedding Charts and Tables
You can embed charts and tables to make it easier to keep all files up to date.
1. Click Insert > Chart > From Sheets.
2. Click the spreadsheet with the chart you want to add, then click Select.
3. Click the chart you want to add.
If you don’t want the chart linked to the spreadsheet, uncheck “Link to spreadsheet.”
4. Click Import.
Edit, update, or unlink a chart or table
1. Click a chart or table to select it.
In the top right corner of the chart or table, click Link options > Open source.
You can now change the original file.
![]() READ: Learn more about linking a chart or table to Google Docs.
READ: Learn more about linking a chart or table to Google Docs.