Take Notes
With OneNote, take notes the way you want. You can type notes, write notes, convert handwritten notes to text, and even record audio notes.
Type a note
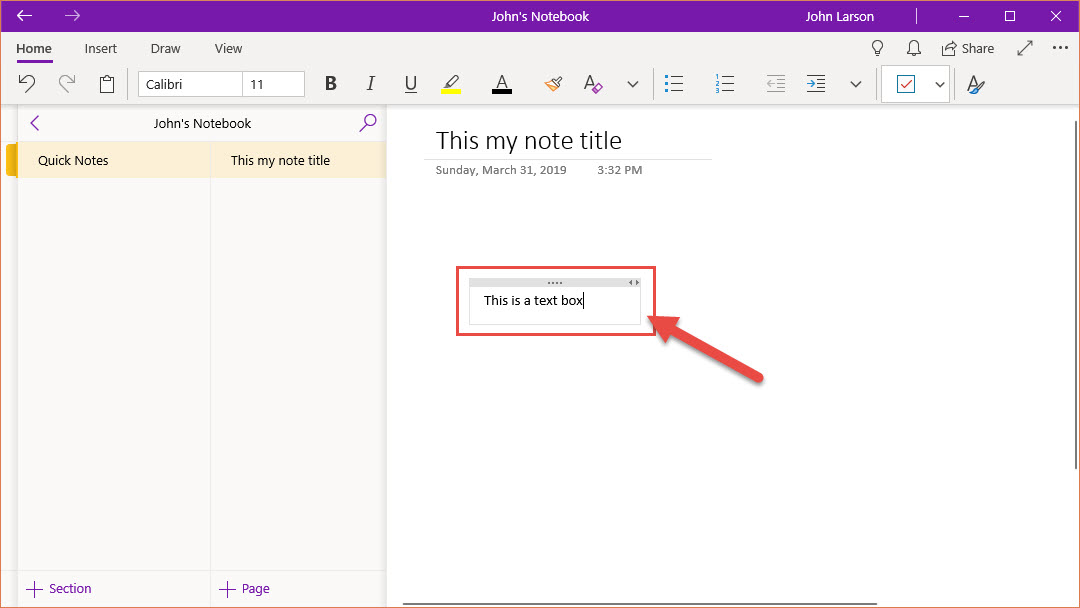
- Click or tap anywhere on the page and start typing. All of your work is saved automatically and synced across all of your devices.
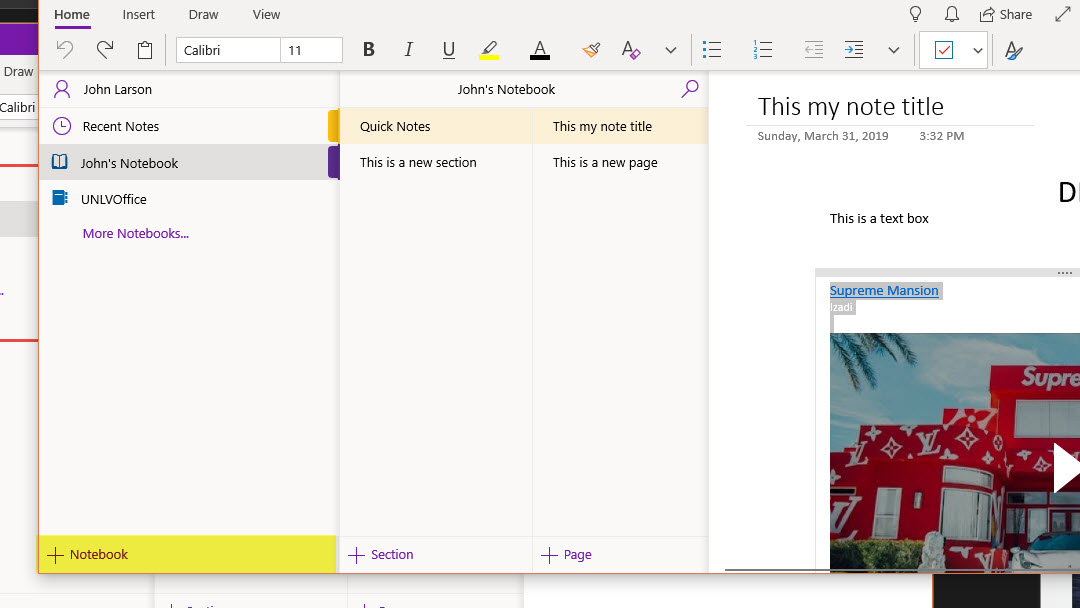
Move a note
- Hover your mouse over the text until the move pointer appears
 and drag the the content box to where you want it on the page.
Resize a note
- Drag the right-side of the content box to resize it.
Handwrite notes
You can handwrite notes with a mouse, stylus, or your finger.
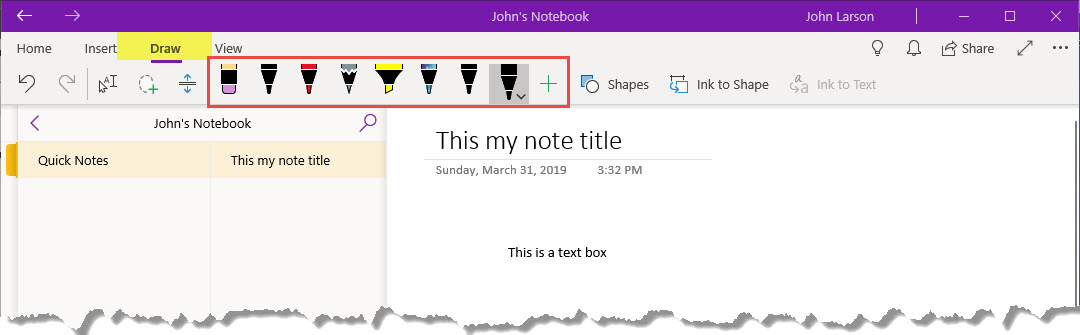
- Select Draw, select a pen, and start writing.
Convert handwriting to text
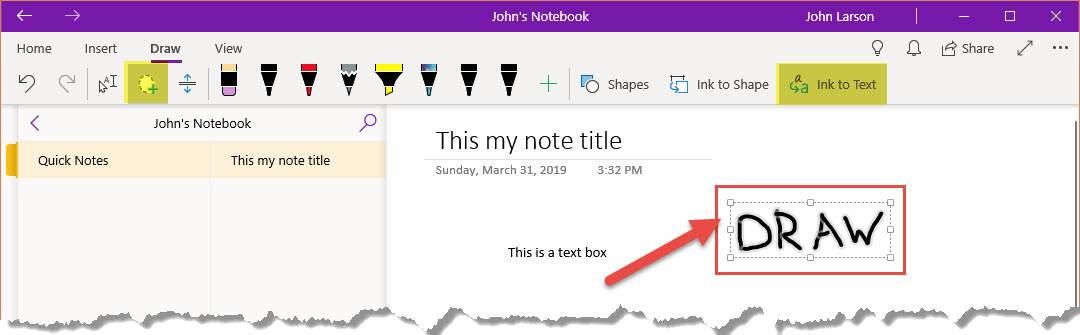
1. Choose Select Objects or Type Text or Lasso Select.
2. Draw a circle around the text and select Ink to Text.
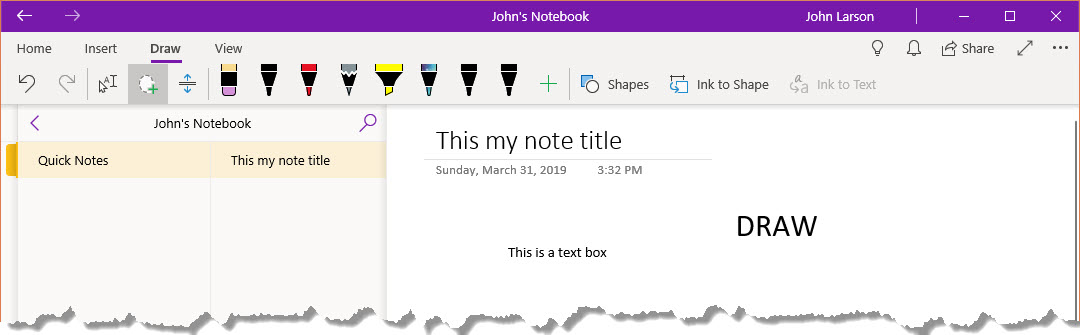
Now you can edit the text the same way you edit your typed text.
Use OneNote to record audio notes

1. Click or tap the page, and then select Insert > Audio.
- OneNote immediately starts recording.
2. To end the recording, select Stop.
3. To listen to the recording, press the Play button, or double-click the audio recording.
Insert Pictures, Files, and Videos
You can add pictures, files, and videos to your notes to create interactive notebooks.
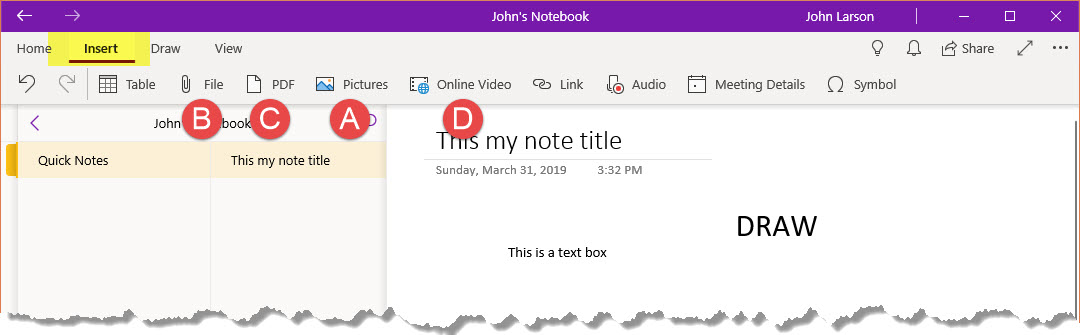
A. Insert a picture
1. Tap or click where you want to add a picture on the page.
2. Select Insert > Pictures and select From File.
3. Find the picture you want and select Open.
B. Insert a copy of a file
1. Select Insert > File.
2. Select Insert as Attachment.
3. Select the file and select Open.
C. Insert a PDF Printout
1. Select Insert > File.
2. Select Insert PDF Printout.
3. Select the file and select Open.
D. Insert a video
1. Find the video you want online.

2. Copy the video URL from the address bar.
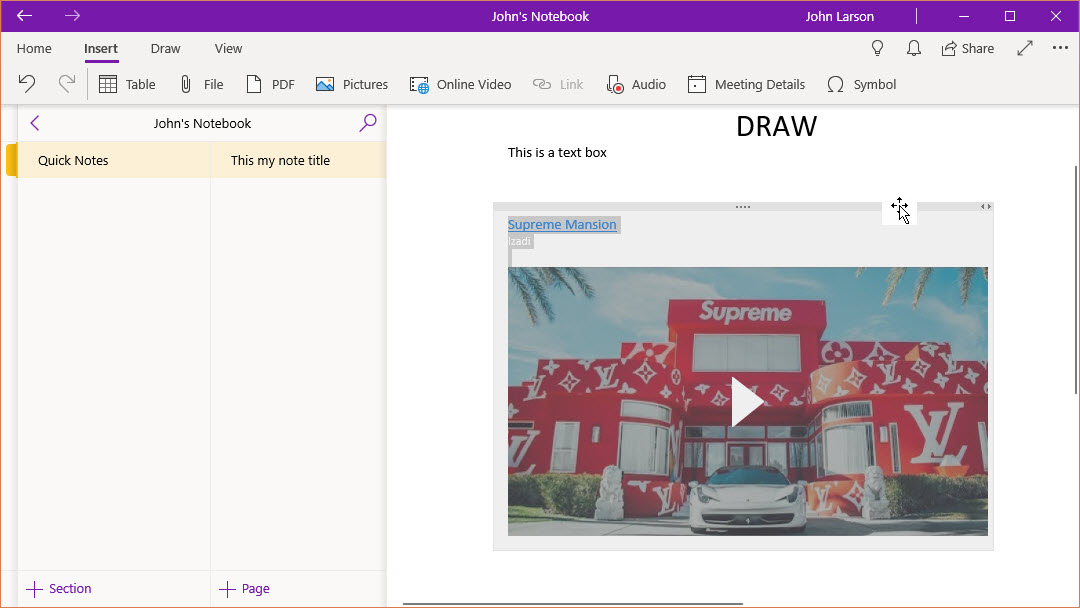
3. Select where you want it on the page, and paste it.
You can select the link to play the video back at its source or select the Play button on the embedded video and watch it right in your notes.
Create More Room in Your Notebook
With OneNote, you can create as many pages, sections, and notebooks as you need.
Add a page
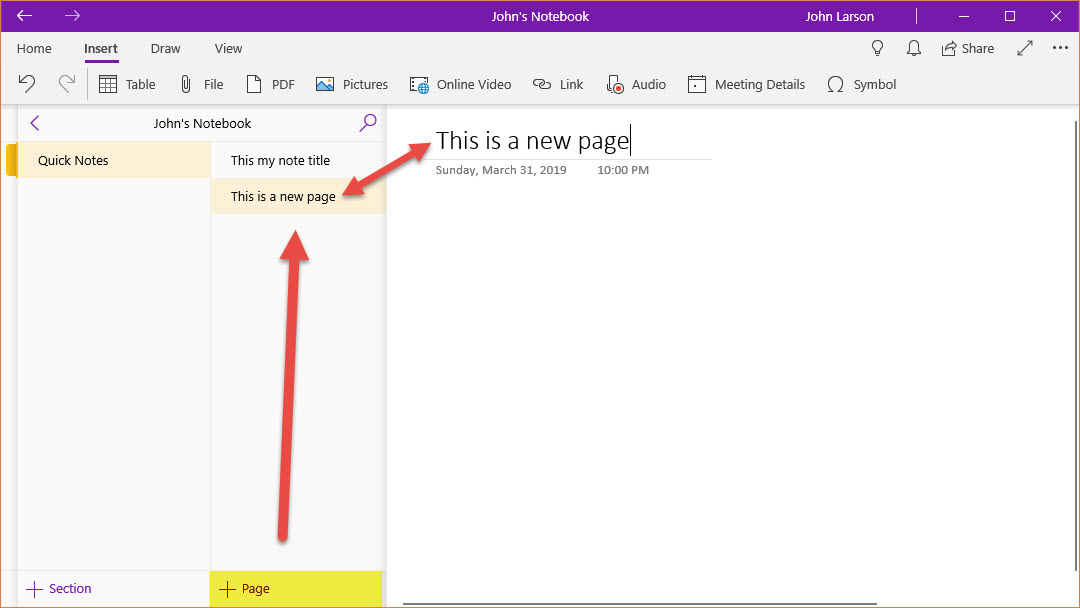
1. Select Show Notebooks.
2. Select +Page.
3. Type a meaningful title for the page.
Add a section
To keep your pages organized, create a section.
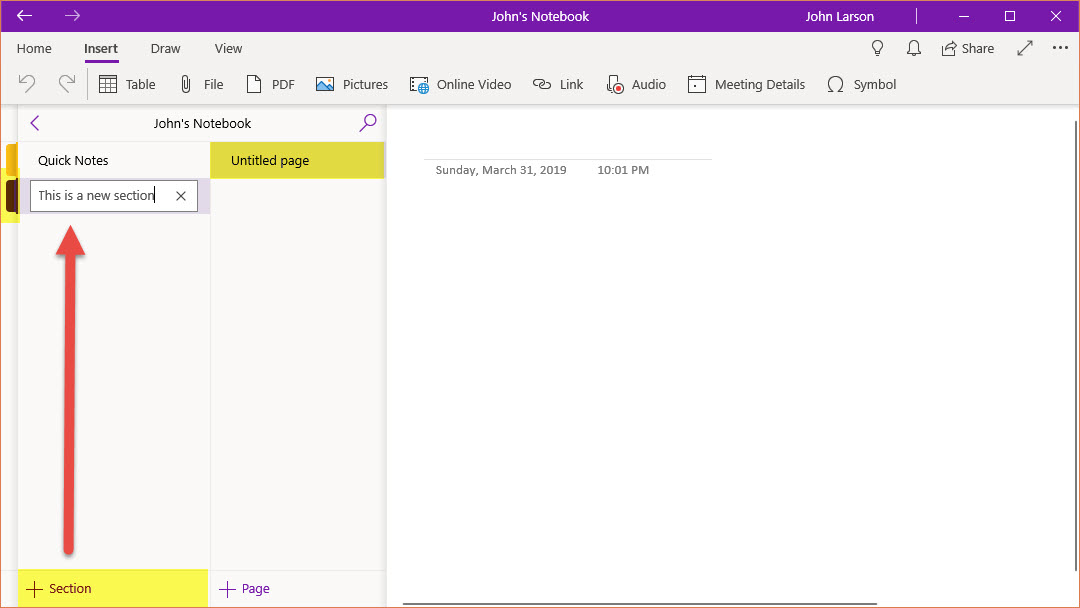
1. Select Show Notebooks.
2. Select +Section.
3. Type a meaningful title for the section.
Add a notebook
1. Select Show Notebooks ![]() .
.
2. Select +Notebook.
3. Type a meaningful name and select Create Notebook.
Insert or remove extra space
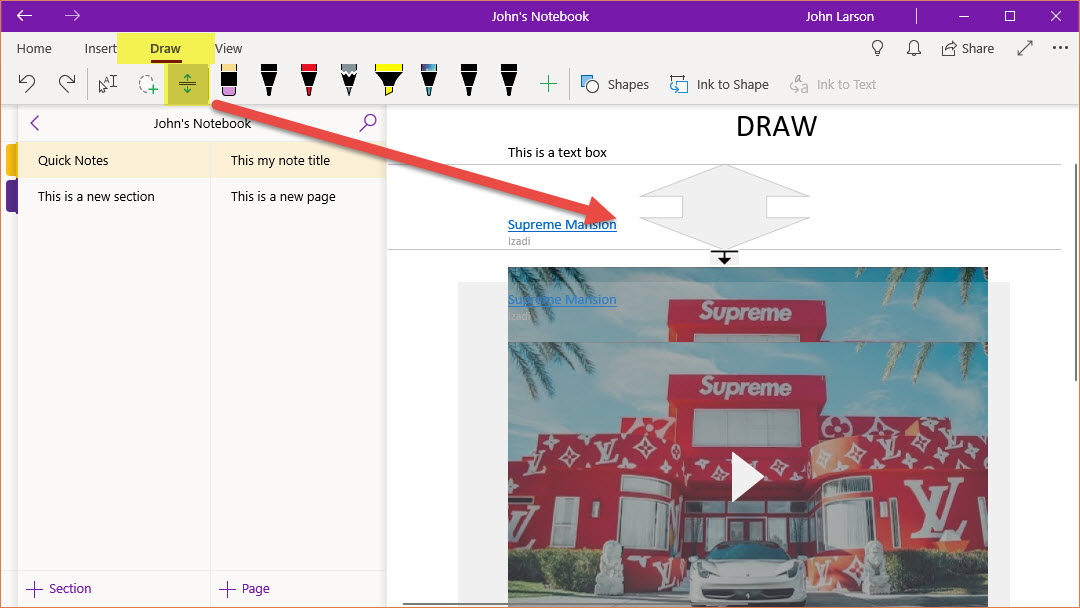
1. Select Draw > Insert or Remove Extra Space.
2. Position the line where you want to add or remove space.
3. Drag to insert or remove extra space.