Add, Change, or Remove Transitions between Slides
A slide transition is the visual effect that occurs when you move from one slide to the next during a presentation. You can control the speed, add sound, and customize the look of transition effects.
Add slide transitions to bring your presentation to life
![]()
1. Select the slide you want to add a transition to.
2. Select the Transitions tab and choose a transition. Select a transition to see a preview.
![]()
3. Select Effect Options to choose the direction and nature of the transition.
4. Select Preview to see what the transition looks like.
5. To remove a transition, select Transitions > None.
Animate Text or Objects
You can animate the text, pictures, shapes, tables, SmartArt graphics, and other objects in your PowerPoint presentation.
Effects can make an object appear, disappear, or move. They can change an object’s size or color.
Add animations to text, pictures, shapes, and more in your presentation
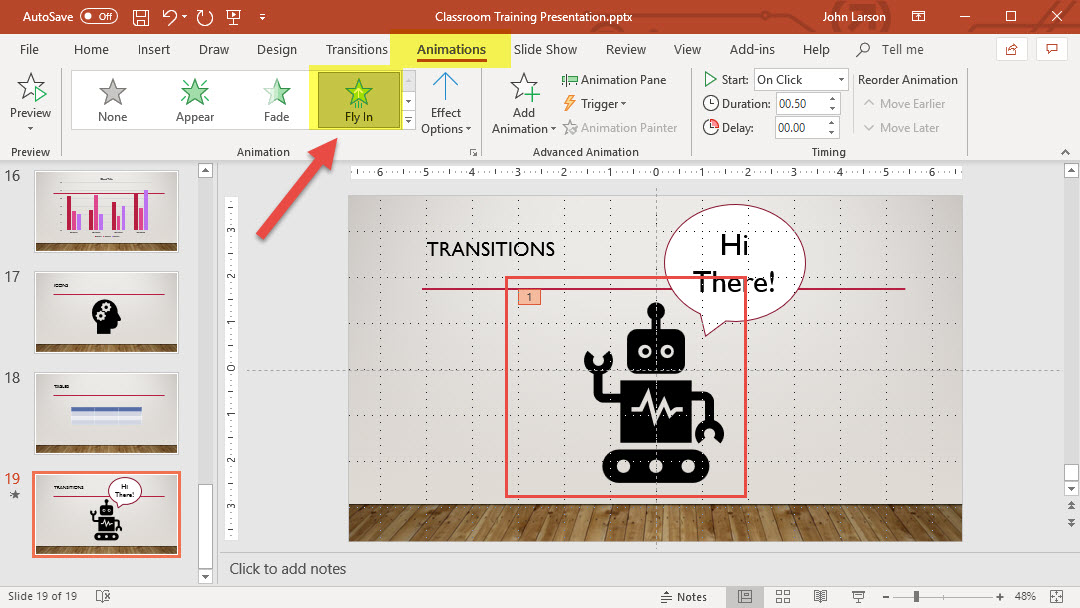
1. Select the object or text you want to animate.
2. Select Animations and choose an animation.
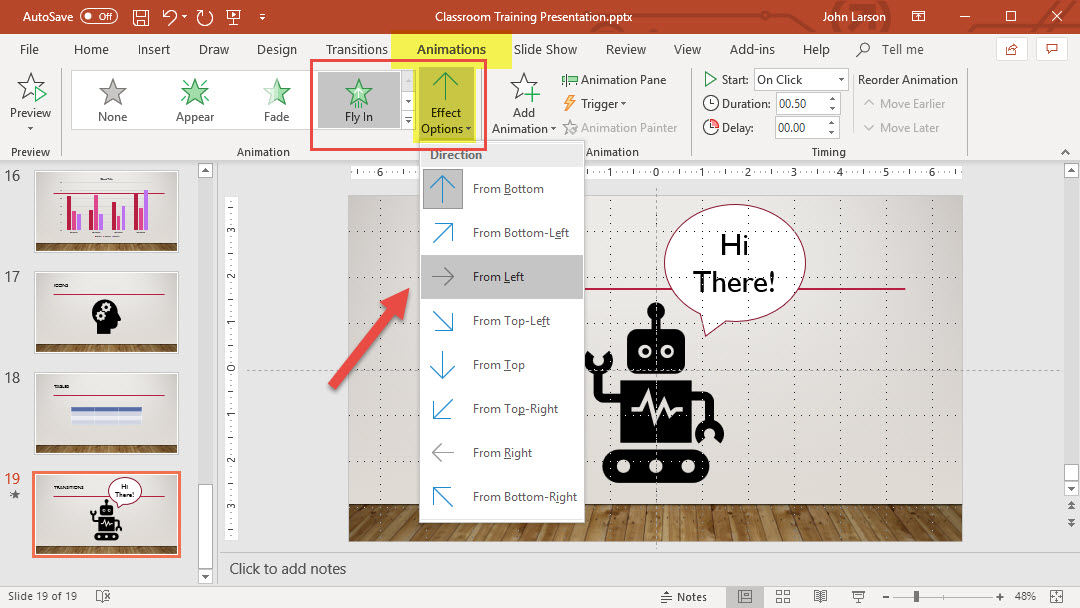
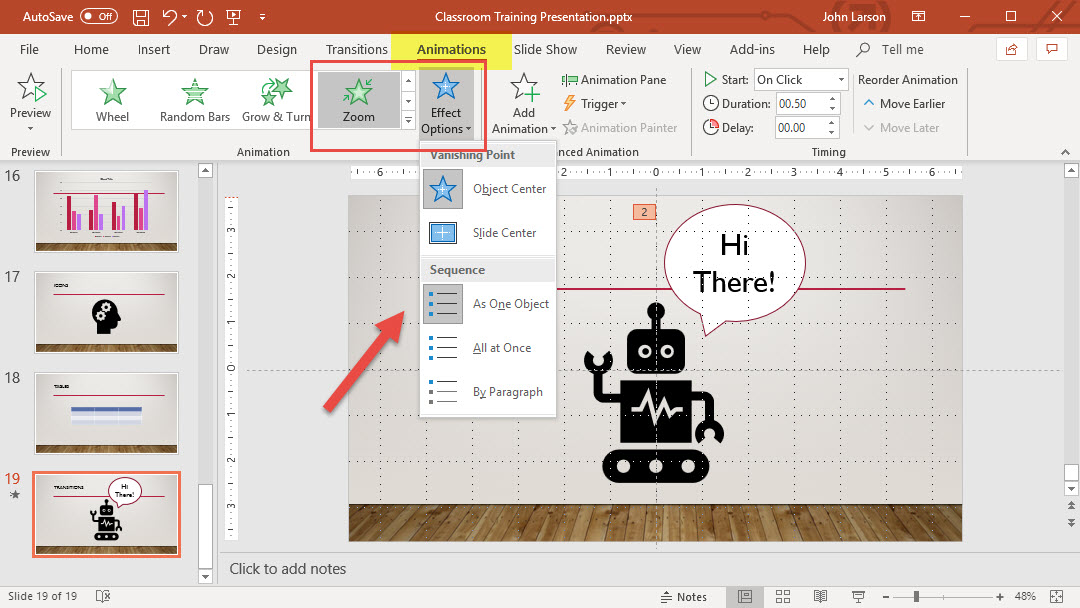
3. Select Effect Options and choose an effect.
Manage animations and effects
There are different ways to start animations in your presentation:
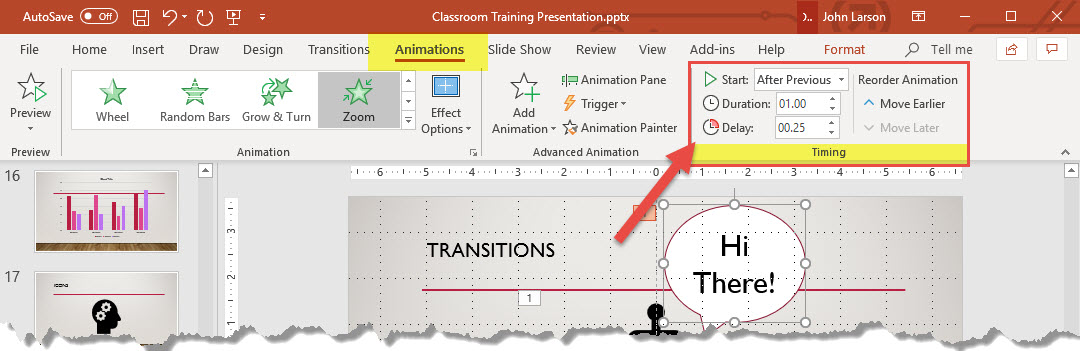
- On Click: Start an animation when you click a slide.
- With Previous: Play an animation at the same time as the previous animation in your sequence.
- After Previous: Start an animation immediately after the previous one happens.
- Duration: Lengthen or shorten an effect.
- Delay: Add time before an effect runs.
Add more effects to an animation
1. Select an object or text with an animation.
2. Select Add Animation and choose one.
Change the order of animations
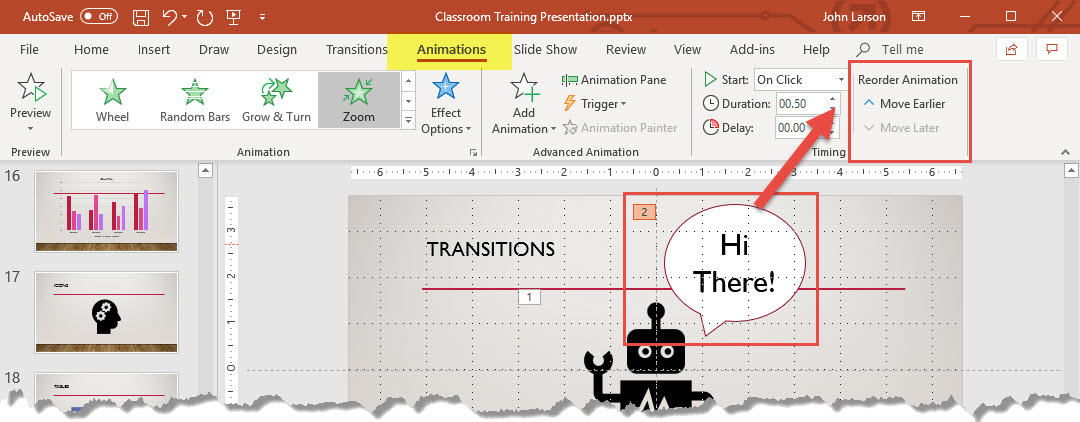
1. Select an animation marker.
2. Choose the option you want:
- Move Earlier: Make an animation appear earlier in the sequence.
- Move Later: Make an animation occur later in the sequence.
Add animation to grouped objects
You can add an animation to grouped objects, text, and more.
1. Press Ctrl and select the objects you want.
2. Select Format > Group > Group to group the objects together.
3. Select Animations and choose an animation.
The Animation Pane
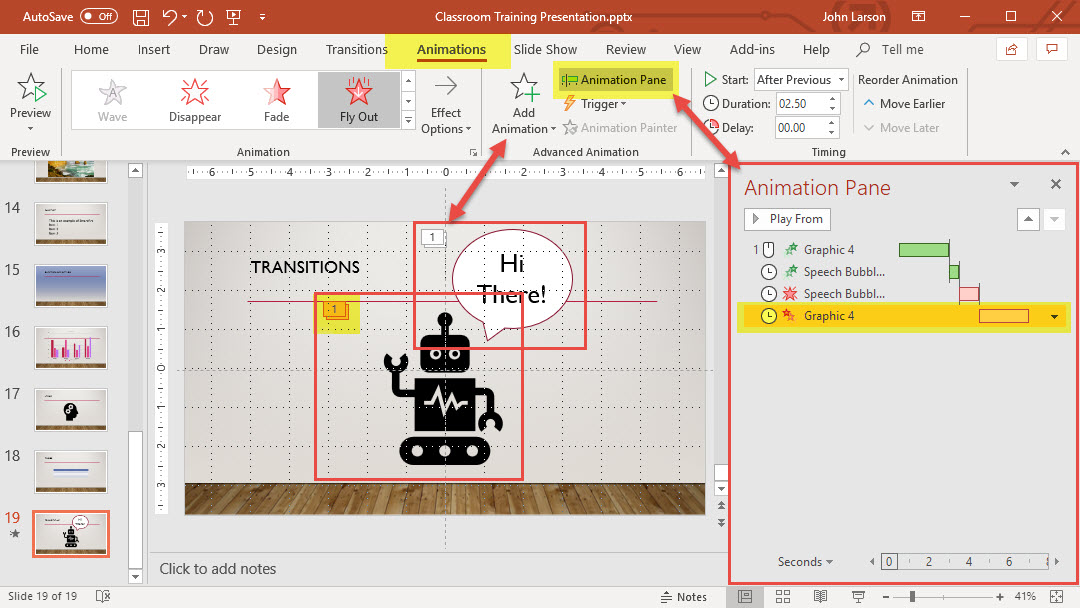
Expanding the Animation Pane will allow you to see animation start, duration, and delay timing for all animated objects.
Using Video in a Slide
In PowerPoint for Office 365 or PowerPoint 2019, you can insert an online video from YouTube or Vimeo on a slide.
The video plays directly from the website, and it has the site’s controls for playing, pausing, volume, and so on. The PowerPoint playback features (Fade, Bookmark, Trim, and so on) don’t apply to online videos.
Because the video is stored on a web site, rather than in your presentation, you must be connected to the internet in order for the video to play successfully.
Insert a web video
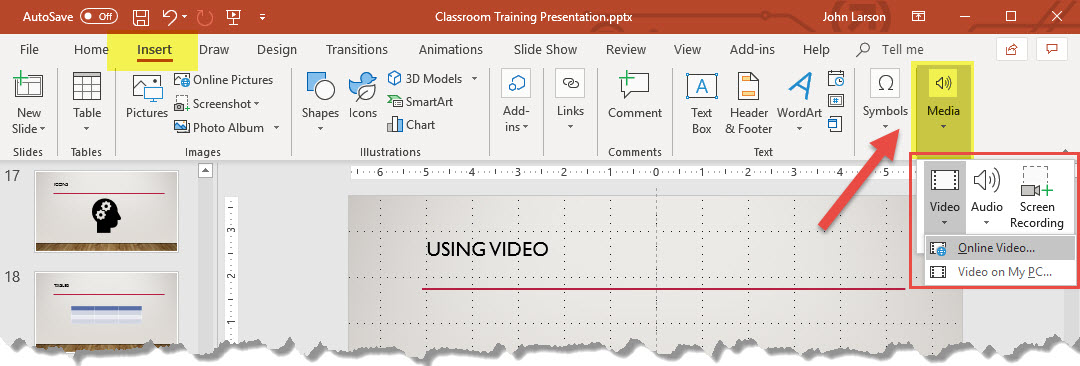
1. On the Insert tab of the ribbon, select Media > Video > Online Video (or Video on My PC).
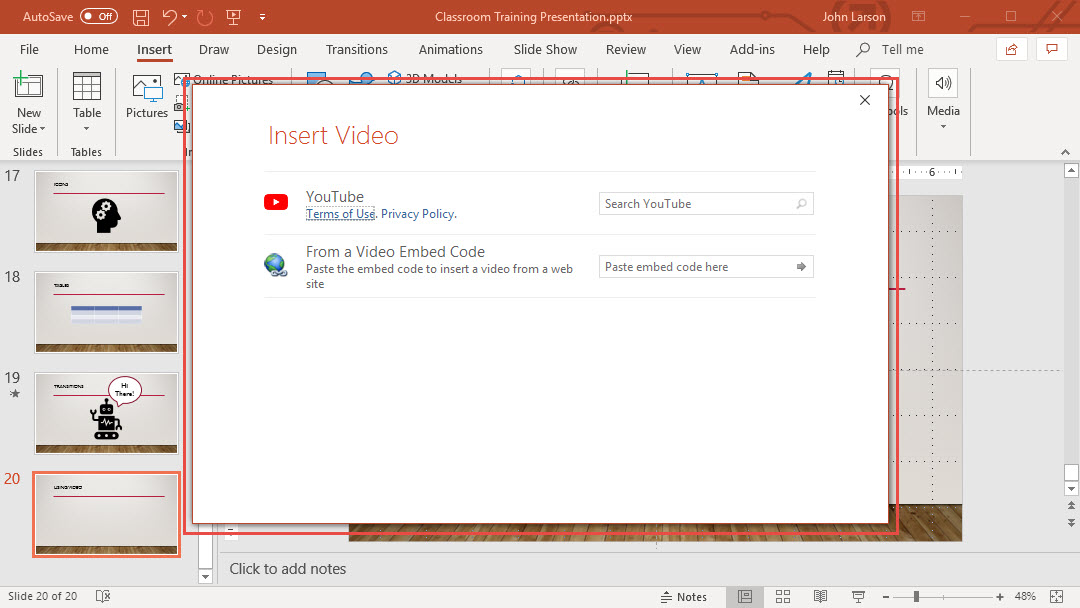
2. In the YouTube search box, type what you are searching for, and press Enter.
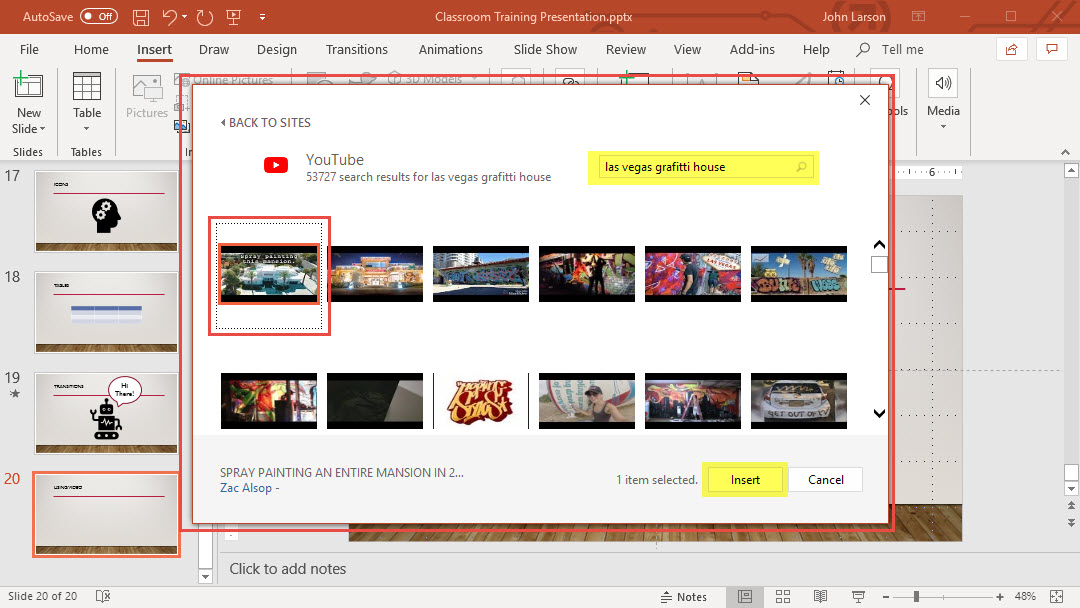
3. Click the video you want to insert, and click Insert.
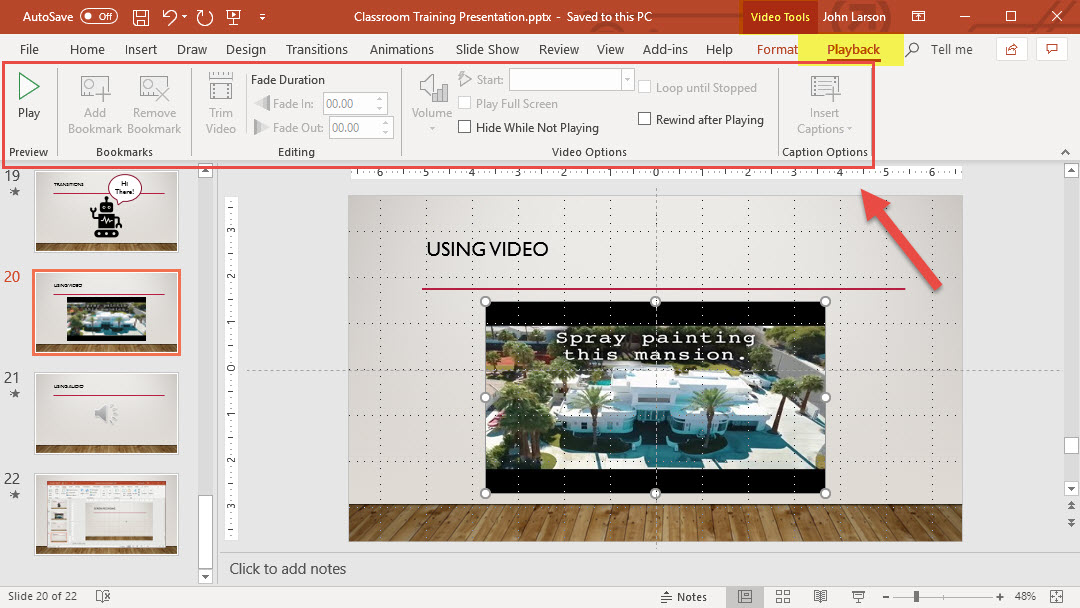
After you insert a video, you can format the video thumbnail like an image. To do so, click the thumbnail, and click Format. You can then use the Video Tools ribbon to adjust the image, apply a style, add shapes and borders, layer the thumbnail as an object, and more.
Important: You are responsible for respecting copyright law. YouTube videos are not intended for commercial distribution.
Play the video
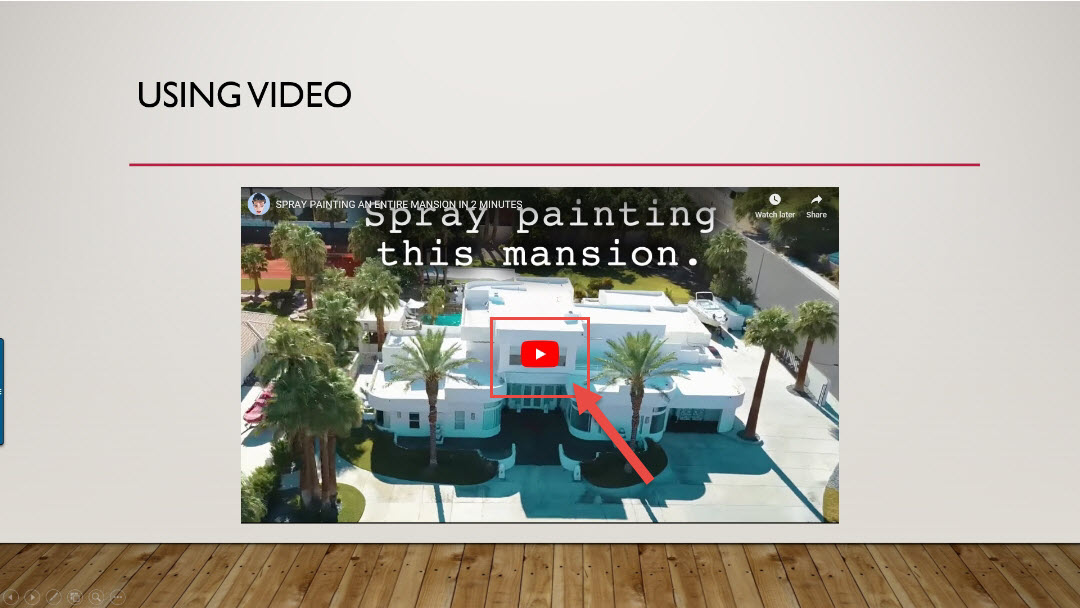
If a video is inserted successfully, you can play it either in Normal view or Slide Show.
- A Play button appears on the video in Normal view.
- In Slide Show, you can interact with videos just as you would in a web browser.
- By default, videos from YouTube and Vimeo play in “click sequence.” You can play the video without having to click the Play button. Just tap the spacebar to advance to the next step in your click sequence.
Troubleshooting
Not all online videos from these sites are allowed to be embedded. You should check on the video site to find out if a certain video can be embedded.
Using Audio in Your Presentation
You can add audio, such as music, narration, or sound bites, to your PowerPoint presentation. To record and hear any audio, your computer must be equipped with a sound card, microphone, and speakers.
Add audio from your PC
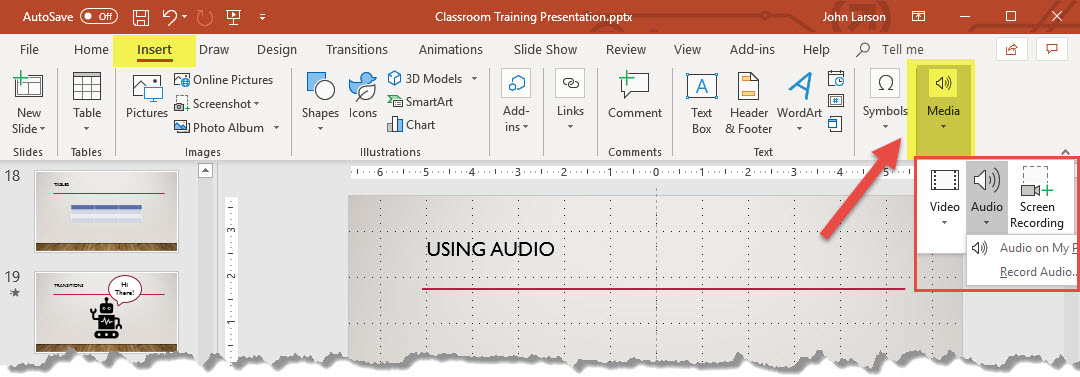
1. Select Insert > Audio.
2. Select Audio on My PC.
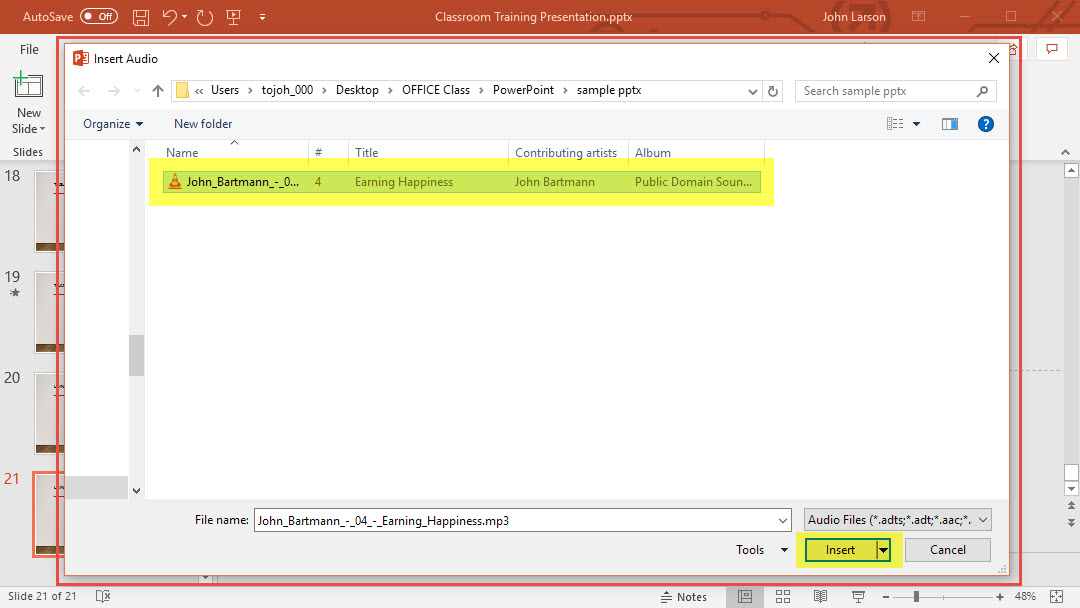
3. In the Insert Audio dialog box, select the audio file you want to add.
4. Select Insert.
Record audio
Note: Your device must have a microphone enabled in order to record audio.
1. Select Insert > Audio.
2. Select Record Audio.
3. Type in a name for your audio file, select Record and then speak.
4. To review your recording, select Stop and then select Play.
5. Select Record to re-record your clip, or select OK if you’re satisfied.
6. To move your clip, select and drag the audio icon to where you want it on the slide.
If you’re using more than one audio file per slide, we recommend putting the audio icon in the same spot on a slide to find it easily.
7. Select Play.
Change playback options
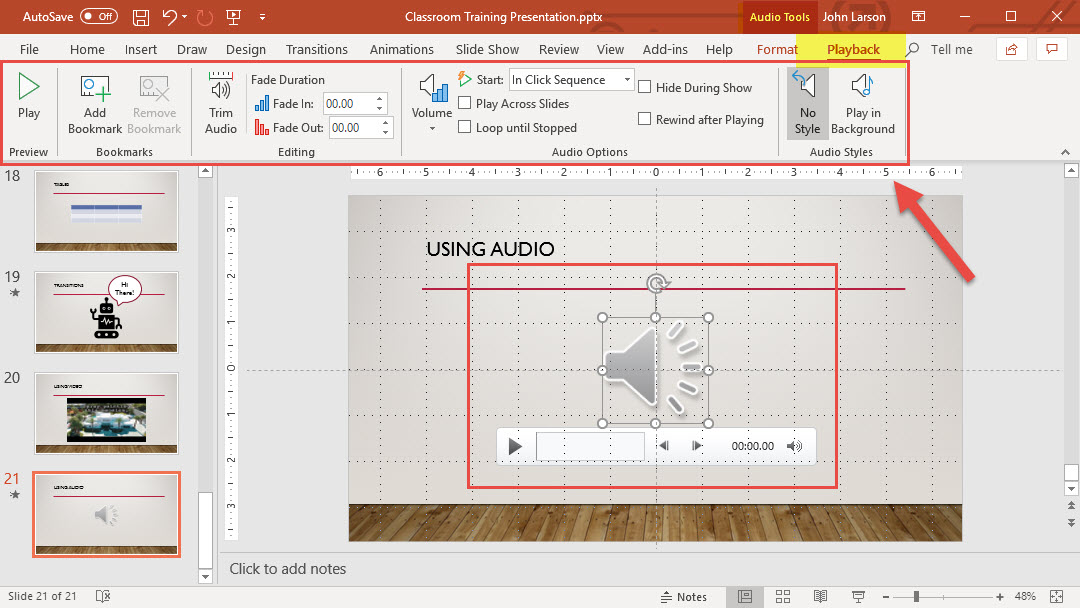
Select the audio icon and then select the Audio Tools Playback tab. Then select which options you’d like to use:
- To trim the audio, select Trim and then use the red and green sliders to trim the audio file accordingly.
- To fade in or fade out audio, change the number in the Fade Duration boxes.
- To adjust the volume, select Volume and select the setting you prefer.
- To choose how the audio file starts, select the dropdown arrow and select an option:
- In Click Sequence: Plays the audio file automatically with a click.
- Automatically: Plays automatically once you advance to the slide that the audio file is on.
- When Clicked On: Plays audio only when the icon is clicked on.
- To choose how the audio plays in your presentation, select an option:
- Play Across Slides: Plays one audio file across all slides.
- Loop until Stopped: Plays an audio file on loop until it’s stopped manually by clicking the Play/Pause button.
- To have the audio play continuously across all slides in the background, select Play in Background.
Delete audio
1. To delete an audio clip, select the audio icon on the slide and press Delete.
Screen Recording in PowerPoint
You can record your computer screen and related audio, and then embed it in your PowerPoint slide—or you can save it as a separate file.
- To record and listen to audio associated with your screen recording, you’ll need a sound card, microphone, and speakers.
- Make sure there’s enough disk space on your local drive to record and save your screen recording.
Record from your computer screen and embed the recording in PowerPoint
1. Open the slide that you want to put the screen recording on.
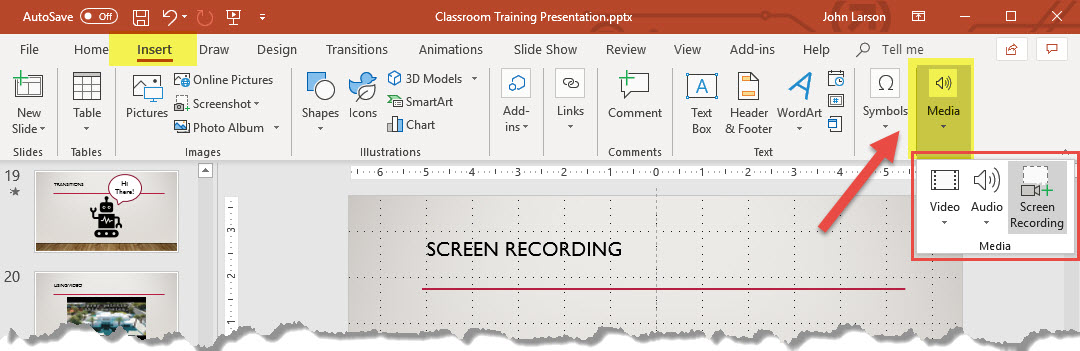
2. On the Insert tab of the ribbon, select Screen Recording.
3. On the Control Dock, click Select Area (Windows logo key+Shift+A), or, if you want to select the entire screen for recording, press Windows logo key+Shift+F.
(The Windows logo key+Shift+F keyboard shortcut is only available if you have an Office 2016 Click-to-Run installation; MSI-based installations don’t have the shortcut. Additionally, the minimum required version of Office for the shortcut is 16.0.7571.2072.)
The minimum size area you can record is 64×64 pixels.
If you have opted to select an area, you see the cross-haired cursor. Click and drag to select the area of the screen you want to record. (If you have already done a screen recording during your current PowerPoint session, your prior area selection will appear on the screen. You can proceed with recording if that selection area suits you, or you can click Select Area to start over.)
Tip: PowerPoint automatically records the audio and the mouse pointer, so by default those options are selected on the control dock. To turn them off, deselect Audio (Windows logo key+Shift+U) and Record Pointer (Windows logo key+Shift+O).
4. Click Record (Windows logo key+Shift+R).
Tip: Unless you pin the Control Dock to the screen, it will slide up into the margin while you record. To make the unpinned Control Dock reappear, point the mouse cursor at the top of the screen.
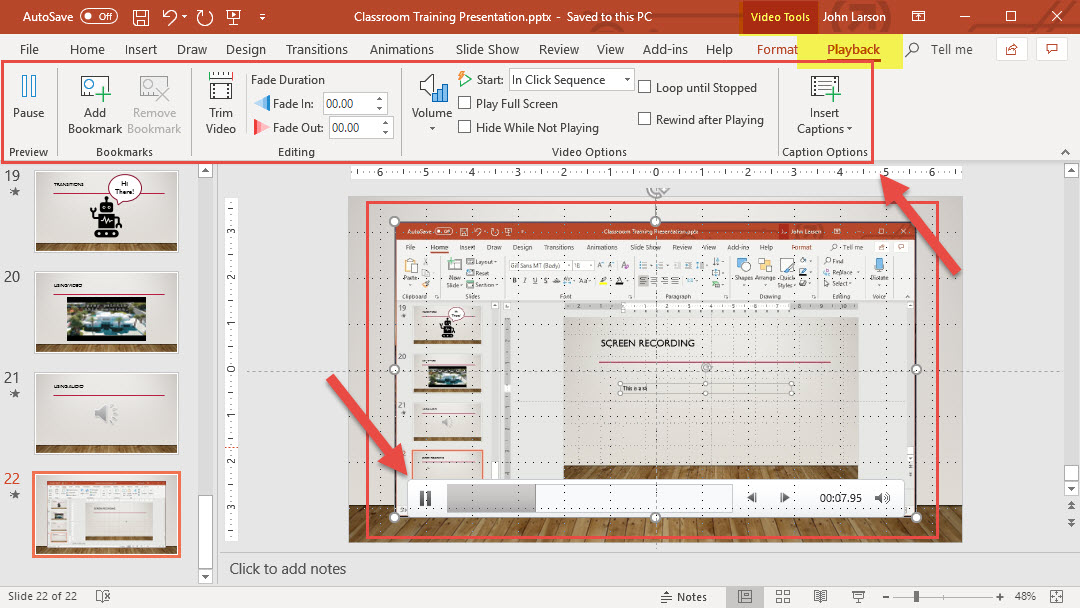
5. To control your recording:
- Click Pause to temporarily stop the recording (Windows logo key+Shift+R).
- Click Record to resume recording (Windows logo key+Shift+R).
- Click Stop to end your recording (Windows logo key+Shift+Q) (shown below).
6. When you are finished recording, save your presentation: File > Save. The recording is now embedded on the slide you selected in step 2.
Save your screen recording as a separate file from PowerPoint
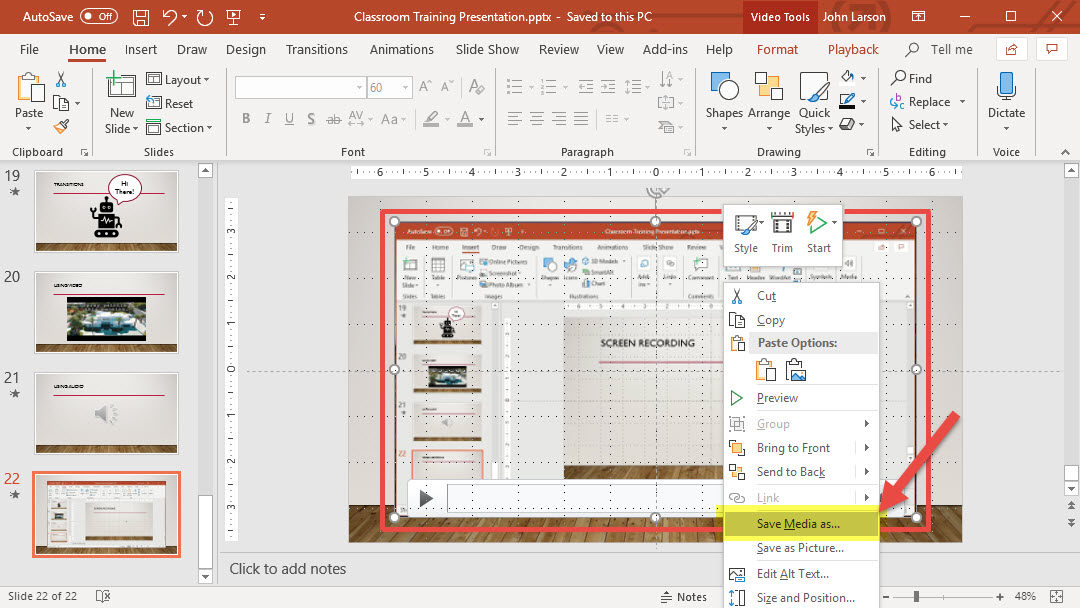
To save the recording as a separate file on your computer, right-click the picture on the slide that contains the recording, and select Save Media As. In the Save Media As dialog box, specify a file name and folder location, then click Save.
Tip: Ensure your disk has enough space to save the video file. Otherwise, you’ll have to free up space and try again.
Set your video ‘Start’ settings
Right-click the video frame, click Start, and pick how you want your video to start in your presentation; automatically when a slide appears, or when you click the mouse.
Trim your video
1. Right-click the video frame, and click Trim.
2. To determine where you want to trim your video footage, in the Trim Video box, click Play.
3. When you reach the point where you want to make the cut, click Pause.
Tip: Use the Next Frame and Previous Frame buttons to specify precise timing.
4. Do one or more of the following:
- To trim the beginning of the clip, click the start point (shown in the image below as a green marker). When you see the two-headed arrow, drag the arrow to the desired starting position for the video.
- To trim the end of the clip, click the end point (shown in the image above as a red marker). When you see the two-headed arrow, drag the arrow to the desired ending position for the video.
5. Click OK.
Apply a style to the video frame
1. Right-click the video frame, click Style, and pick a style you like.