Inserting Pictures in PowerPoint
- You can insert pictures, photos, clip art, or other images to your slide show from your computer or from the Internet.
- You can add single or multiple images onto a slide, the slide master, or to the background.
Insert a picture from your computer on your slide
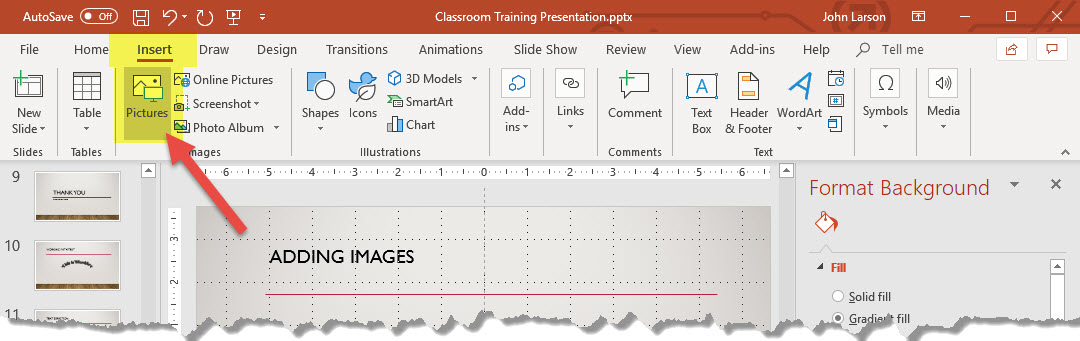
1. Click where you want to insert the picture on the slide.
2. On the Insert tab, in the Images group, click Pictures.
3. In the dialog box that opens, browse to the picture that you want to insert, click that picture, and then click Insert.
Tip: If you want to insert multiple pictures at the same time, press and hold the Ctrl key while you select all the pictures you want to insert.
Insert a picture or clip art from the web on your slide
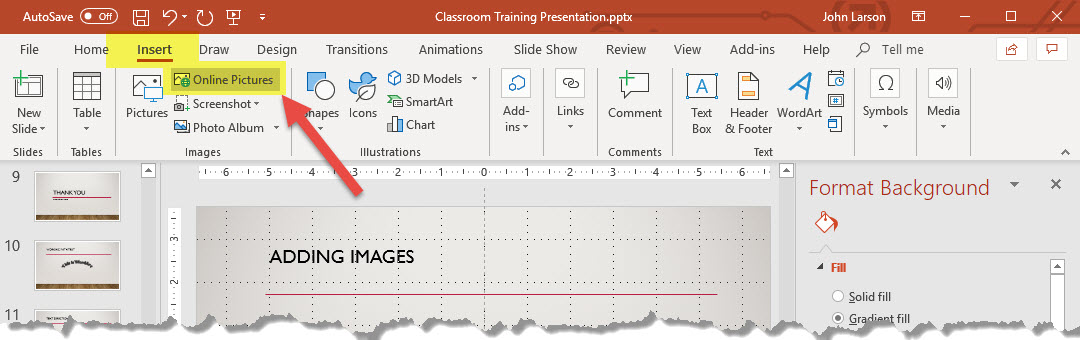
1. Click where you want to insert the picture on the slide.
2. On the Insert tab, in the Images group, click Online Pictures.
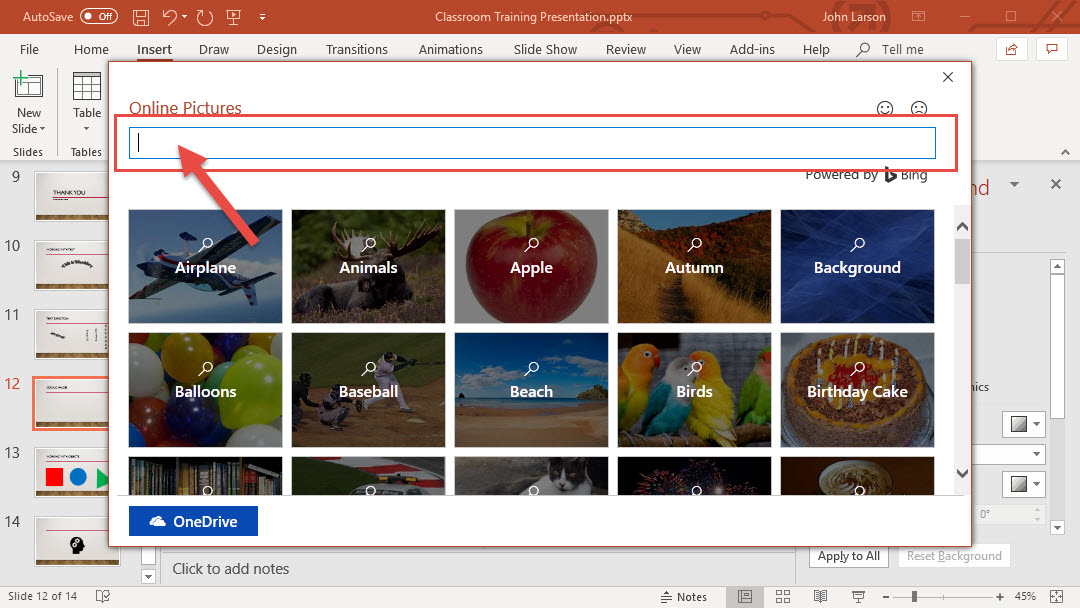
3. (PowerPoint 2013) In the Bing Image Search box, type what you are searching for, and press Enter.
Or
(Newer versions) Ensure Bing is showing on the left in the drop-down list of sources to search. In the box, type what you are searching for, and press Enter.
Use the Size, Type, Color, Layout, and licensing filters to adjust the results according to your preferences.
4. Click the picture you want to insert, and click Insert.
Tip: After you insert a picture, you can change its size and position. To do so, right-click the picture, and click Format Picture. You can then use the Format Picture tools that are on the right of your slide.
Important: Using the Bing Search interface will assist you in finding a variety of images under a Creative Commons license. You are responsible for respecting copyright law, and the license filter in Bing can help you choose which images to use.
Insert a picture into the background
If you want a picture to appear as a background without affecting all slides in a Master, change the background settings for the slide. Learn more at Add a picture as a slide background.
Apply Artistic Effects to Pictures
Once you add a photo, graphic, or picture, you have many ways to enhance the picture, such as backgrounds, shadows, and effects, to get your message across even better.
Adjust the brightness, contrast, or sharpness

1. Select the picture.
2. Select Picture Tools > Format and select Corrections.
3. Hover over the options to preview them and select the one you want.
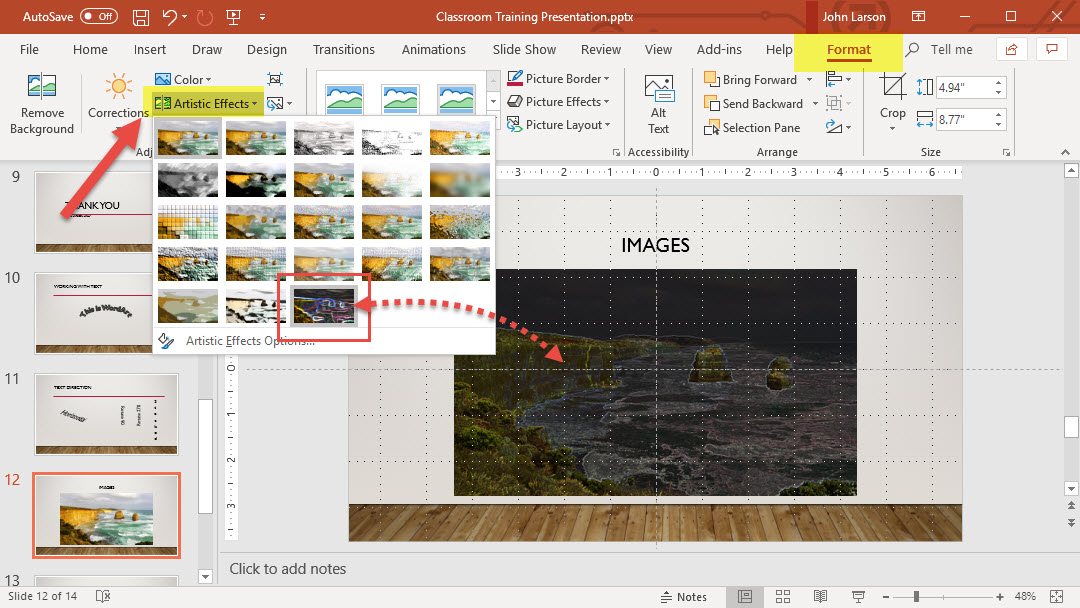
Apply Artistic Effects
1. Select the picture.
2. Select Picture Tools > Format and select Artistic Effects.
3. Hover over the options to preview them and select the one you want.
Note: You can apply only one artistic effect at a time to a picture, so applying a different artistic effect will remove the previously applied artistic effect.
Change the color
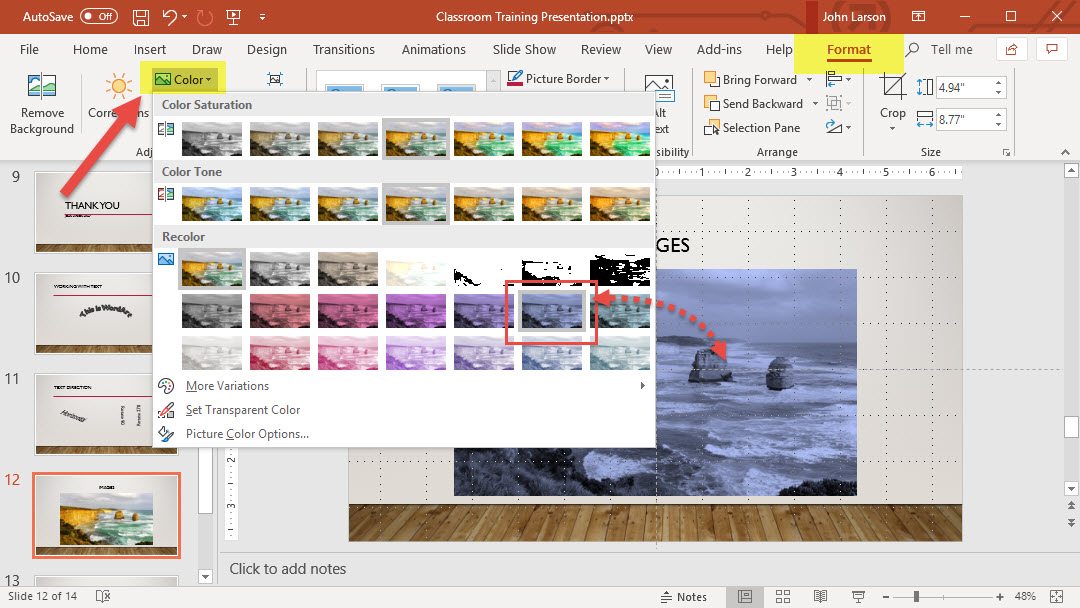
1. Select the picture.
2. Select Picture Tools > Format and select Color.
3. Hover over the options to preview them and select the one you want.
Apply Picture Effects
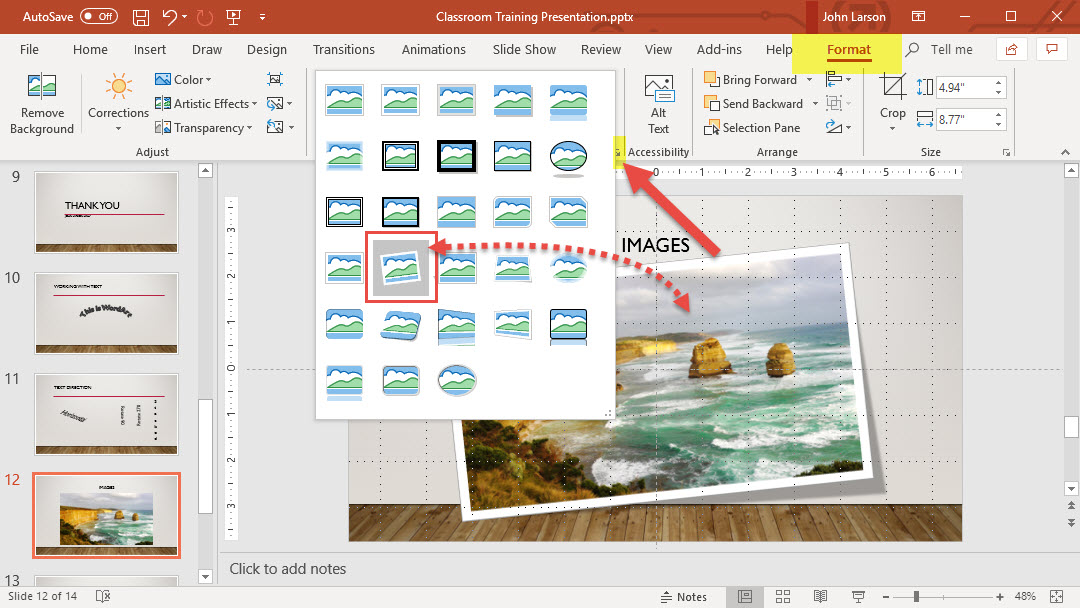
1. Select the picture.
2. Select Picture Tools > Format and select Picture Effects.
3. Select the one you want: Shadow, Reflection, Glow, Soft Edges, Bevel, or 3-D Rotation.
Add a border
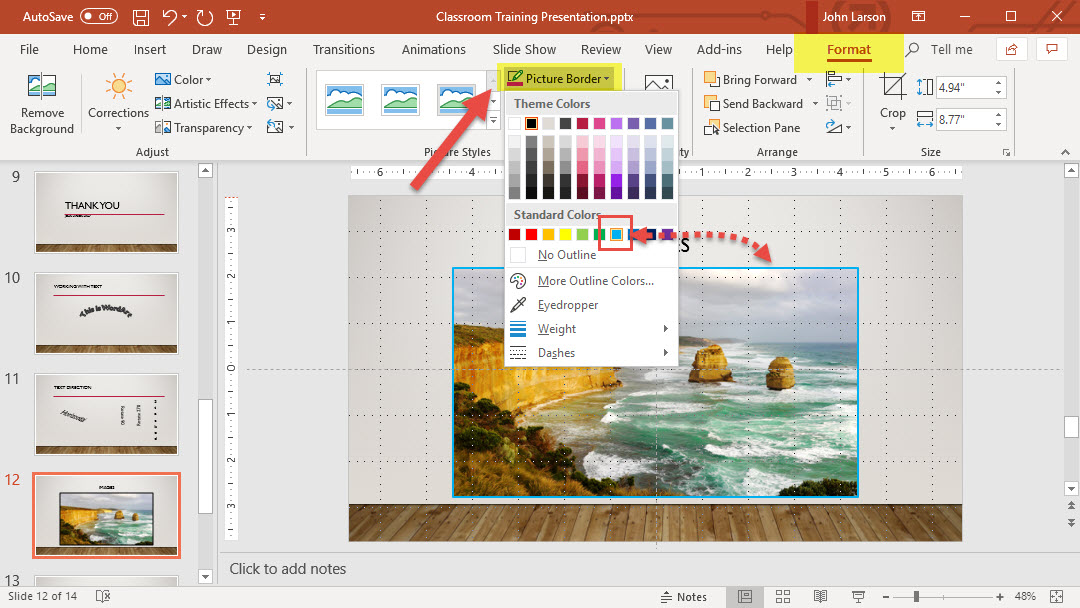
1. Select the picture.
2. Select Picture Tools > Format and select a border.
Compress the picture
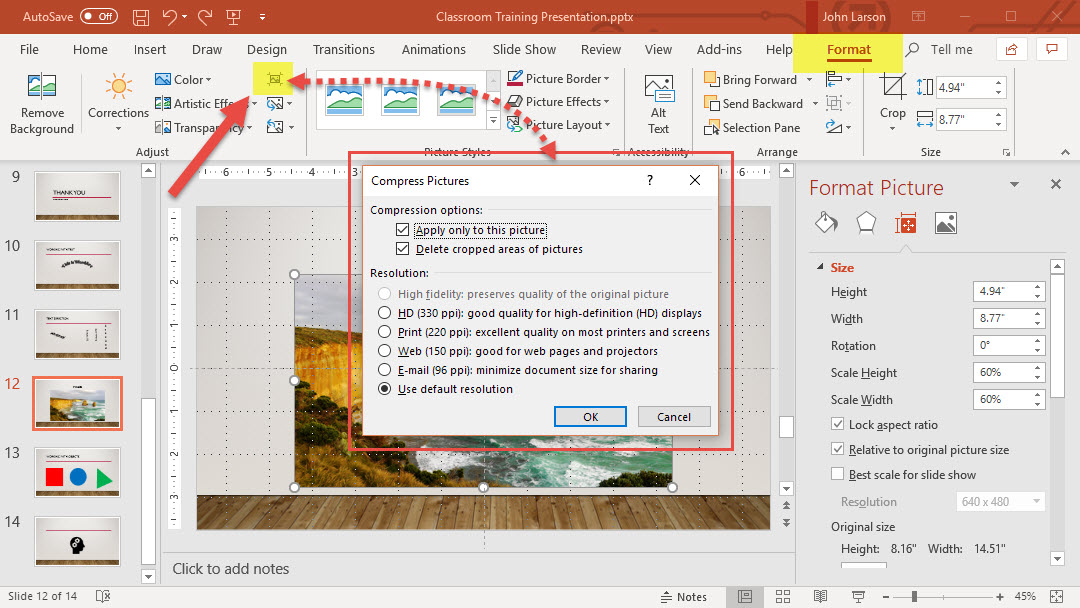
1. Select the picture.
2. Select Picture Tools > Format and select Compress Pictures.
3. Select the options you want and select OK.
Adding SmartArt to a Slide
You can convert text and bullets into SmartArt graphics.
Convert text into SmartArt
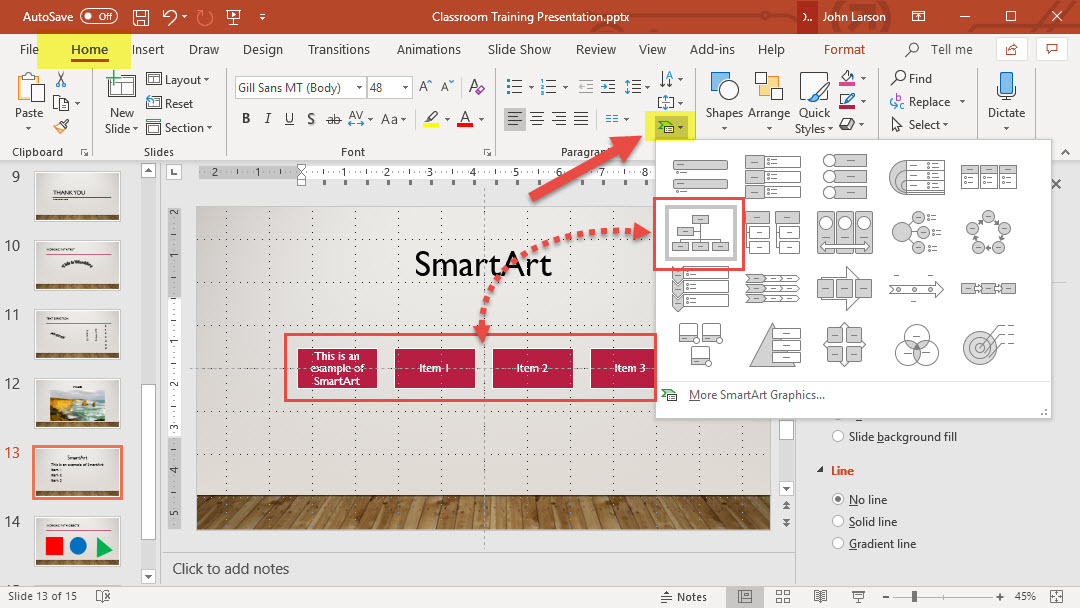
1. Select your text.
2. Select Home > Convert to SmartArt.
3, Select the SmartArt you want.
Insert pictures in SmartArt
Select a SmartArt option with pictures, and then insert your pictures.
1. Select your text.
2. Select Home > Convert to SmartArt.
3. Select More SmartArt Graphics and then select Picture.
4. Select the SmartArt you want and select OK.
5. To insert a picture, select the picture icon, go to where your picture is located, and then select it.
6. Select Insert.
Adding a Background Picture on all Slides
PowerPoint doesn’t have a gallery of ready-made watermarks like Word has, but you can still manually add an image, like a company logo, to one or all the slides.
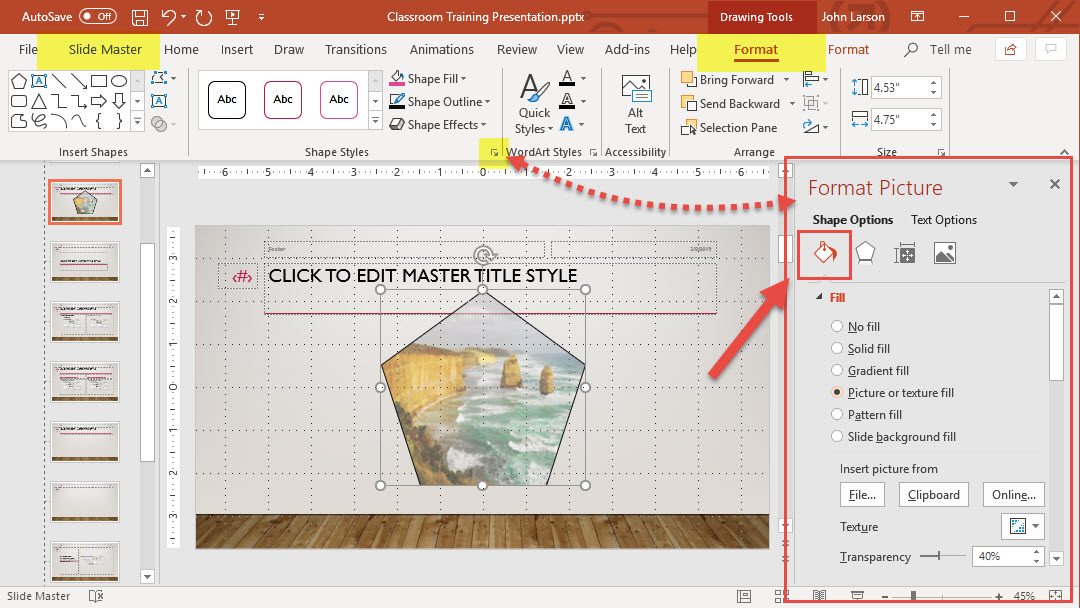
1. To add a logo to all the slides, Select View > Slide Master. Scroll to the top of the thumbnail pane on the left, and select the first item, the slide master.
2. Select Insert > Shapes, pick a shape, and then click and drag to draw the text box on the slide master. It should be about the same size as your logo. Note: If your logo is circular, use a circle shape.
3. Right-click on the shape > Format Shape to open the menu.
4. Under the bucket icon, select Fill > Picture fill > File and insert your logo image. Adjust the darkness of the logo with the Transparency slider.
5. To remove the border around the image, select the logo. Then right-click > Outline > No Outline.
6. Exit Slide Master. All slides except the title pages will have the logo.
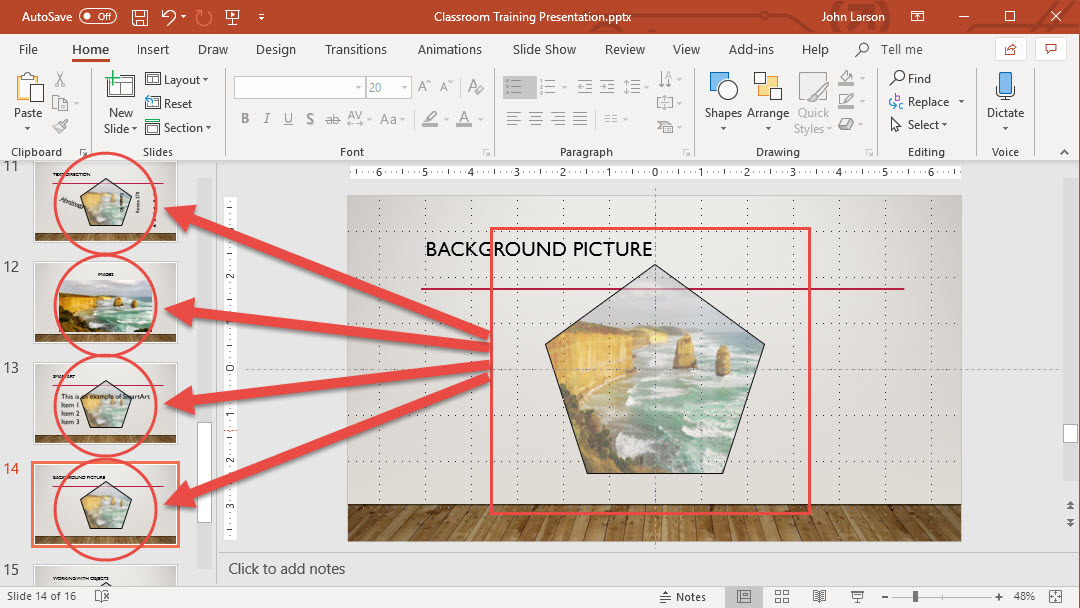
Adding a Background Picture to a Slide
You can use a picture as the background for a slide or slides.
You can adjust the picture’s transparency after you add it to the slide.
Insert a background picture on a slide
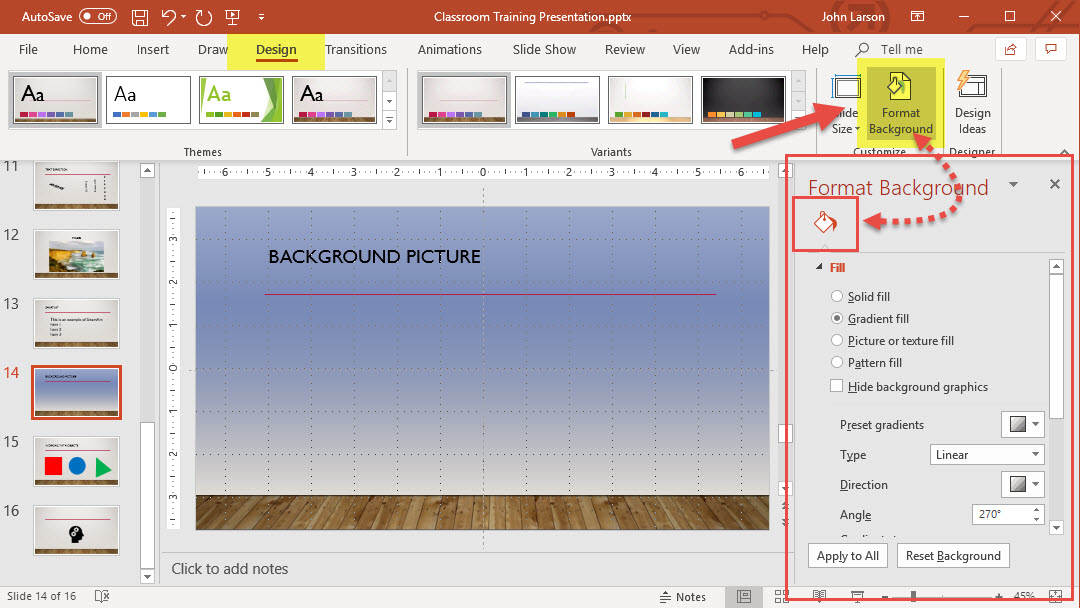
1. Right-click the margin of the slide and then select Format Background.
2. In the Format Background pane, choose Picture or Texture fill.
3. Under Insert picture from, choose where to get the picture from:
- File: Insert a picture from your computer or network drive.
- Clipboard: Insert a copied picture (This option is unavailable if you haven’t Copied a picture).
- Online: Search the web for an image.
4. To adjust the picture’s relative lightness, slide the Transparency bar to the right.
5. To apply the background picture to all slides in your presentation, choose Apply to All. Otherwise, simply close the Format Background pane.
Remove a background picture
1. In Normal view, select a slide that has the background pattern or picture you want to remove.
2. On the Design tab of the toolbar ribbon, in the Customize group at the far-right end, select Format Background.
3. In the Format Background pane, under Fill, select Solid Fill.
4. Select the down arrow next to the Color button. A gallery of colors appears. Select the white color.
> Your current background is removed, and the background of the slide is now white.
5. If you want to make the same change to the other slides in the presentation, choose Apply to All at the bottom of the Format Background pane.
Adding Charts and Graphs in Your Presentation
You can make a chart in PowerPoint or Excel. If you have lots of data to chart, create your chart in Excel, and then copy it into your presentation. This is also the best way if your data changes regularly and you want your chart to always reflect the latest numbers. In that case, when you copy and paste the chart, keep it linked to the original Excel file.
To create a simple chart from scratch in PowerPoint, click Insert > Chart and pick the chart you want.
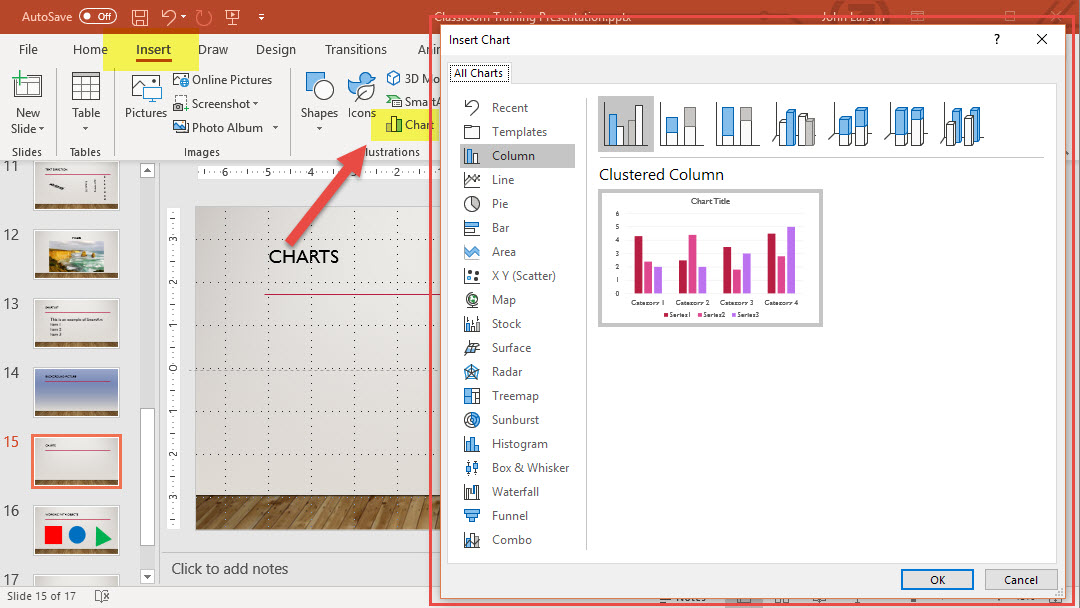
1. Click Insert > Chart.
2. Click the chart type and then double-click the chart you want.
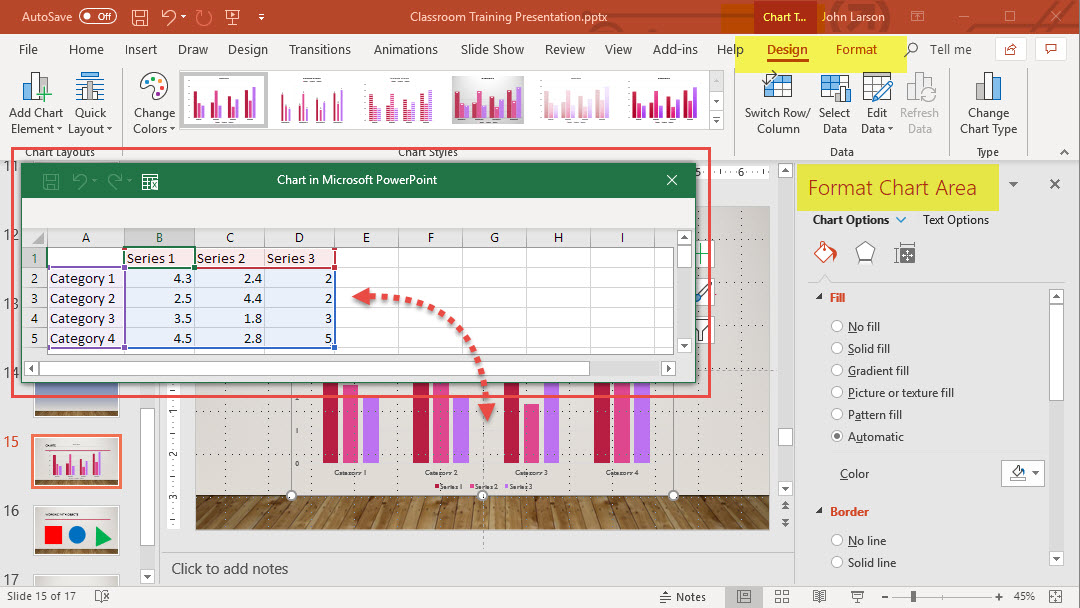
3. In the worksheet that appears, replace the placeholder data with your own information.
4. When you’ve finished, close the worksheet.
Tip: When you insert a chart, small buttons appear next to its upper-right corner. Use the Chart Elements Chart Elements button to show, hide, or format things like axis titles or data labels. Or use the Chart Styles Customize the Look of Your Chart button to quickly change the color or style of the chart. The Chart Filters Chart Filters button is a more advanced option that shows or hides data in your chart.
Insert icons
You can easily insert icons and Scalable Vector Graphics (SVG) files into your PowerPoint presentations. Once they’re in place, rotate, color, and resize them with no loss of image quality.
Insert an icon
![]()
1. Select Insert > Icons.
2. Scroll through the icons or jump to a category by clicking the name in the navigation pane at the left.
![]()
3. Choose an icon and then click Insert at the lower right. You can insert multiple icons at the same time by clicking each of them before clicking Insert.
4. Rotate, color, and resize your icon by following the instructions here.
Tip: Want to quickly change the color of your icon? Right-click your icon, choose Fill, and select the color you want.