Insert a Table

1. For a basic table, click Insert > Table and move the cursor over the grid until you highlight the number of columns and rows you want.
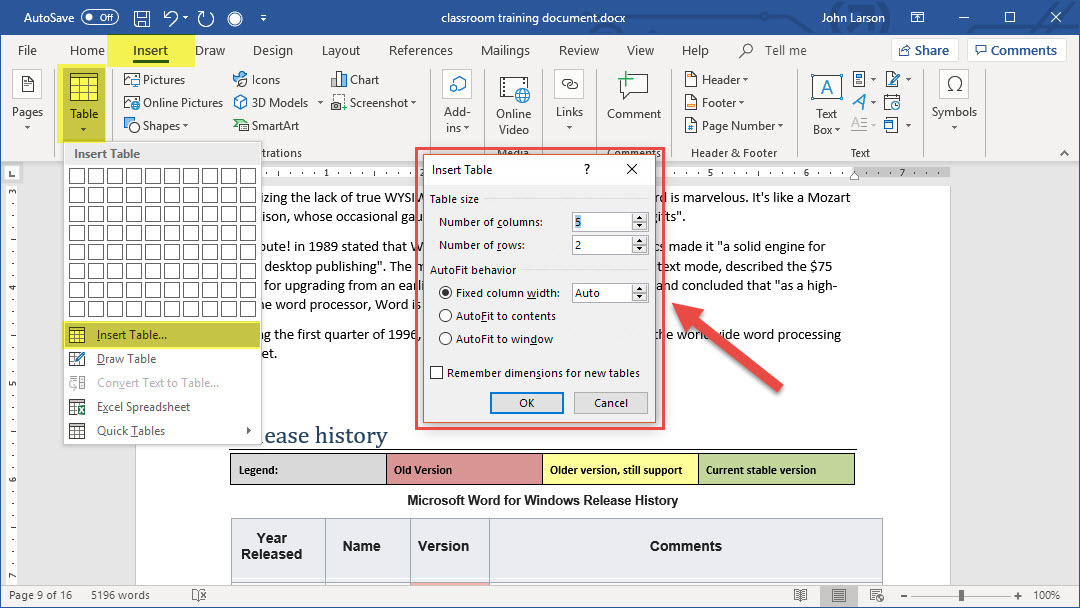
2. For a larger table, or to customize a table, select Insert > Table > Insert Table.
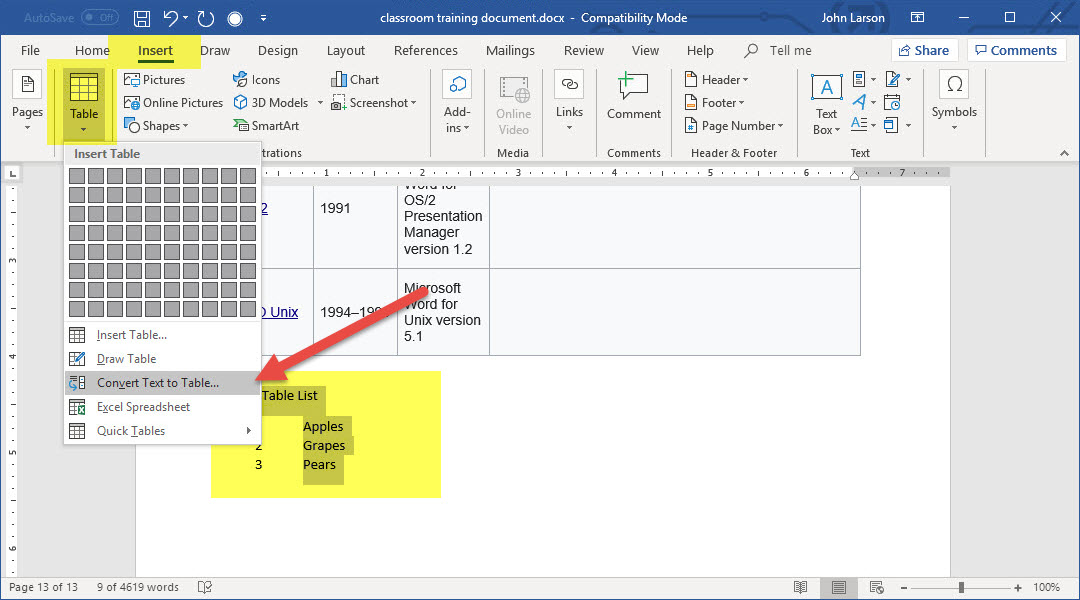
3. If you already have text separated by tabs, you can quickly convert it to a table: Select Insert > Table, and then select Convert Text to Table.
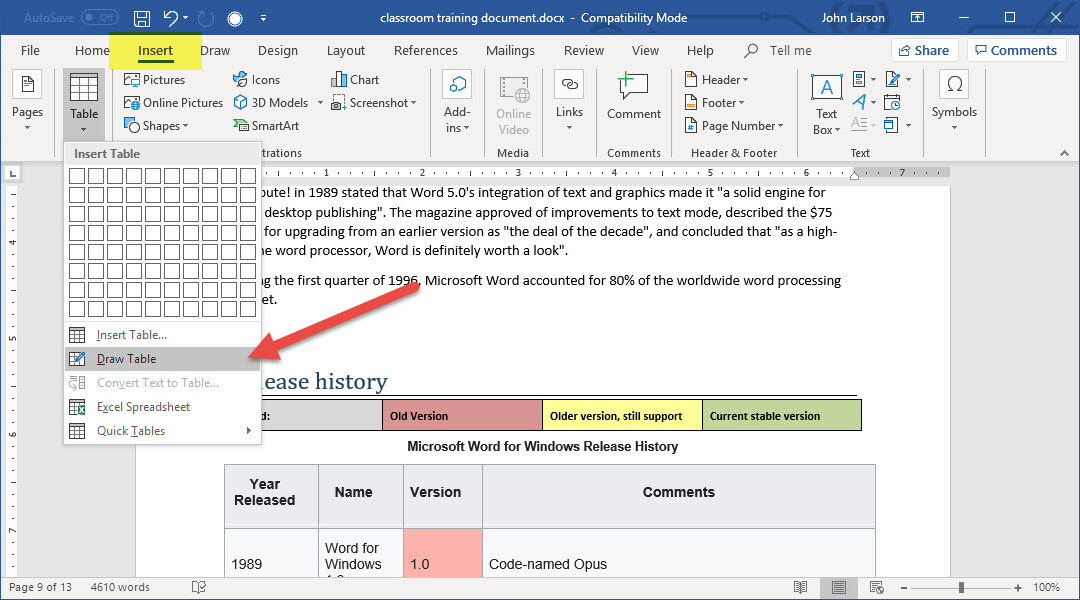
4. You can even draw a table: Select Insert > Table > Draw Table.
Insert Pictures
1. Do one of the following:
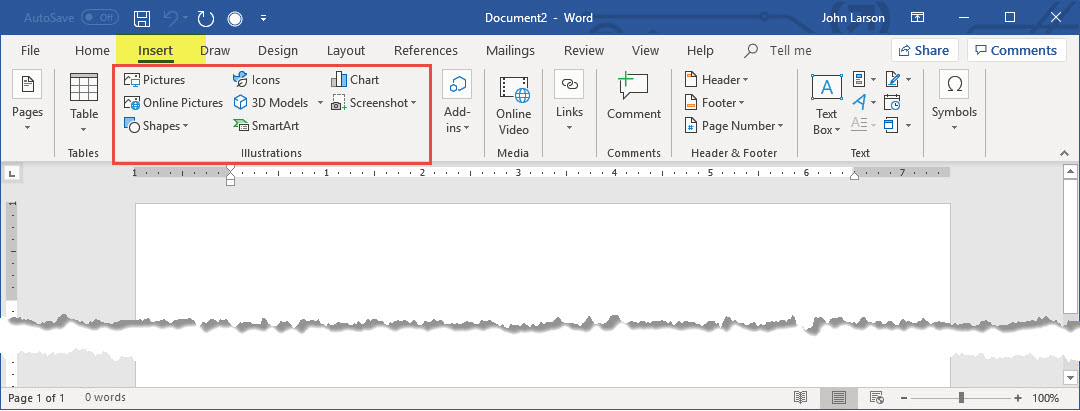
A. Select Insert > Pictures for a picture on your PC.
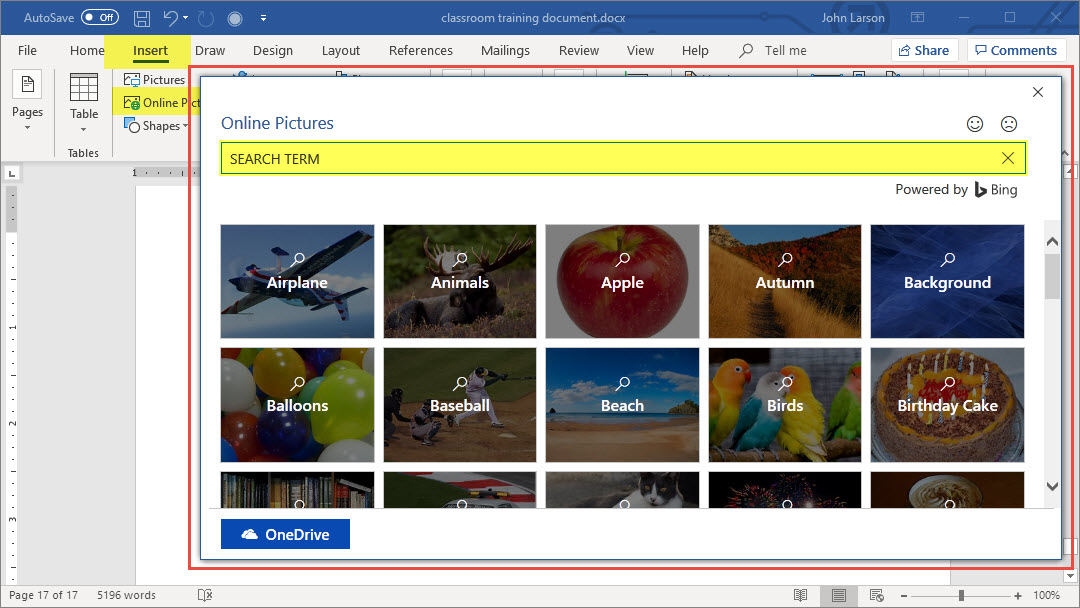
B. Select Insert > Online Pictures for a picture that’s on the web.
Tip: For a picture from your OneDrive, go to the drop-down list at the top left, and switch from Bing to OneDrive.
2. Select the picture you want, and then select Insert.
Resize or move pictures
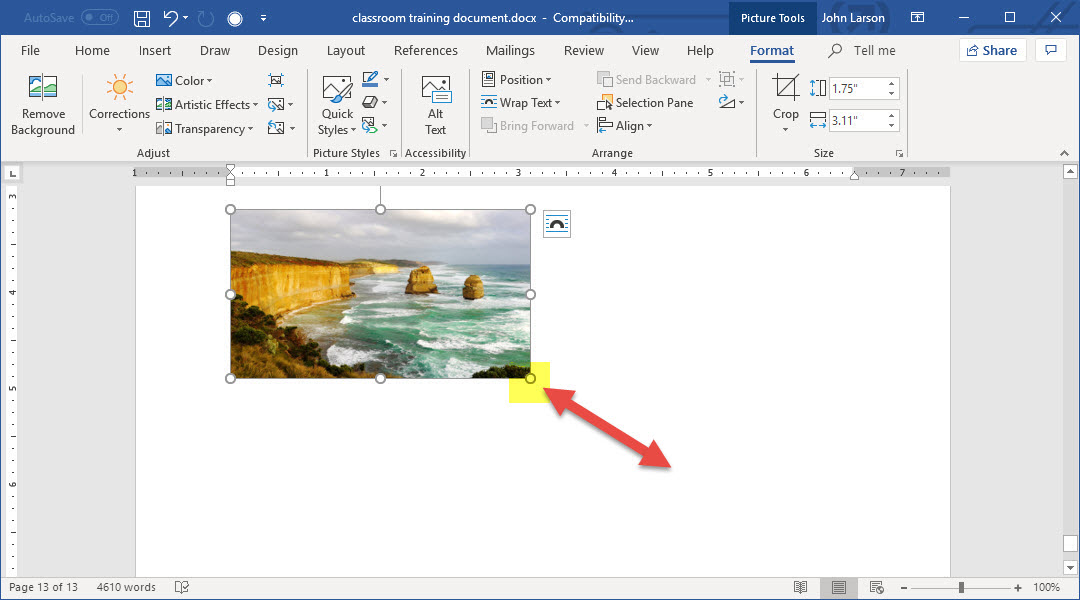
To resize a picture, select the picture and drag a corner handle.
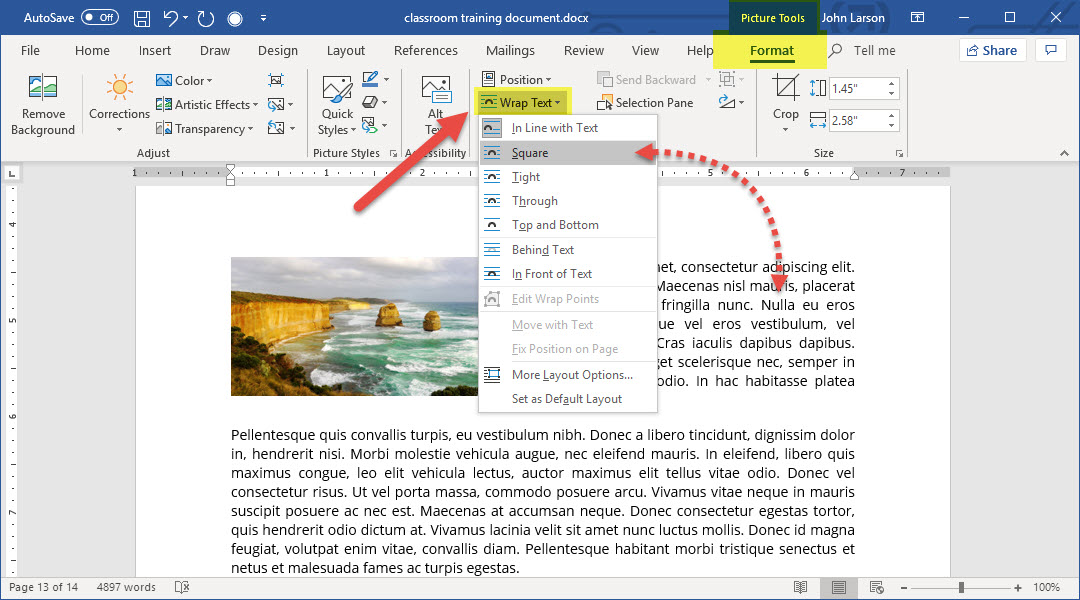
To wrap text around a picture, select the picture, and then select a wrapping option.
Tip: Pick something other than In Line with Text, and you can move the picture around the page: select the picture and drag it.
Insert Icons
Choose from a library of icons that you can resize, move, and format—just like other ready-made shapes in Word.
![]()
1. Select Insert > Icons.
Note: This is a subscriber-only feature This feature is available to Office 365 Subscribers only.
2 Select as many icons as you want, and then choose Insert at the lower right.
![]()
3. Rotate, color, and resize your icon using the options on the Graphic Tools > Format tab, which appears when you select an icon.
Insert WordArt
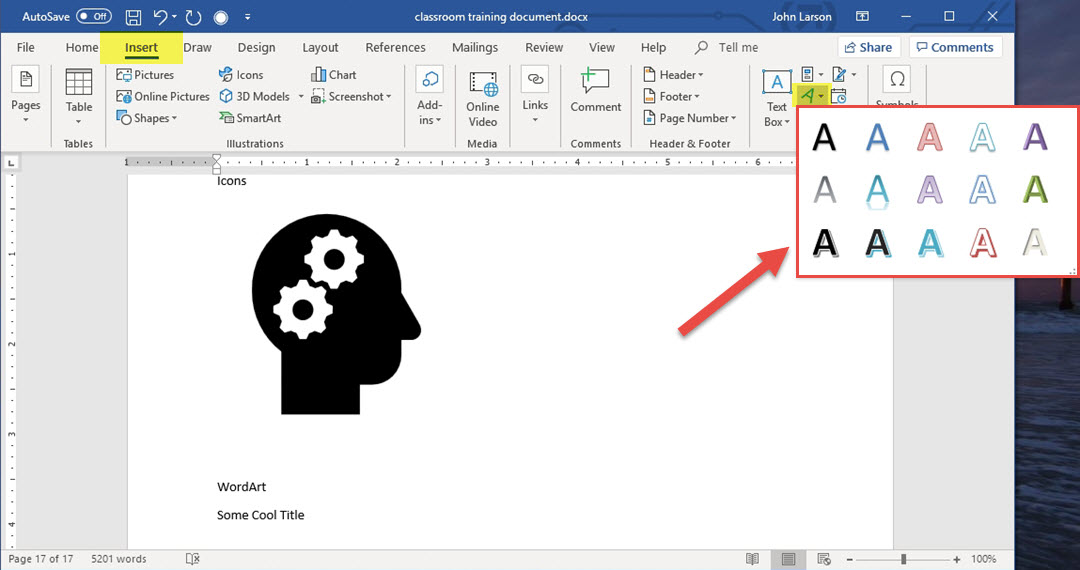
1. On the Insert tab, select WordArt.
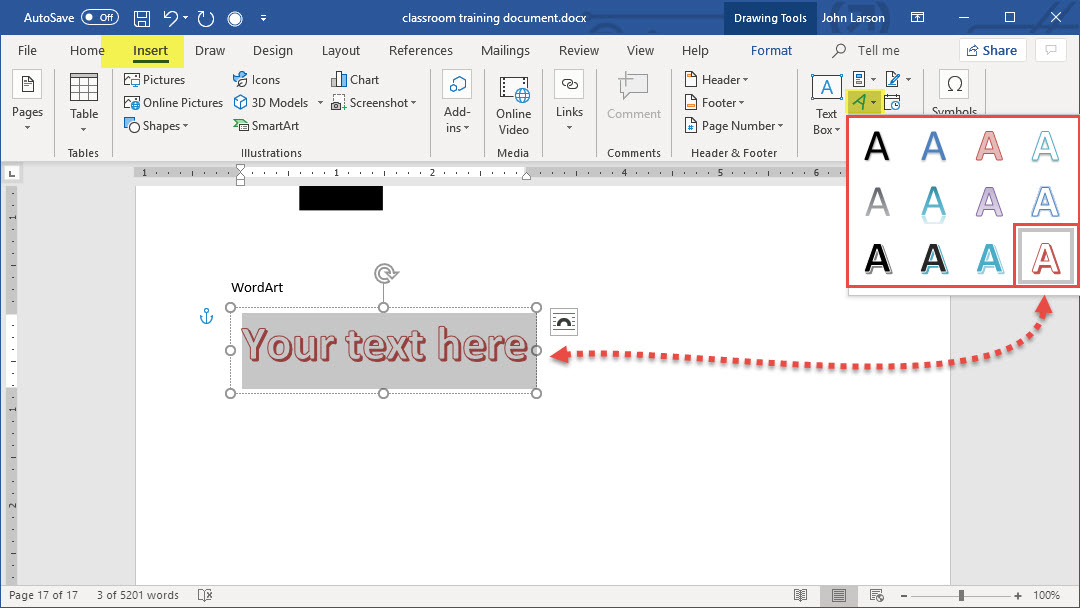
2. Choose the style you like, and then enter your text.
Tip: To convert existing text to WordArt, select the text, and then select Insert > WordArt.
Change the color
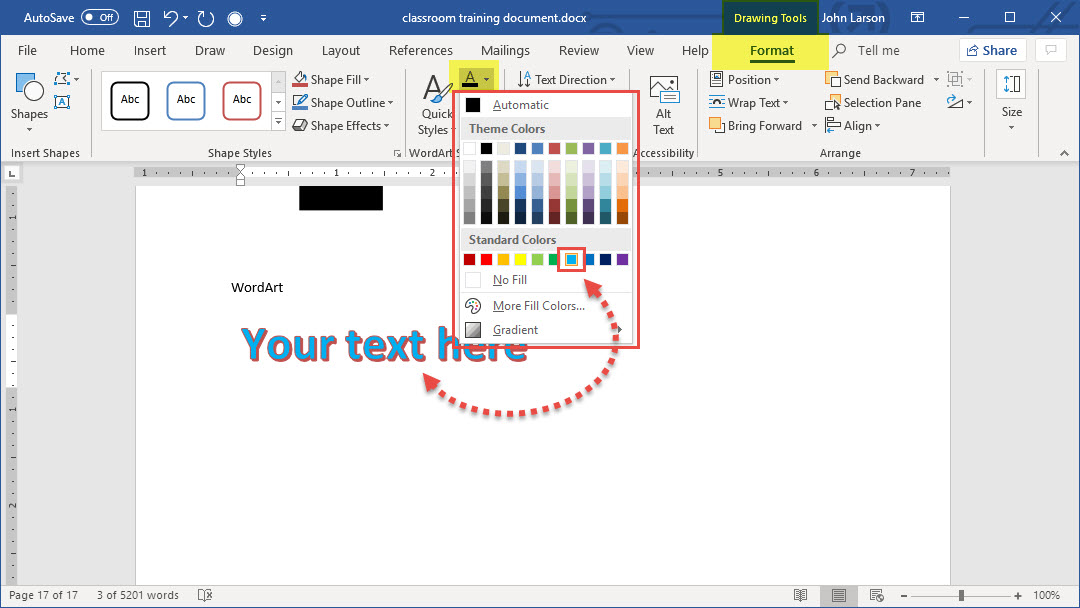
1. Select the WordArt.
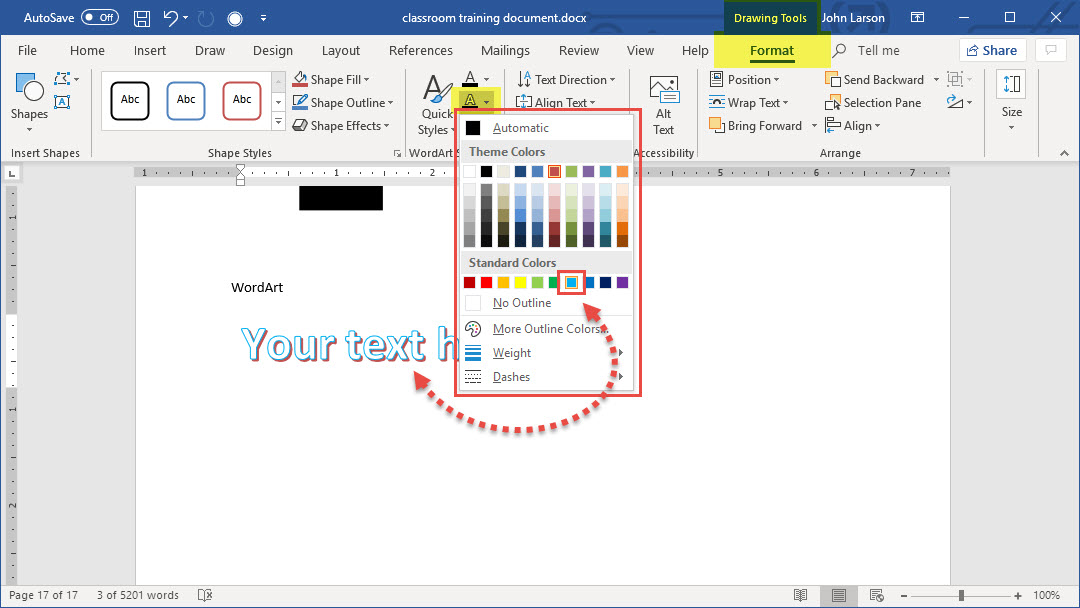
2. On the Format tab, select Text Fill and Text Outline.
Choose a text effect
1. Select the WordArt.
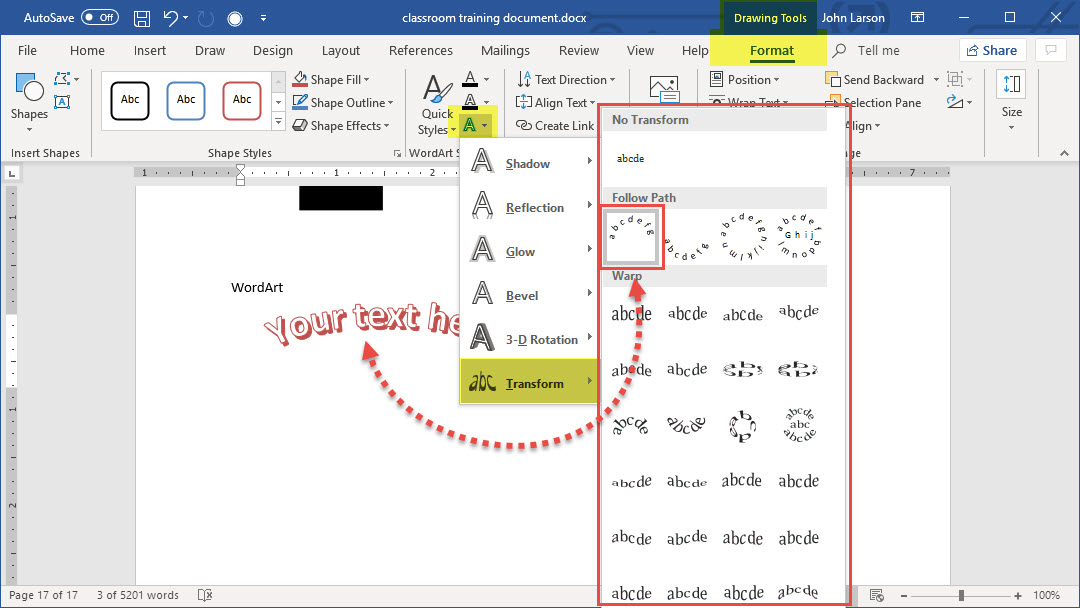
2. On the Format tab, select Text Effects.
Rotate it
1. Select the WordArt.
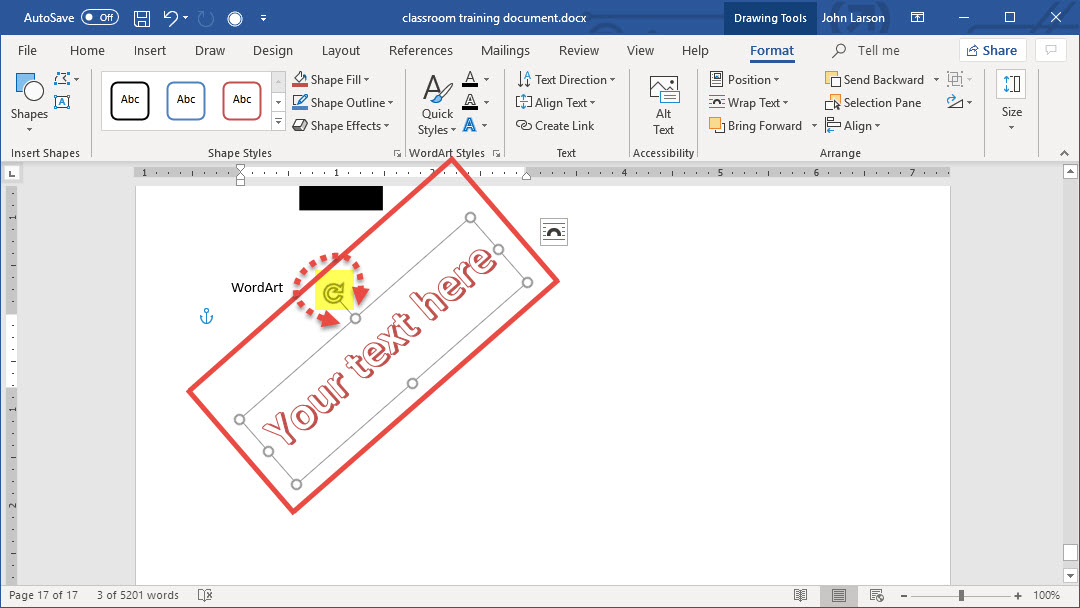
2. Select the rotation handle and drag it.
Insert a Watermark
A watermark is text or a picture that sits behind your text and pictures, usually faint or washed-out so that it doesn’t interfere with what’s on the page. Like headers and footers, a watermark usually appears on all the pages of your document, except a cover page.
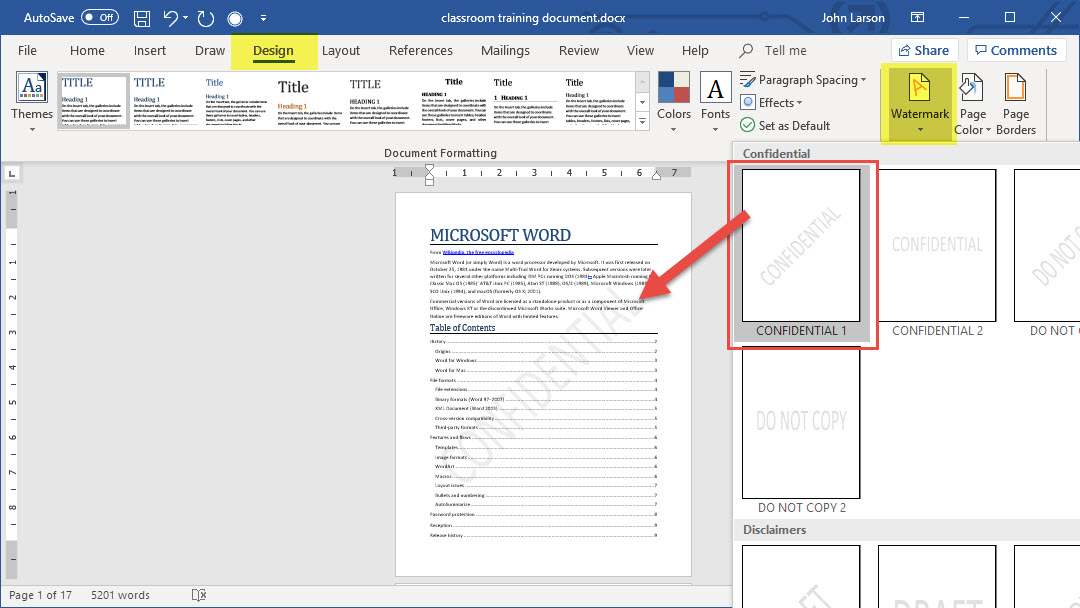
1. On the Design tab, select Watermark.
2. Choose a pre-configured watermark, like CONFIDENTIAL or DRAFT.
Using Your Own Text or Image
1. On the Design tab, select Watermark.
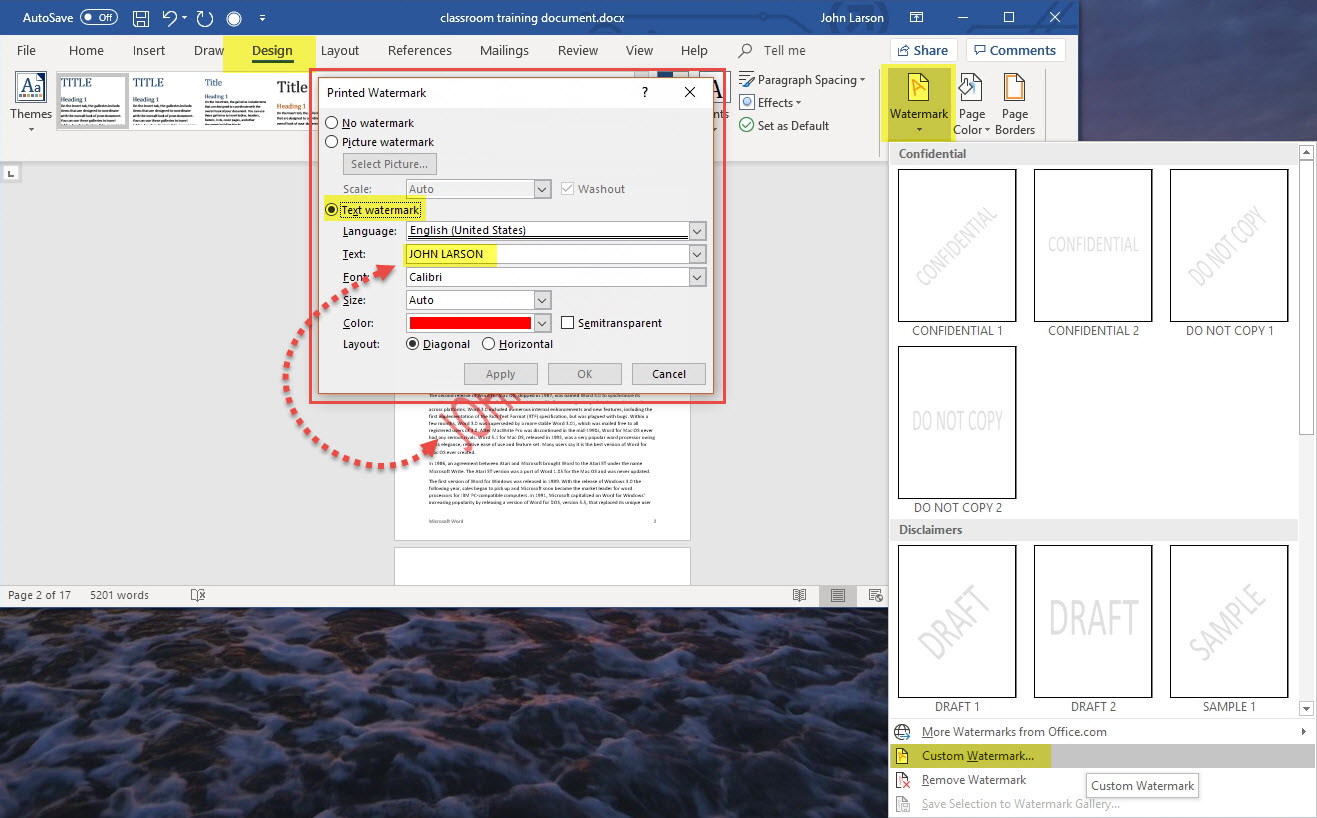
2. Select Custom Watermark, and then choose Picture Watermark and select a picture, or choose Text watermark and type your watermark text in the Text box.
Show or Hide the Ruler
Horizontal and vertical rulers help you align text, graphics, tables, and other elements in your document.
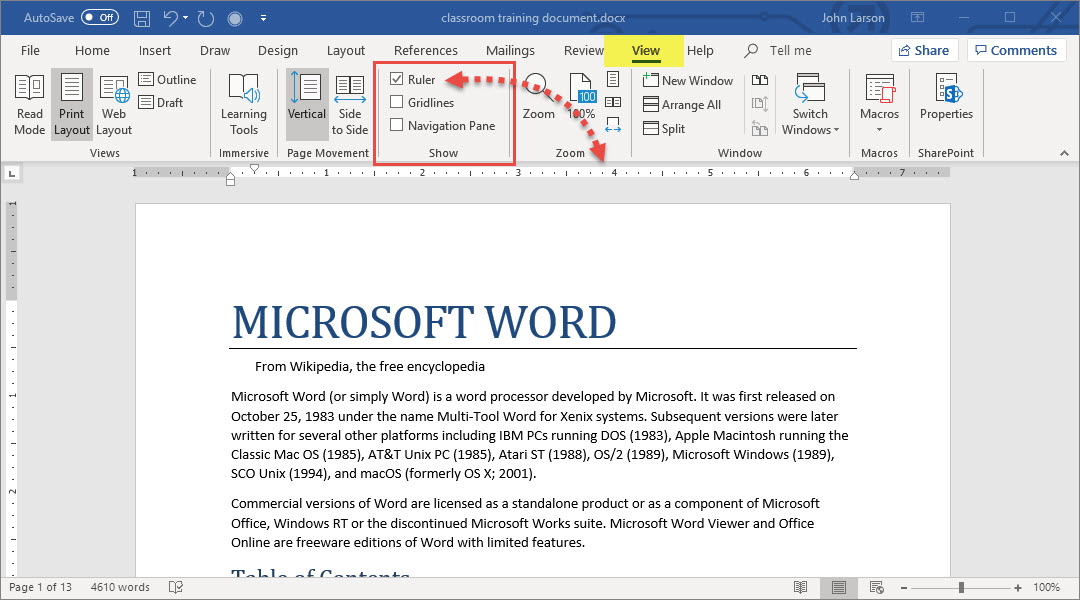
1. To see the rulers, choose View and select the Ruler check box.
2. If you don’t see the vertical ruler, go to the File tab, choose Options > Advanced, and under Display, select the Show vertical ruler in Print Layout view check box.
Tip: This is also where you can switch the ruler to show inches, centimeters, or other units of measure.
Rotate a Picture or Shape
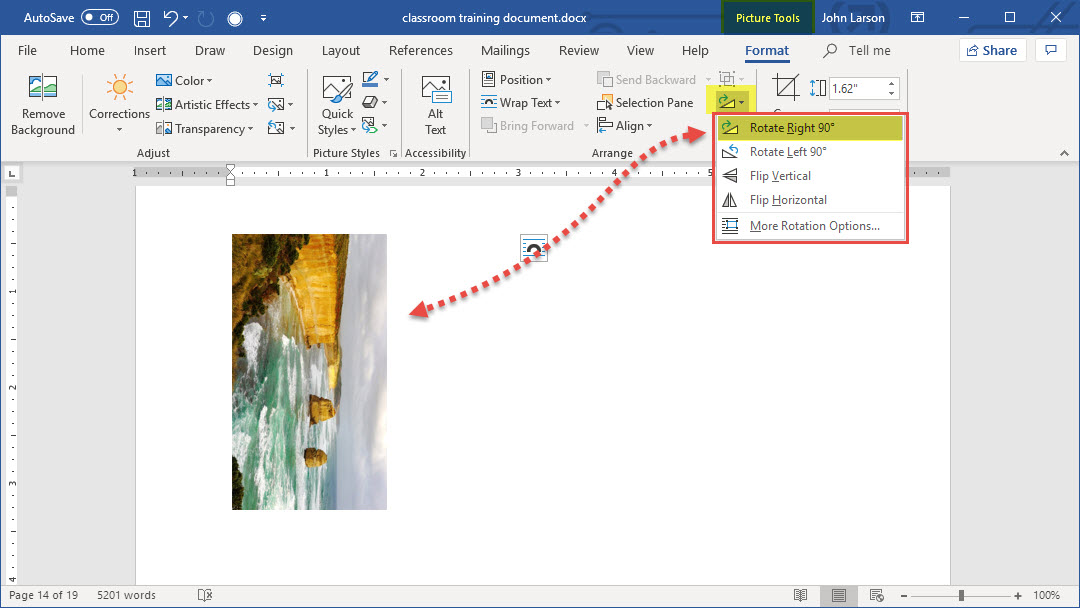
1. Select the picture or shape.
2. Under Drawing Tools (or Picture Tools if you’re rotating a picture), on the Format tab, click Rotate, and then click More Rotation Options.
3. Enter the amount that you want to rotate the object in the Rotation box.
Wrap Text Around a Picture
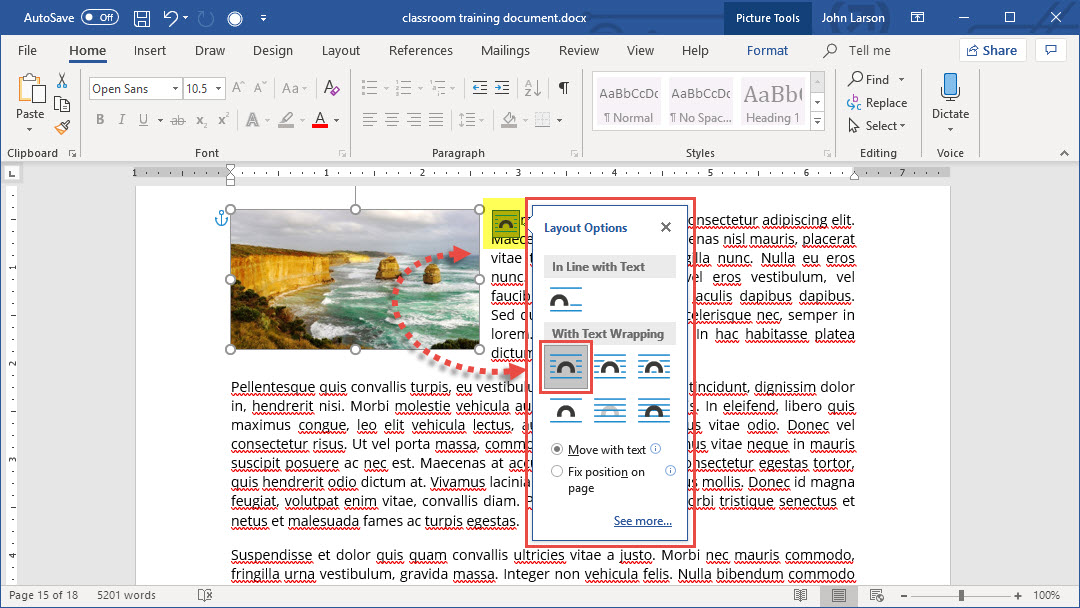
1. Select the picture.
2. Select Layout Options.
3. Select the layout you want.
Tip: In Line with Text puts the picture in a paragraph, just as if it were text. The picture will change position as text is added or removed. The other choices let you move the picture around on the page, with text flowing around it.