Change Margins
In Word, you can customize or choose predefined margin settings. Word automatically sets a one-inch page margin around each page. You also can set margins for facing pages, allow extra margin space to allow for document binding, and change how margins are measured.

1. Select Layout > Margins.
2. Select the margin configuration you want.
3. If you don’t see the configuration you want, select Custom Margins to define your own margins.
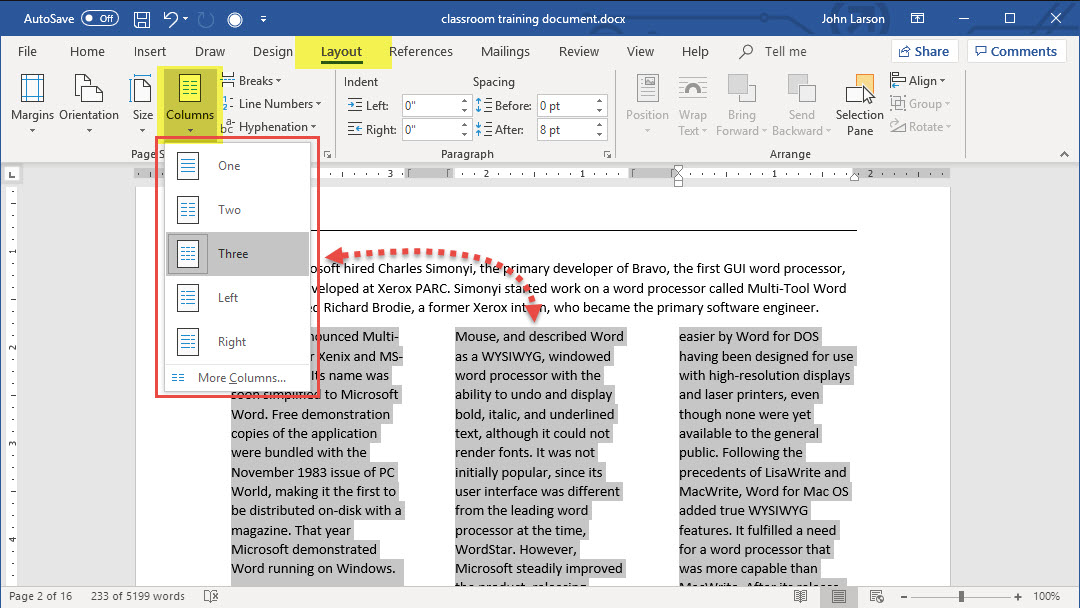
Create Newsletter Columns
1. To lay out the whole document in columns, select Layout > Columns.
2. Choose the option you want, or choose More Columns to set your own column format.
Make part of your document into columns
1. Select the paragraphs you want to lay out in columns.
2. Select Layout > Columns, and then choose the options you want.
Insert a Column Break
If you format a document with columns (as in some newsletter layouts), the text will automatically flow from one column to the other. You can insert your own column breaks for more control over the document format.
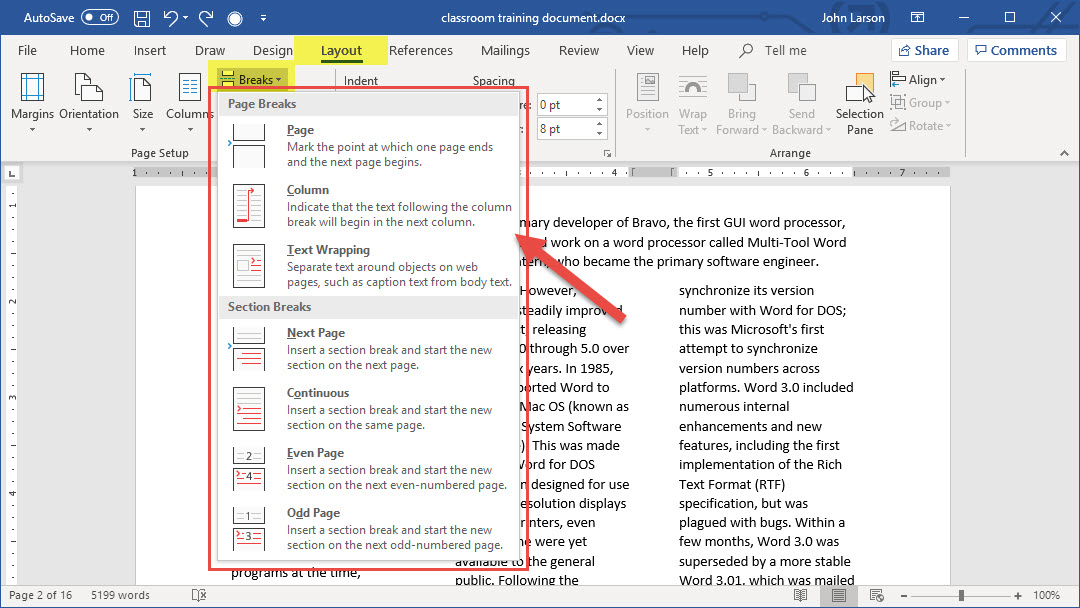
1. Place your cursor where you want the column to break.
2. Click Layout > Breaks.
Note: In Word 2013 or Word 2010, click Page Layout > Breaks.
3. A menu with options will appear. Click Column.
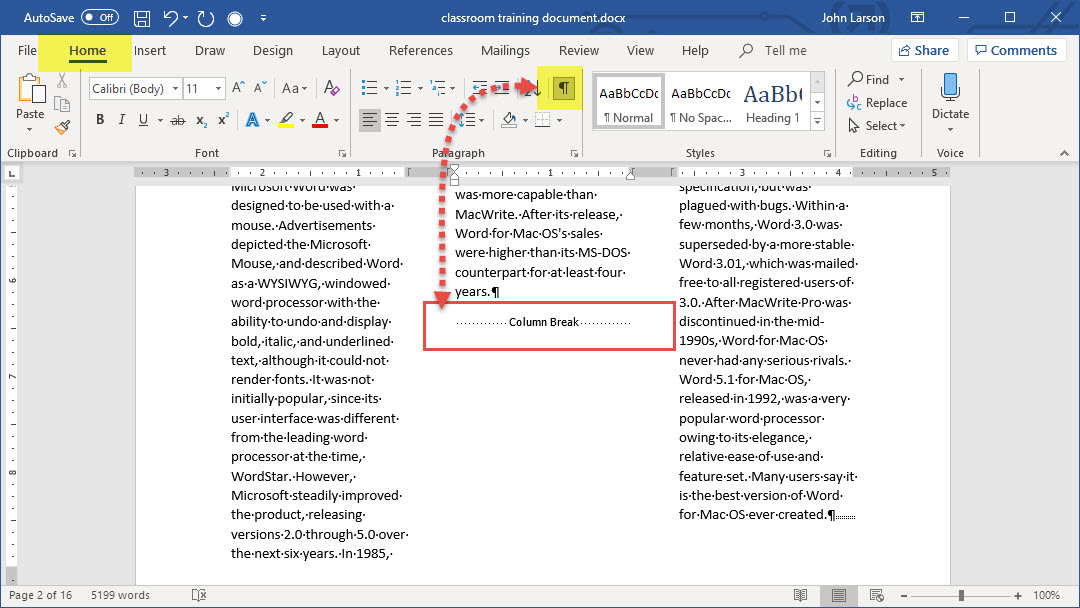
4. A column break is inserted. Click Home > Show/Hide Paragraph mark to see it.
Tip: The keyboard shortcut Ctrl+Shift+Enter also inserts a column break where you’ve placed your cursor.
Delete a Column Break
A column break looks like this:
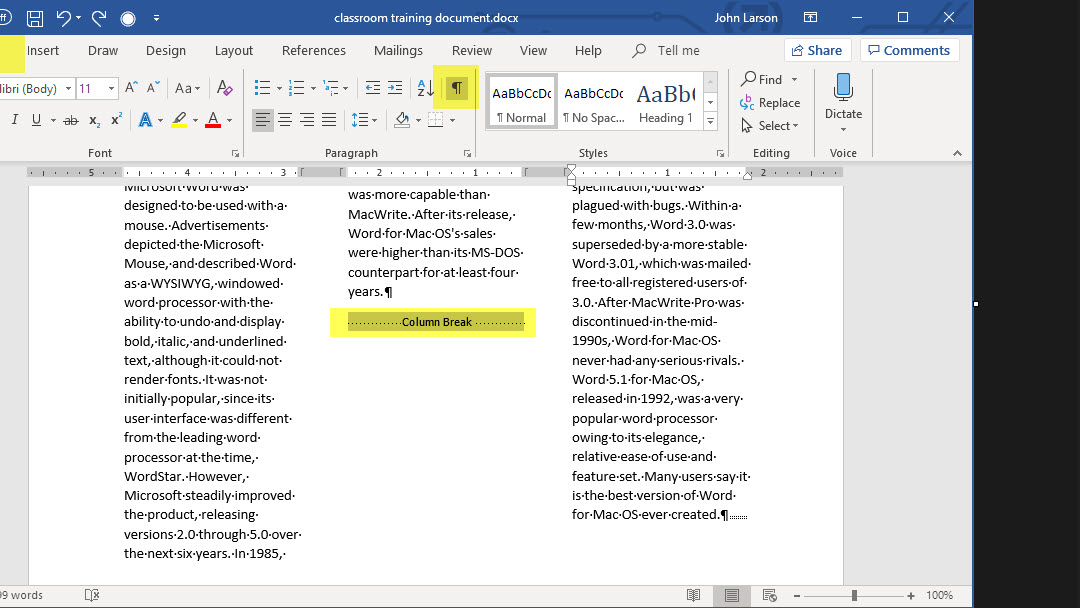
You can remove a column break—either one that was automatically added when you created a document with columns or one you inserted yourself.
1. Click Home> Show/Hide Paragraph mark to display non-printing characters (including where the column breaks are).
2. To remove the column break, either double-click to select it and press Delete or click to the left of it and press Delete.
Change Page Orientation
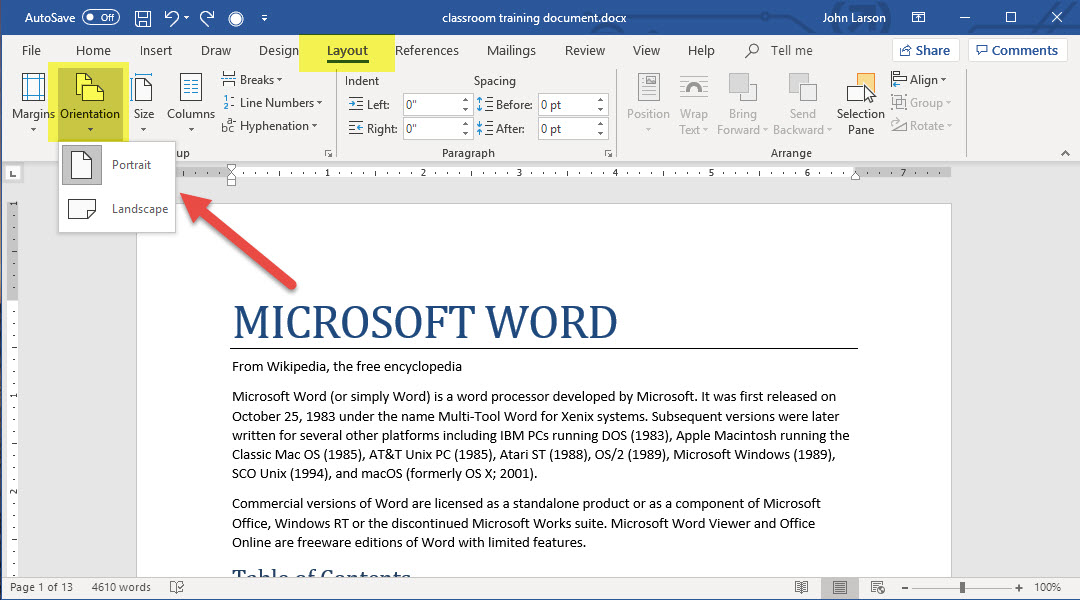
1. To change the orientation of the whole document, select Layout > Orientation.
2. Choose Portrait or Landscape.
Change part of a document to landscape
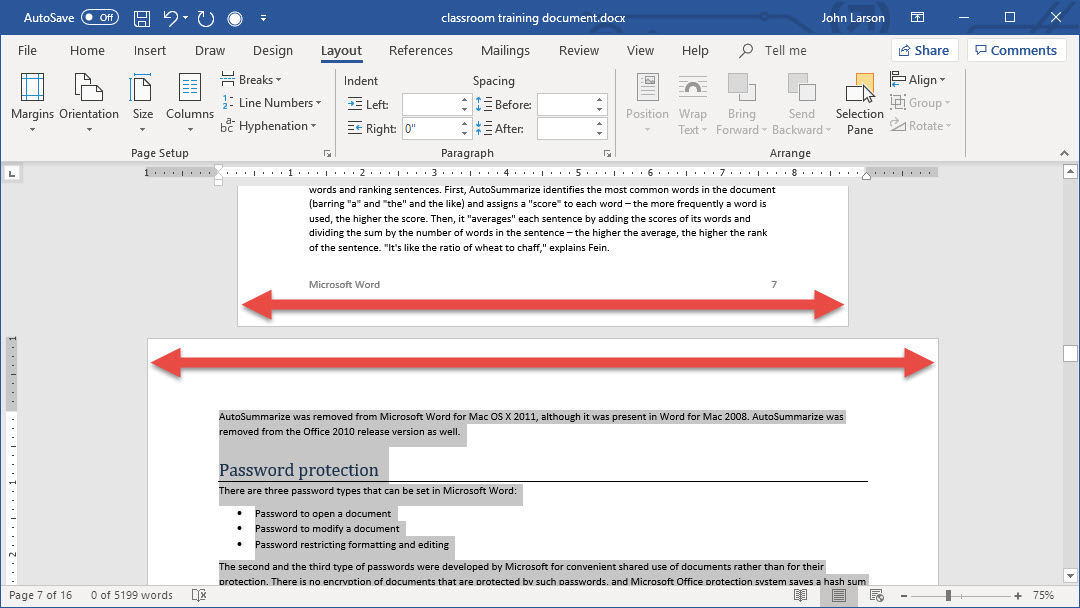
1. Select the content that you want on a landscape page.
2. Go to Layout, and open the Page Setup dialog box.
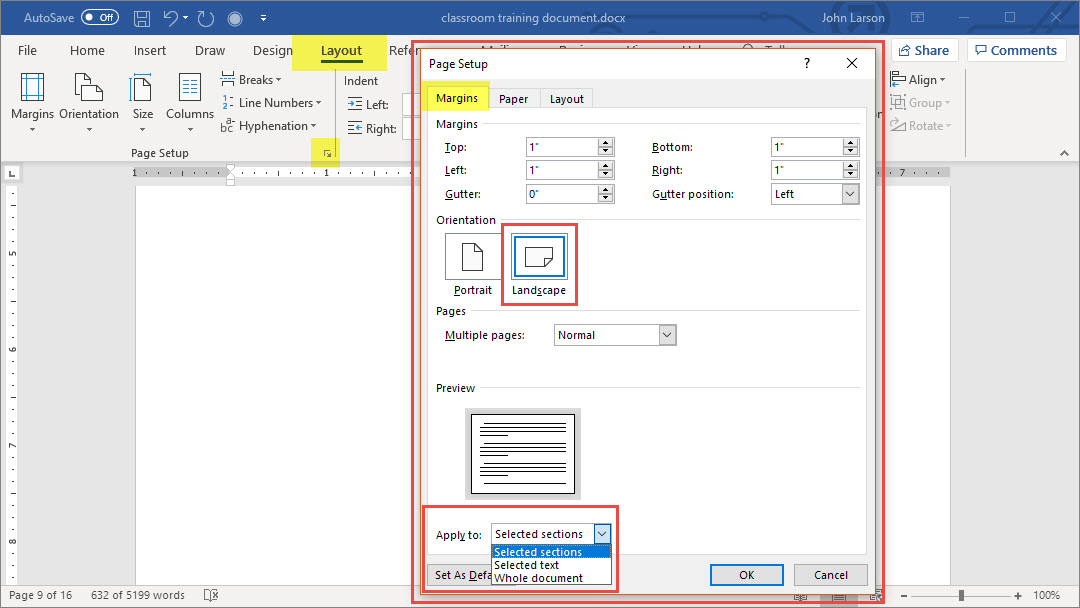
3. Select Landscape, and in the Apply to box, choose Selected text.
Add a Border
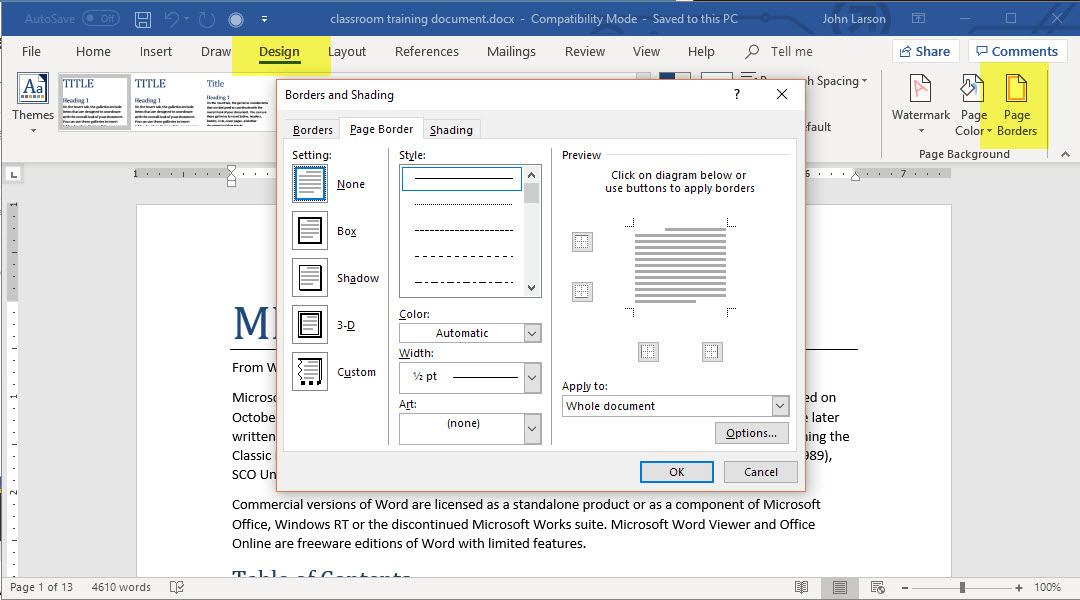
1. Select Design > Page Borders.
2. Make selections for how you want the border to look.
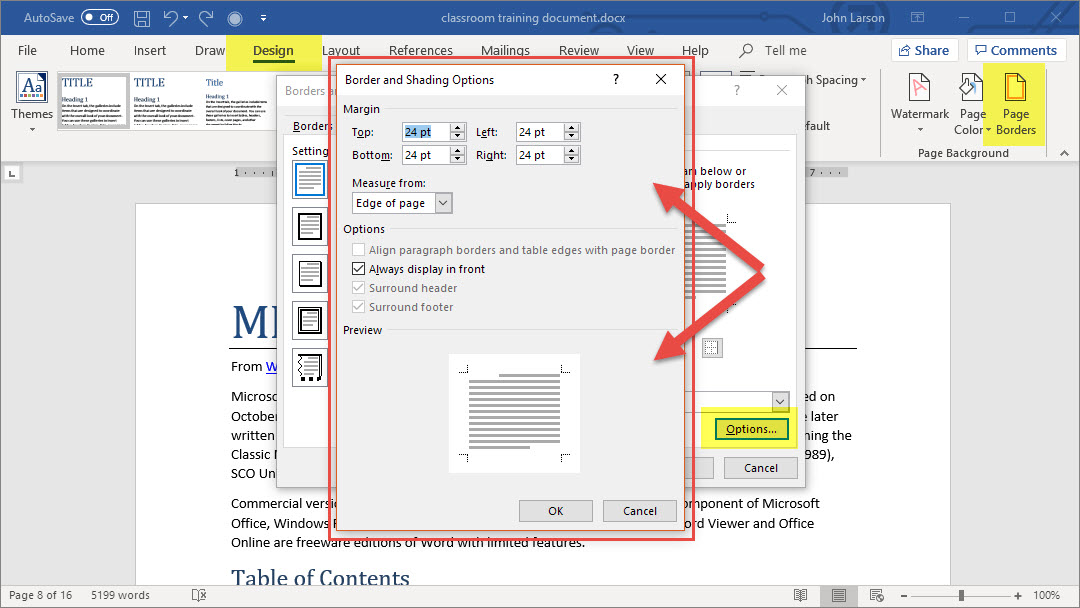
Tips: To adjust the distance between the border and the edge of the page, select Options in the Borders and Shading dialog box.
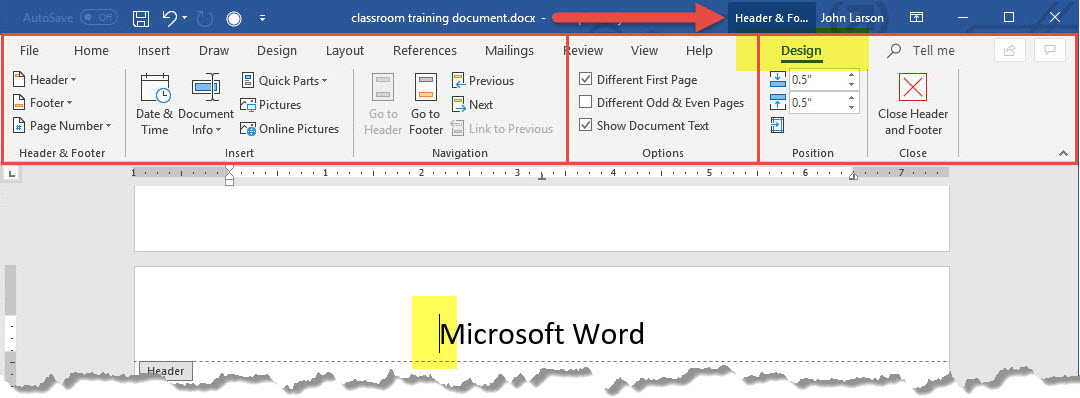
Insert a Header or Footer
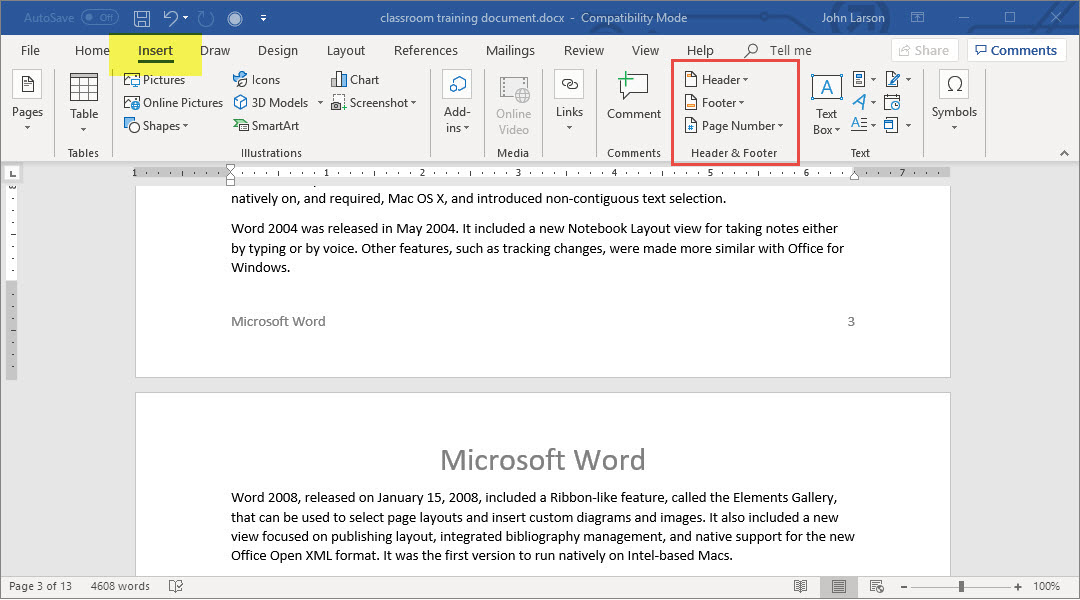
1. With your cursor on the first page of your document, go to Insert, select Header or Footer, and then pick a built-in layout and design, or select Edit Header or Edit Footer to create your own.
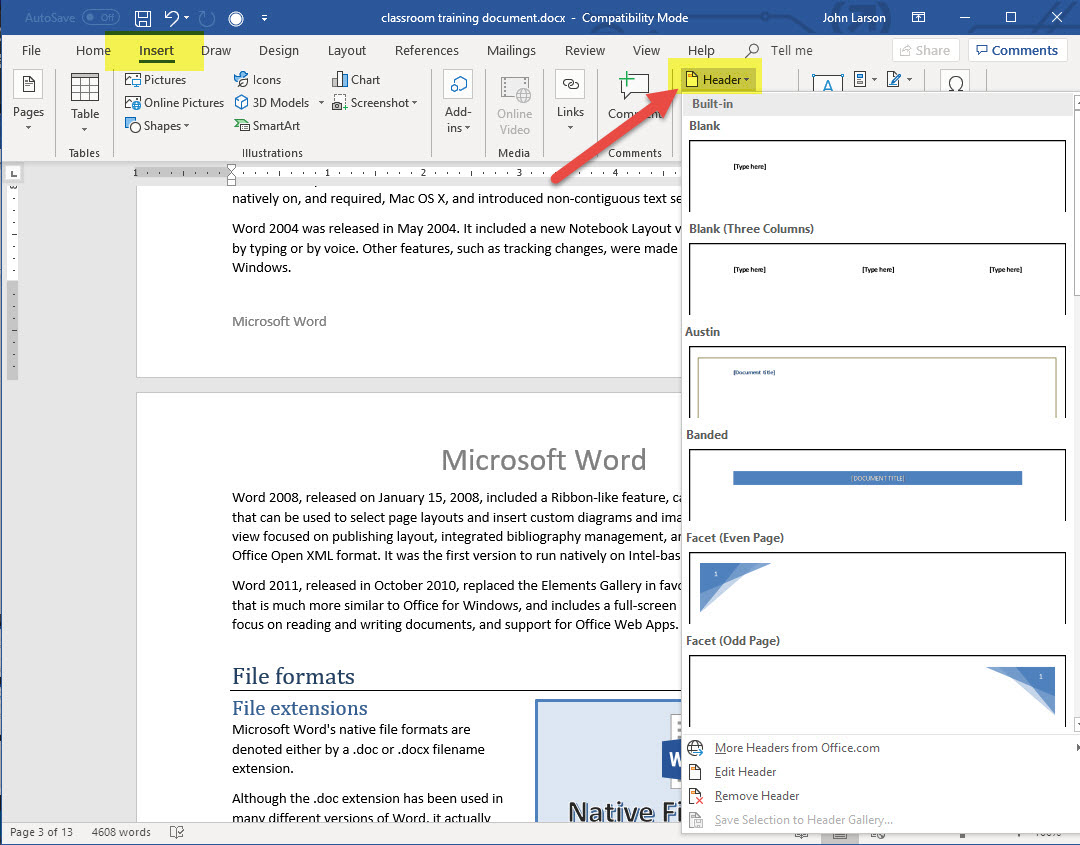
Tip: Some built-in header and footer designs include page numbers.
2. Whatever you want repeated on the pages of your document: add it in the header or footer area on the page.
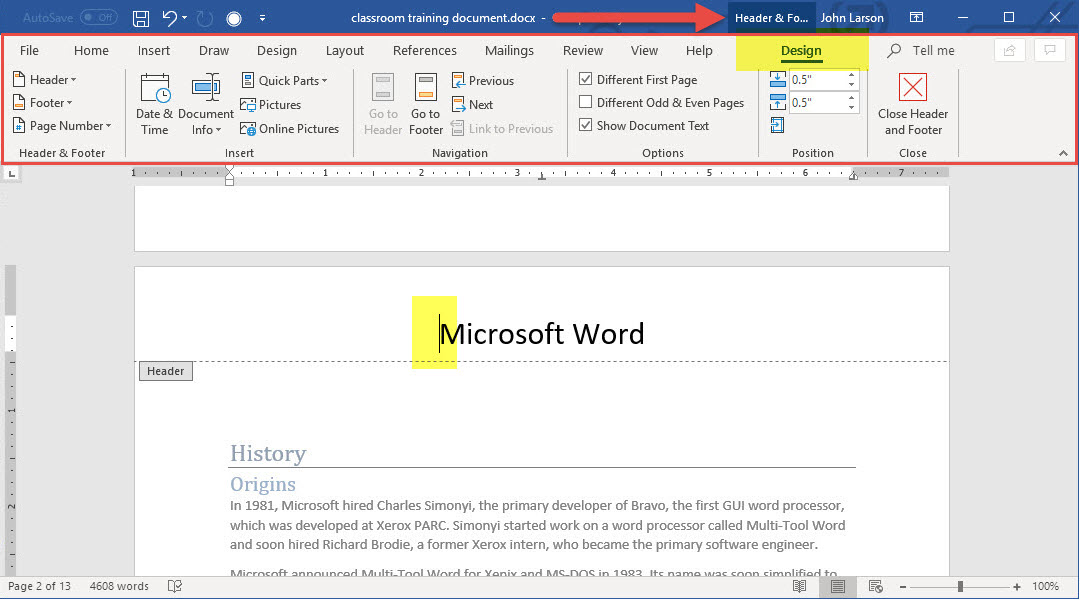
If you don’t want the header or footer on the first page, select Different First Page.
3. When you’re done, select Close Header and Footer.

Tip: To get back to a header or footer to make changes, double-click in the header or footer area.
 Microsoft Word does allow the ability to insert multiple headers or footers. Here is a short instructional video by PDF Bulter walking you through the steps. When following the instructions, remember to unlink every Section from the previous Section. No “Link to Previous”!
Insert Page Numbers
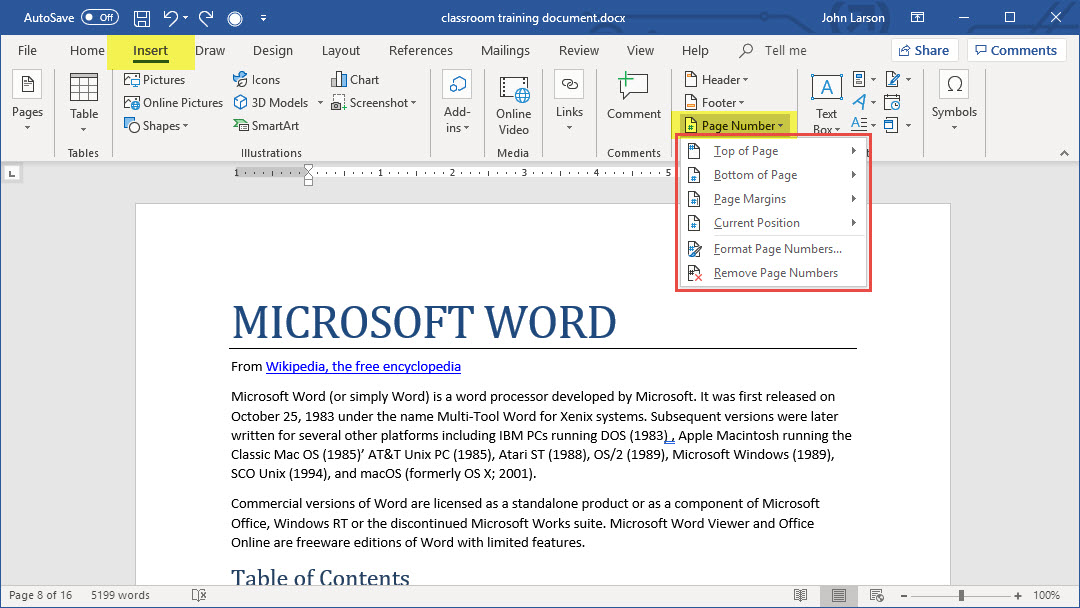
1. Select Insert > Page Number, and then choose the location and style you want.
2. If you don’t want a page number to appear on the first page, select Different First Page.
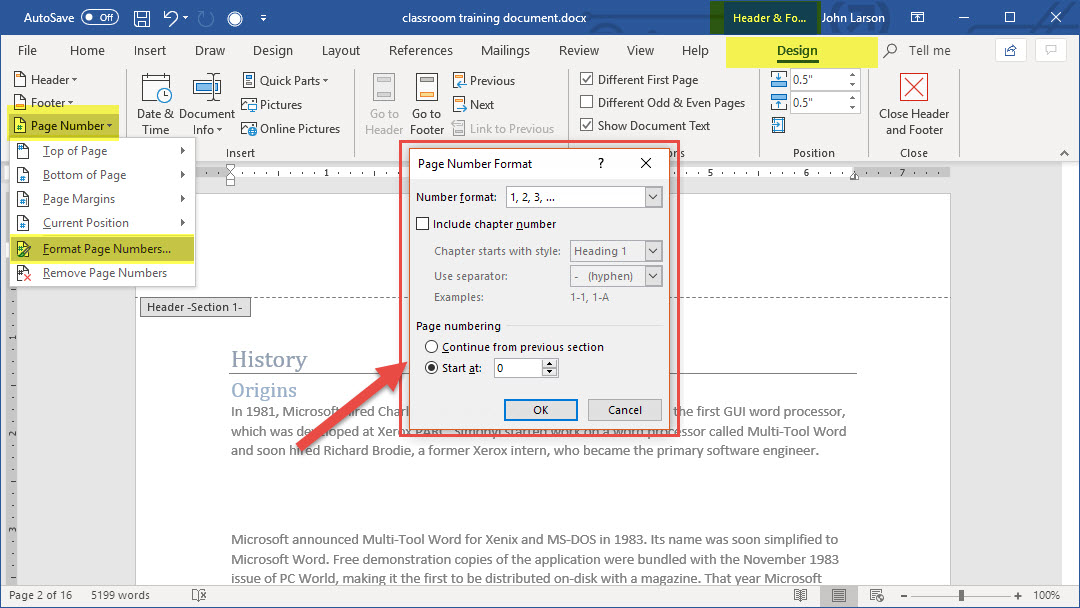
3. If you want numbering to start with 1 on the second page, go to Page Number > Format Page Numbers, and set Start at to 0.
4. When you’re done, select Close Header and Footer.
Tip: To get back to a header or footer to make changes, double-click in the header or footer area.
Insert Page Breaks
1. Put your cursor where you want one page to end and the next to begin.
2. Go to Insert > Page Break.
Tip: If Word puts a new page in your document unexpectedly, it might be because of a page break. To view page breaks so that you can select and delete them, go to Home > Show/Hide icon.
Insert Table of Contents
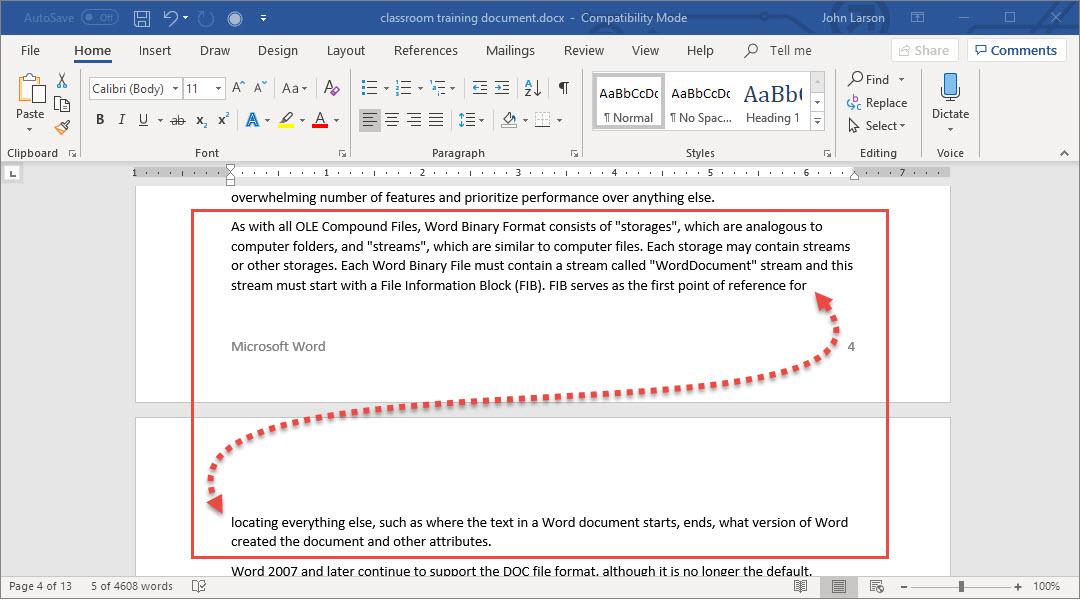
A table of contents in Word is based on the headings in your document.
Add heading styles
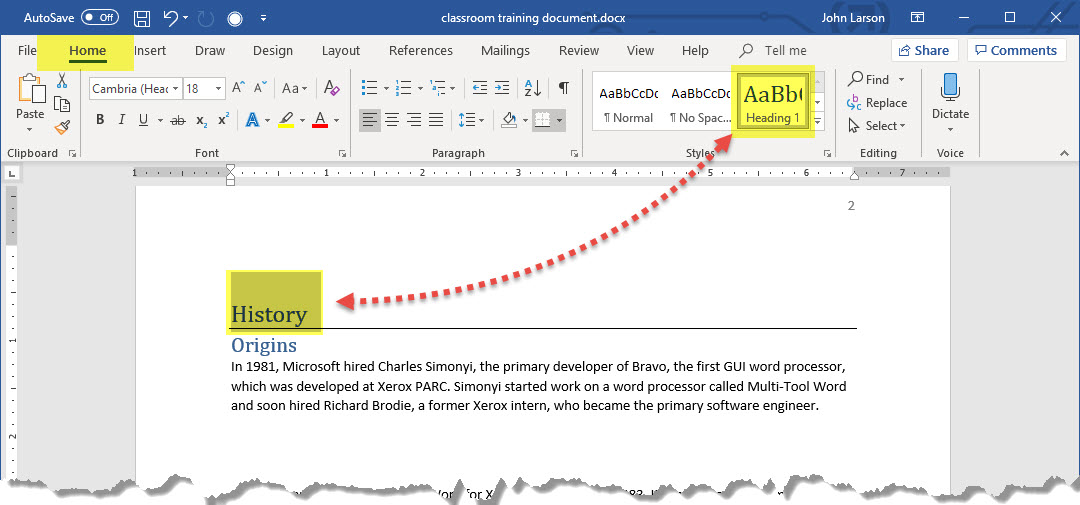
For each heading that you want in the table of contents, select the heading text, go to Home > Styles, and then choose Heading 1, 2, or 3.
Create the table of contents
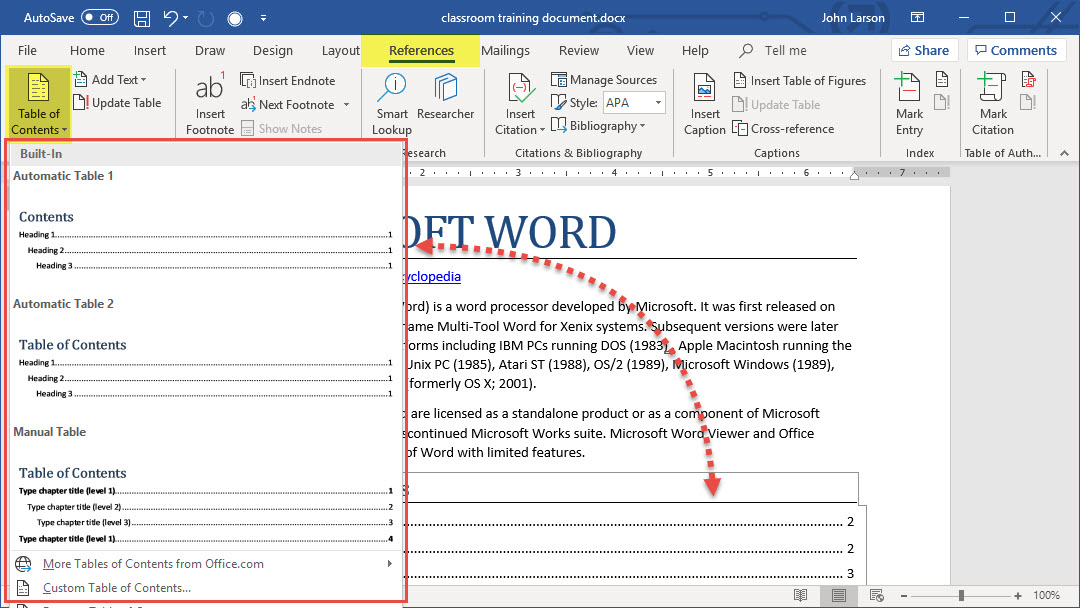
1. Put your cursor where you want to add the table of contents.
2. Go to References > Table of Contents, and choose Automatic Table 1 or Automatic Table 2.
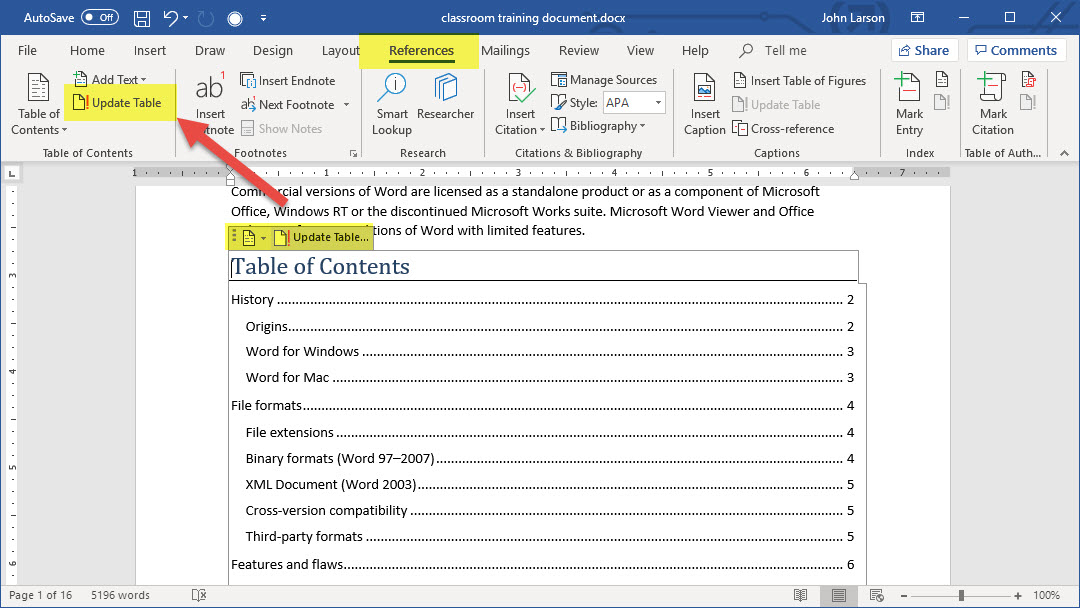
3. If you make changes to your document that affect the table of contents, update the table of contents by right-clicking the table of contents and choosing Update Field.
![]() Read More: For a hands-on guide that steps you through the process of creating a table of contents, download the Table of Contents tutorial. Or, in desktop Word, go to File > New, and search for table of contents.
Read More: For a hands-on guide that steps you through the process of creating a table of contents, download the Table of Contents tutorial. Or, in desktop Word, go to File > New, and search for table of contents.