Share a Document
When you share your document with others and give them permission to edit, everyone’s changes are made in the same document.

1. In the top right corner, above the ribbon, click Share.
2. Save your document in OneDrive, if it’s not already there.
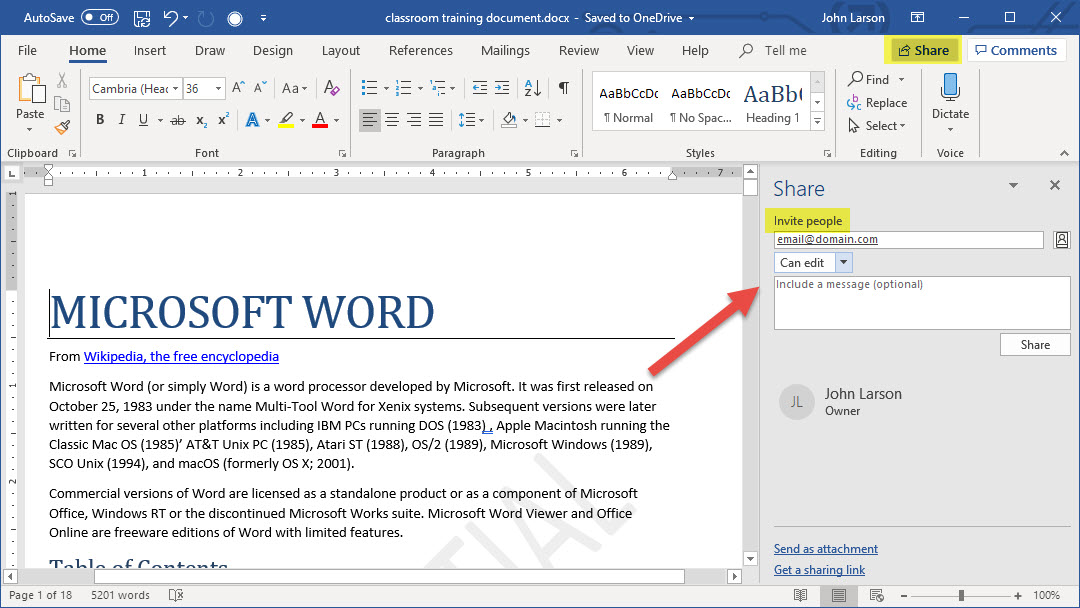
3. Enter email addresses of the people you want to share with, and make choices for permission you want to allow.
4. Type a message if you want, and click Send.
- The people you’re sharing with will get mail from you, with a link to your document.
Collaborate on Word Documents
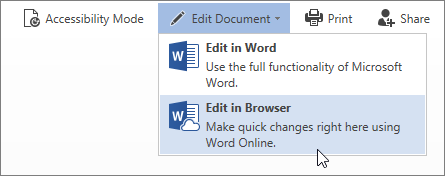
When someone shares a Word document with you, the email you receive includes a link that opens the document in your web browser: in Word Online. Select Edit Document > Edit in Browser.
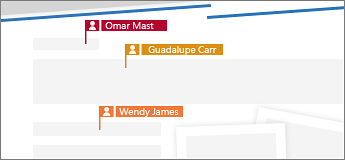
If anyone else is working on the document, you’ll see their presence and the changes they’re making. We call this coauthoring, or real-time collaboration.
From here, if you’d rather work in your Word app, select Edit in Word, near the top of the window.
![]() Need more help? Download this Collaborate in Word guide, or type Collaborate in the search box in File > New in Word (works best in versions 2016 and later for Windows).
Need more help? Download this Collaborate in Word guide, or type Collaborate in the search box in File > New in Word (works best in versions 2016 and later for Windows).
Note: Real-time coauthoring features are only available to Office 365 subscribers using one of these versions of Word:
- Word 2016 for Windows
- Word 2016 for Mac
- Word on a mobile device (Android, iOS, or Windows)
If you’re using an older version of Word, or if you’re not a subscriber, you can still edit the document at the same time others are working on it, but you won’t have real-time collaboration. To see others’ changes and share yours, you’ll have to save the document from time to time.
Insert or Delete a Comment
Attaching your comments to specific parts of a document makes your feedback more clear. If someone else is commenting on the document, replying to their comments lets you have a discussion, even when you’re not all in the document at the same time.
1. Select the content you want to comment on.
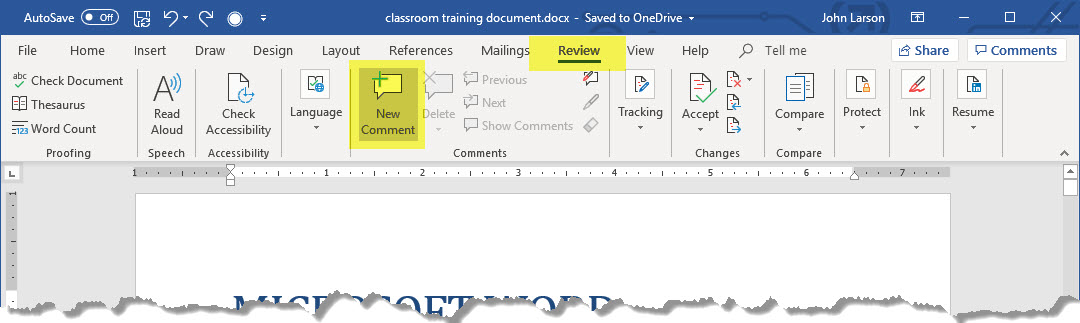
2. Go to Review > New Comment.
3. Type your comment. If you want to make changes to any of your comments, just go back and edit them.
4. To reply to a comment, go to the comment, and select Reply.
Delete comments
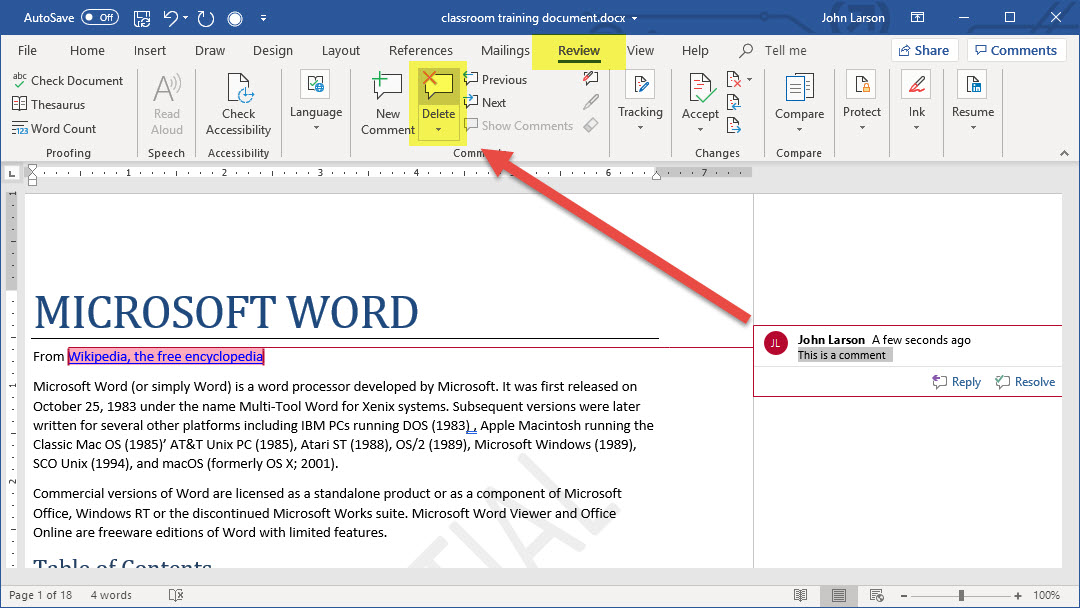
1. Right-click the comment, and choose Delete Comment.
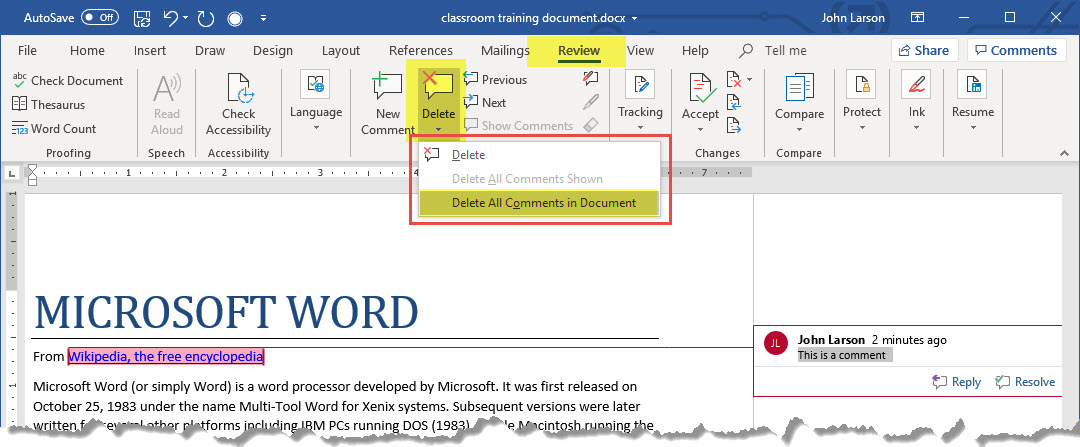
To delete all the comments in the document, go to the Review tab, click the down-arrow on Delete, and choose Delete All Comments in Document.
Track Changes in Word
Turning on Track Changes gives you and your coworkers a way to make changes that are easy to spot. The changes are like suggestions that you can review, and then remove them or make them permanent.
![]()
Turn Track Changes on and off by going to Review > Track Changes.
- When it’s turned on, deletions are marked with a strikethrough, and additions are marked with an underline. Different authors’ changes are indicated with different colors.
- When it’s turned off, Word stops marking changes, but the colored underlines and strikethrough are still in the document.
View suggested changes
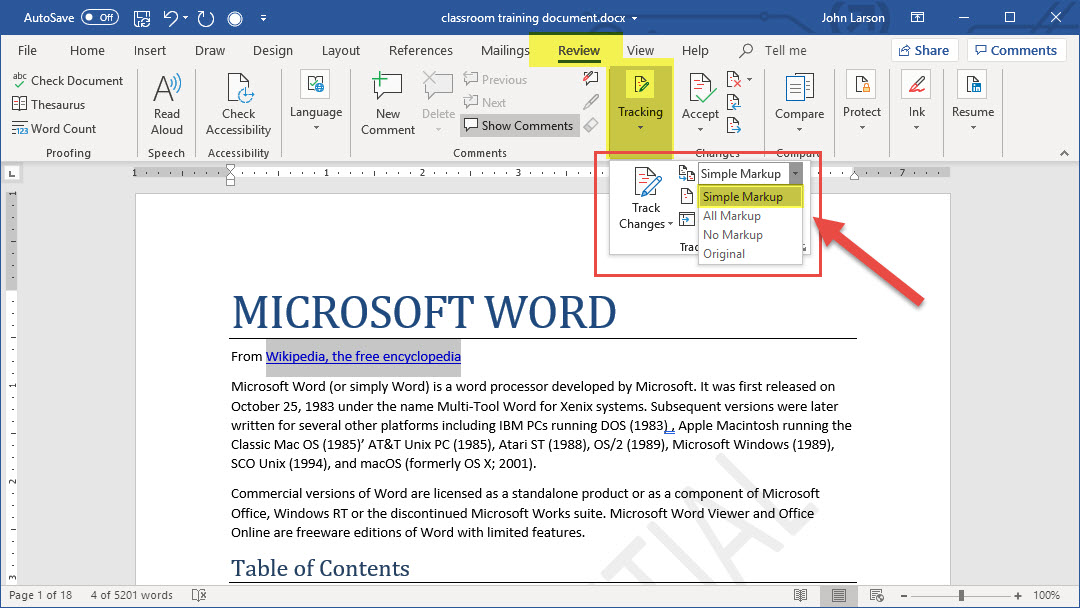
To review the changes in your document, go to Review > Tracking > Display for Review.
- To review the changes, indicated by a red line in the margin, choose Simple Markup.
- For a detailed view of the changes, choose All Markup.
- For a preview of how the document will look if you make all the suggested changes permanent, choose No Markup.
- To view the original document as if all the suggested changes were removed, choose Original.
Accept Tracked Changes
Even if Tracked Changes is currently turned off, there’s a possibility that your document contains colored underlines and strikethrough, indicating insertions and deletions that were made as suggestions while Track Changes was turned on.
The markings are visible to anyone who chooses All Markup or Simple Markup in the Tracking section of the Review tab.
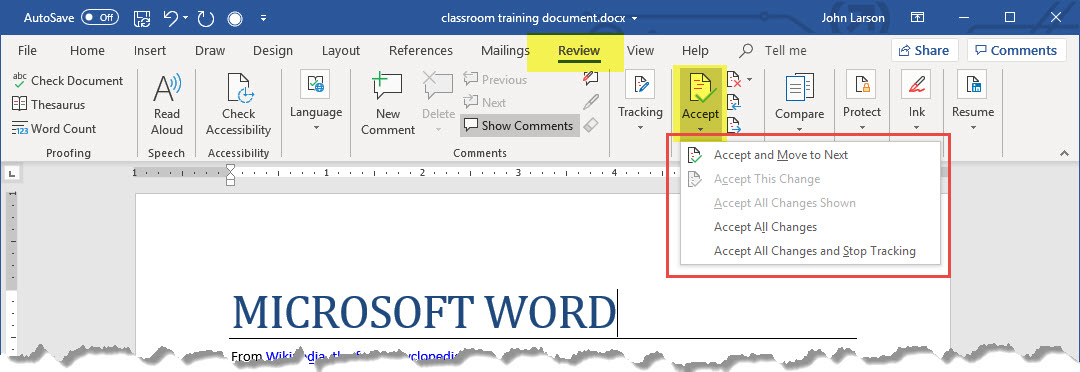
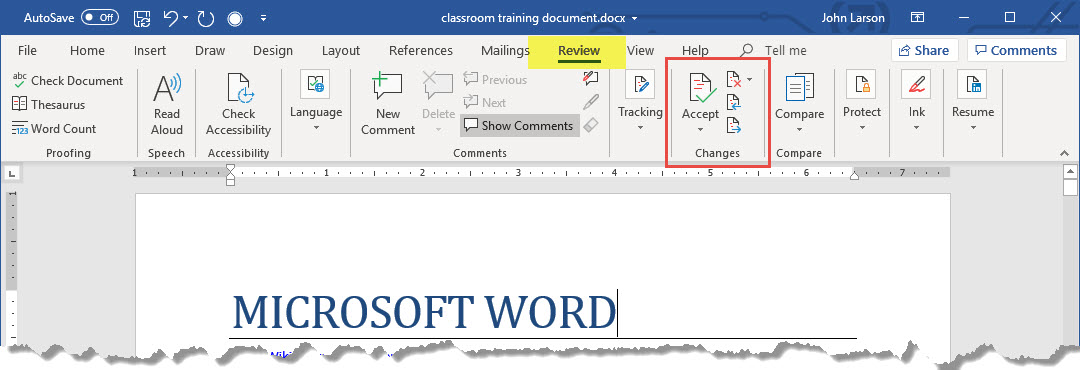
Remove the markings by accepting or rejecting the changes. Use the buttons in the Changes section of the Review tab.
- Previous and Next take you from one change to the next.
- Accept makes a change permanent.
- Reject gets rid of a change.
Tips: To accept or reject changes all at once, click the arrow on the Accept or Reject button, and then choose Accept All Changes or Reject All Changes.
Using Word on Mobile Devices
You can stay productive on the go, using the Word mobile app.
1. Download the app for your device:
- iPad or iPhone (App Store)
- Android tablet or phone (Play Store)
- Windows tablet or phone (Microsoft Store)
2. The first time you use the Word app, sign in with your Office 365 name and password.
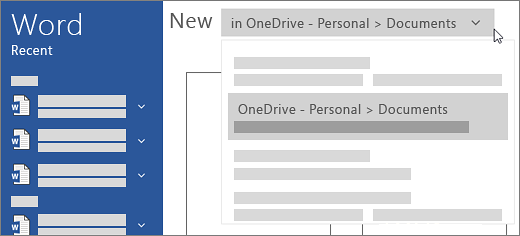
3. On the New screen, create a new document by selecting OneDrive – Personal under Create in, and then choose Blank Document (changes are saved automatically).
4. To give your document different name:, choose File > Save > Rename this file.