Learning how to migrate your CMS installation from one host to another is a common task you should know how to do. This section covers how to transfer WordPress to a new hosting platform.
Migration to a New Host
1. Make a full WordPress Transfer
A. Transfer WordPress Files
B. Migrate the WordPress Database
C. Reconfigure WordPress to work from the new server
2. Transfer WordPress from wordpress.com
1. Make a full WordPress Transfer
A WordPress migration from one hosting provider to another is an easy task if performed properly. It consists of three parts – moving the files, moving the database and reconfiguration (if needed).
A. Transfer WordPress Files
To move your files from one host to another you can use your favorite FTP client. For more information on how to use FTP, you can check the FTP section. It explains how to move the files of the application first to your local computer and then to upload them on the new account. If your old host is using cPanel, you can use the File Manager tool to create a .ZIP archive of all your site files. You can then transfer it to your new host and extract it. This will save you time because transferring one big file is much faster than transferring thousands of small ones.
B. Migrate the WordPress Database
The second step is to move your database. First you need to export your database from the old hosting account. If it uses cPanel you can follow outline for database backup. If not, contact the support team of your previous hosting company in order to receive more information on how to export your database. After you have your data exported, create a new database on your new hosting account and import the migrated content in it.
C. Reconfigure WordPress to work from the new server
Next you have to reconfigure your WordPress application to work from the new place. To do this, open the wp-config.php file in the WordPress root folder and locate the following lines:

You need to replace those values with your actual database, database username and password for it. The hostname should be replaced with localhost. Then save the file and your WordPress site should be up and running from your new hosting account!
2. Transfer WordPress from wordpress.com
To transfer your blog from WordPress.com to a stand-alone WordPress installation on your hosting account can be done with just a few clicks. To move your site, first login to your WordPress blog at wordpress.com and go to the Tools menu. There you will see two sections – Guided Transfer and Export. Click the Start Export button under the Export section.

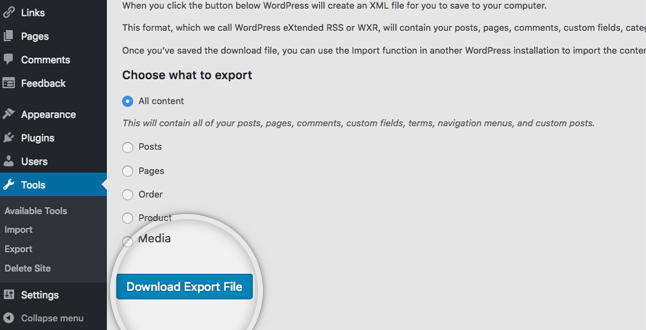
Then choose All content and click the Download Export File and you will be prompted to download an .xml file, which contains all the data from your WordPress.com blog.
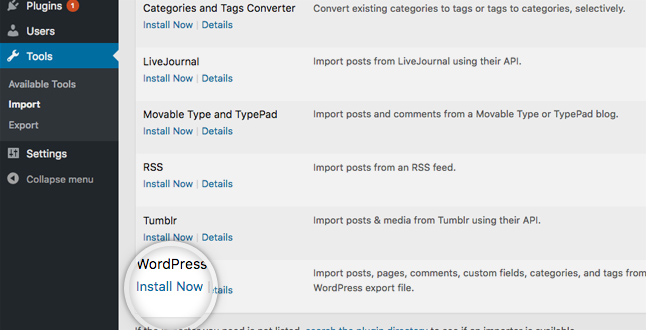
Now you need to import the information from the .xml file to your stand-alone WordPress installation. If you have one installed, login with your admin username and password. If you want to install a fresh WordPress application, check out the WordPress installation section for more information on how to do this. Once you login, select the Tools menu from the left column and chose Import. On the next page, click the Install Now button under the WordPress section at the bottom.
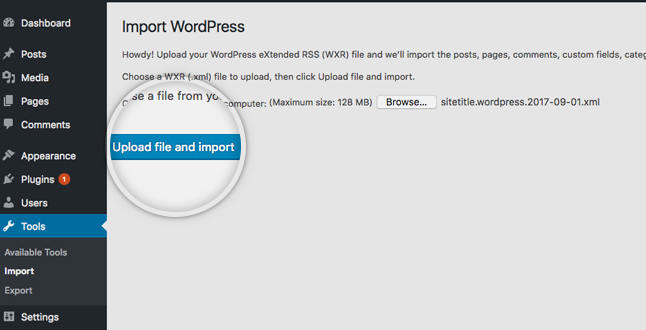
The plugin required for the import will be automatically installed, after which the Install Now button will change to Run Importer. Click that button and on the page that opens click Browse. Then a pop-up will show up and you must navigate and select the .xml file that you have downloaded from your wordpress.com blog earlier. Then click the Upload file and import button.
If the content which you want to migrate is quite large the corresponding web server’s timeout value can be reached before the data is fully copied. In this case you need to reupload the .xml file. The system keeps a record for the migrated content and will proceed with the remaining data. Repeat the procedure until you receive a confirmation that the process is successfully completed.
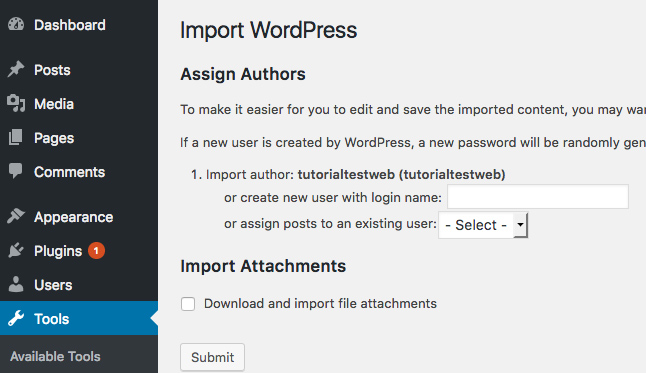
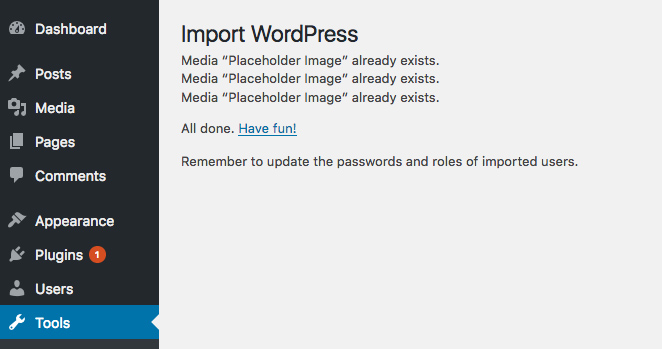
Since you will be inserting new posts and pages WordPress needs to know who will be their author. On the next page you can either select an existing user as posts author, or you can create a new one for the imported data. Note that you should check the Download and Import file attachments checkbox if you want your photos and other attachment to be transferred too. Finally, click on the Submit button.
That’s it! Your data is now transferred from your WordPress.com account to your stand-alone WordPress application.
IMPORTANT! Note that this will transfer only your content – posts, pages, media. All the plugins and themes you’ve used at WordPress.com are proprietary and not part of the transfer. You will have to choose a new theme and install all the necessary plugins you need additionally on your self-hosted WordPress site.